
Lightsaber v2
Written 10-5-19
Immediately after finishing v1, I decided to build another lightsaber. Of course, I had to build a crossguard lightsaber just like Kylo Ren’s.
Hilt
Just like v1, I stuck to using a chrome sink tube for the hilt. Mechanically speaking, the hardest part would be attaching the two side blades to form the crossguard. I didn’t really have the tools nor the knowledge to make a very secure connection. After some trial and error screwing around with PVC on a band saw and drilling some holes, I had a surprisingly sturdy connection. I’ll admit I also used a good amount of hot glue.
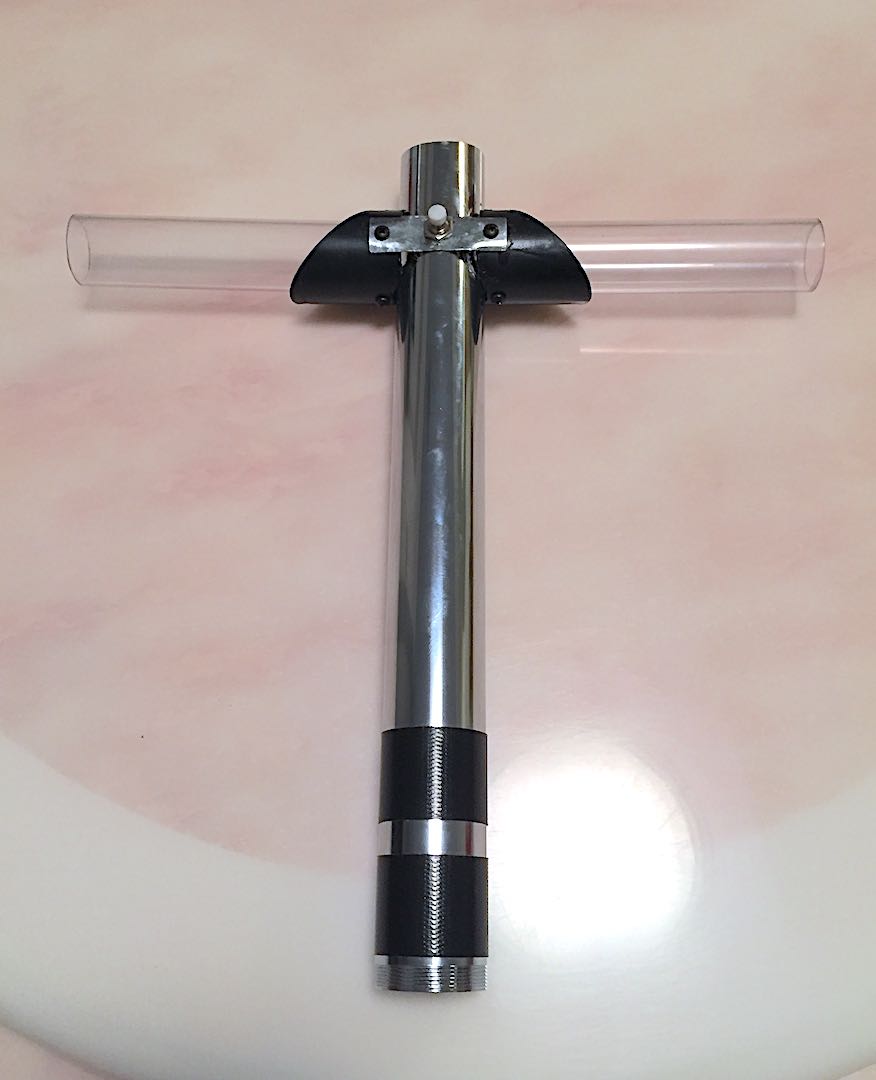
Next up was figuring out the blades. v1 used a 3/4″ ID, 1″ OD polycarbonate tube which is really heavy. While it provided durability, I reasoned that I wasn’t designing my lightsabers to duel with, so a 7/8″ ID, 1″ OD tube would work just as well while also cutting down significantly on weight. Mounting the blades was also a challenge because I didn’t really have the tools to make a precise 1″ hole. I ended up using a bunch of masking tape and screws to hold the blades securely.
Electronics
Instead of taking apart a toy lightsaber to use its sound board, I decided to design my own based off the Atmega328 so I could use Arduino. The hardest part was figuring out how to do sound. To maintain a good user experience, I would need to switch between different sound files very quickly. Since I was still pretty new to all this, I started out by buying various different Arduino-compatible MP3 modules. None of them could switch between sound files without a very noticeable gap. Looking through other solutions, I eventually came upon TMRh20’s incredible TMRpcm library. After a bit of wiring, I was up and running. Switching between sound files still had a gap if I remember correctly. However, what’s really cool is that the library allows playing two sound files simultaneously, so that gap was easily eliminated.
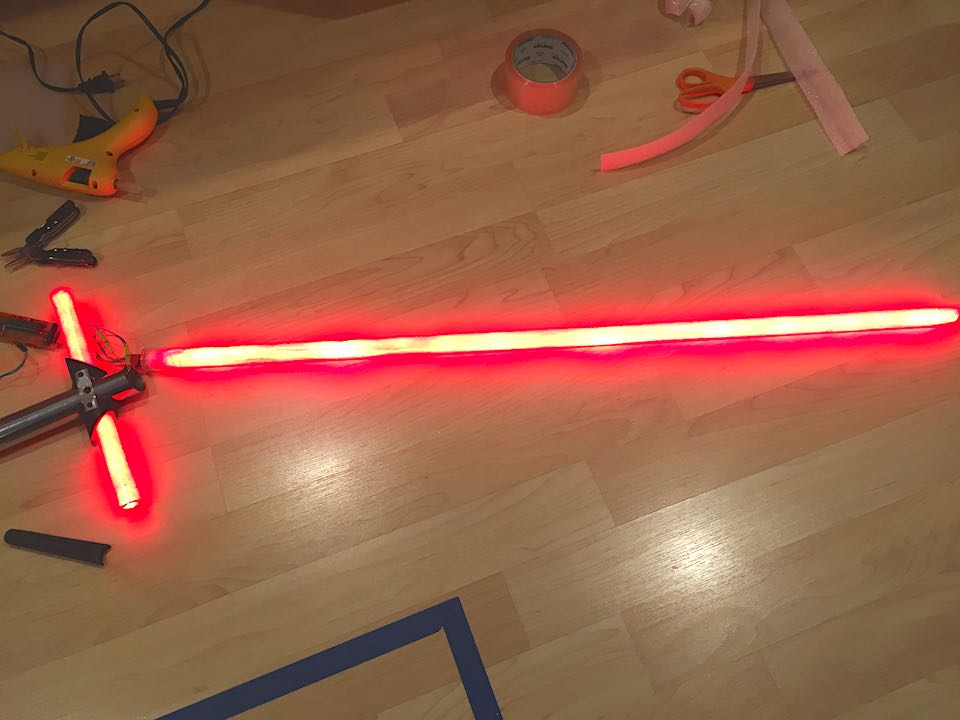
With the sound figured out, I moved onto the blade. I wanted to make a Makoto Tsai style segmented LED blade just like v1. The main issues with v1 were that the wires were clearly visible, the diffusion was poor, and it was short. To fix all these things, I started off by using more LEDs. After soldering about 100 LEDs into a single string, I cut the negative side at multiple points to separate it into six segments. I also made two shorter strings for the side blades. I then used magnet wire to connect all the segments to one area at the bottom. This ended up being a poor choice when some segments shorted temporarily later on. Once the string was done, I wrapped it all in flat foam packaging and held it together with packaging tape.
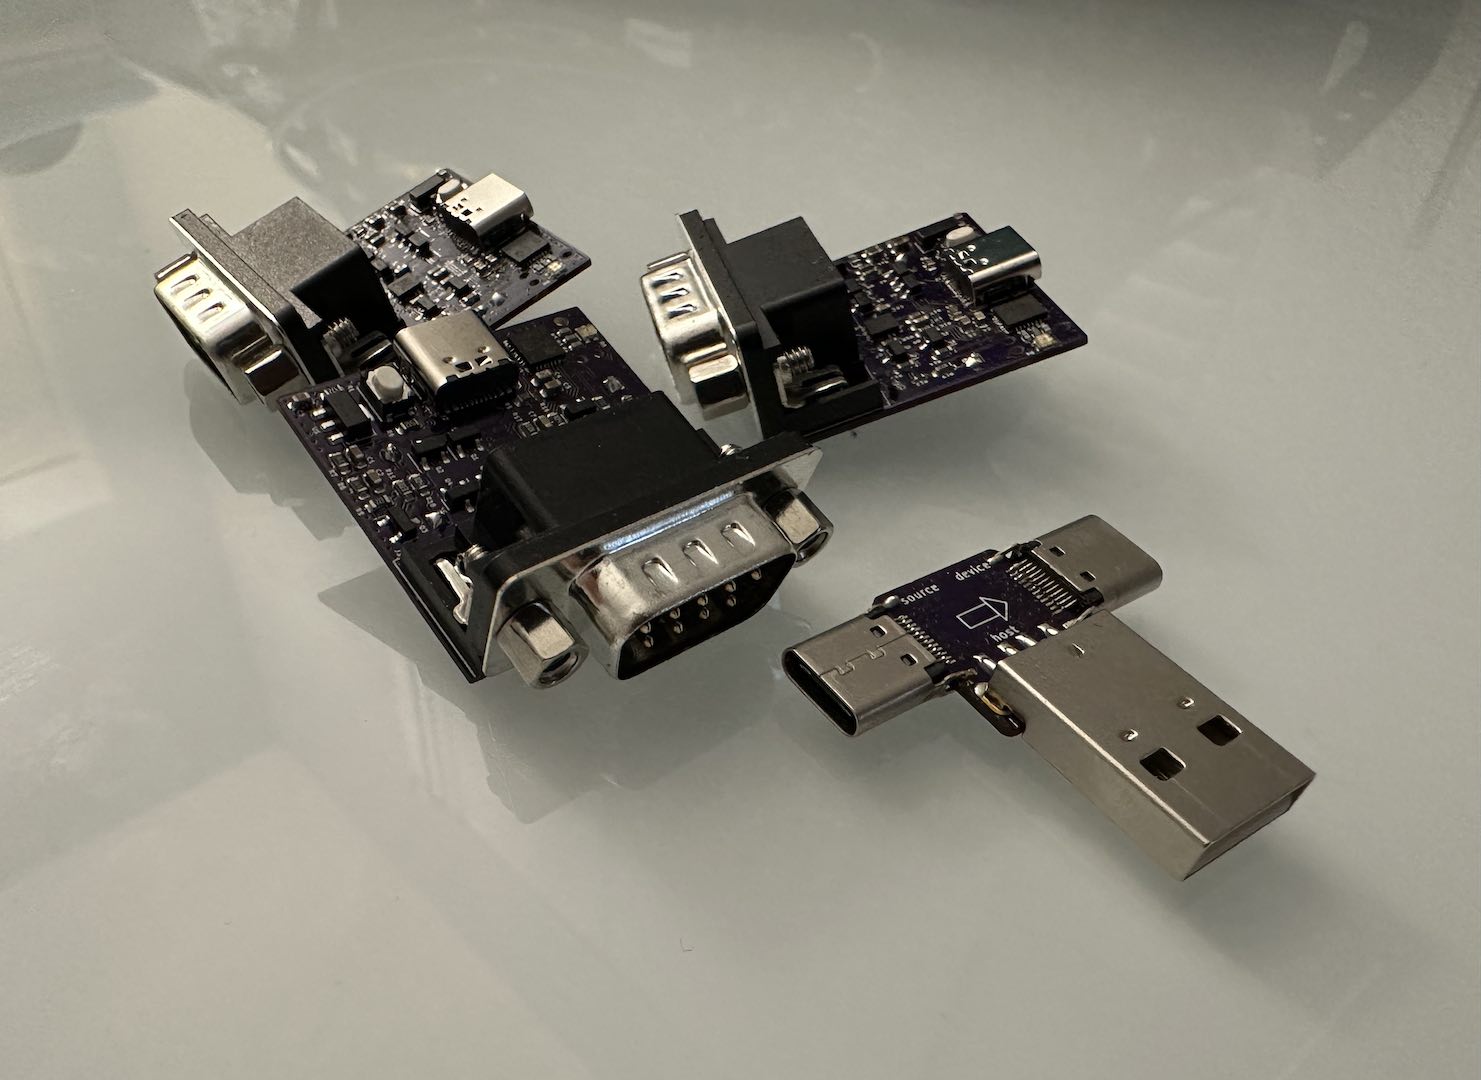
The circuit board housing all the electronics was really nothing special. I remember making a PCB for it but used Sharpie as an etch resist because the toner transfer method just didn’t work. Everything was stuffed into the hilt.
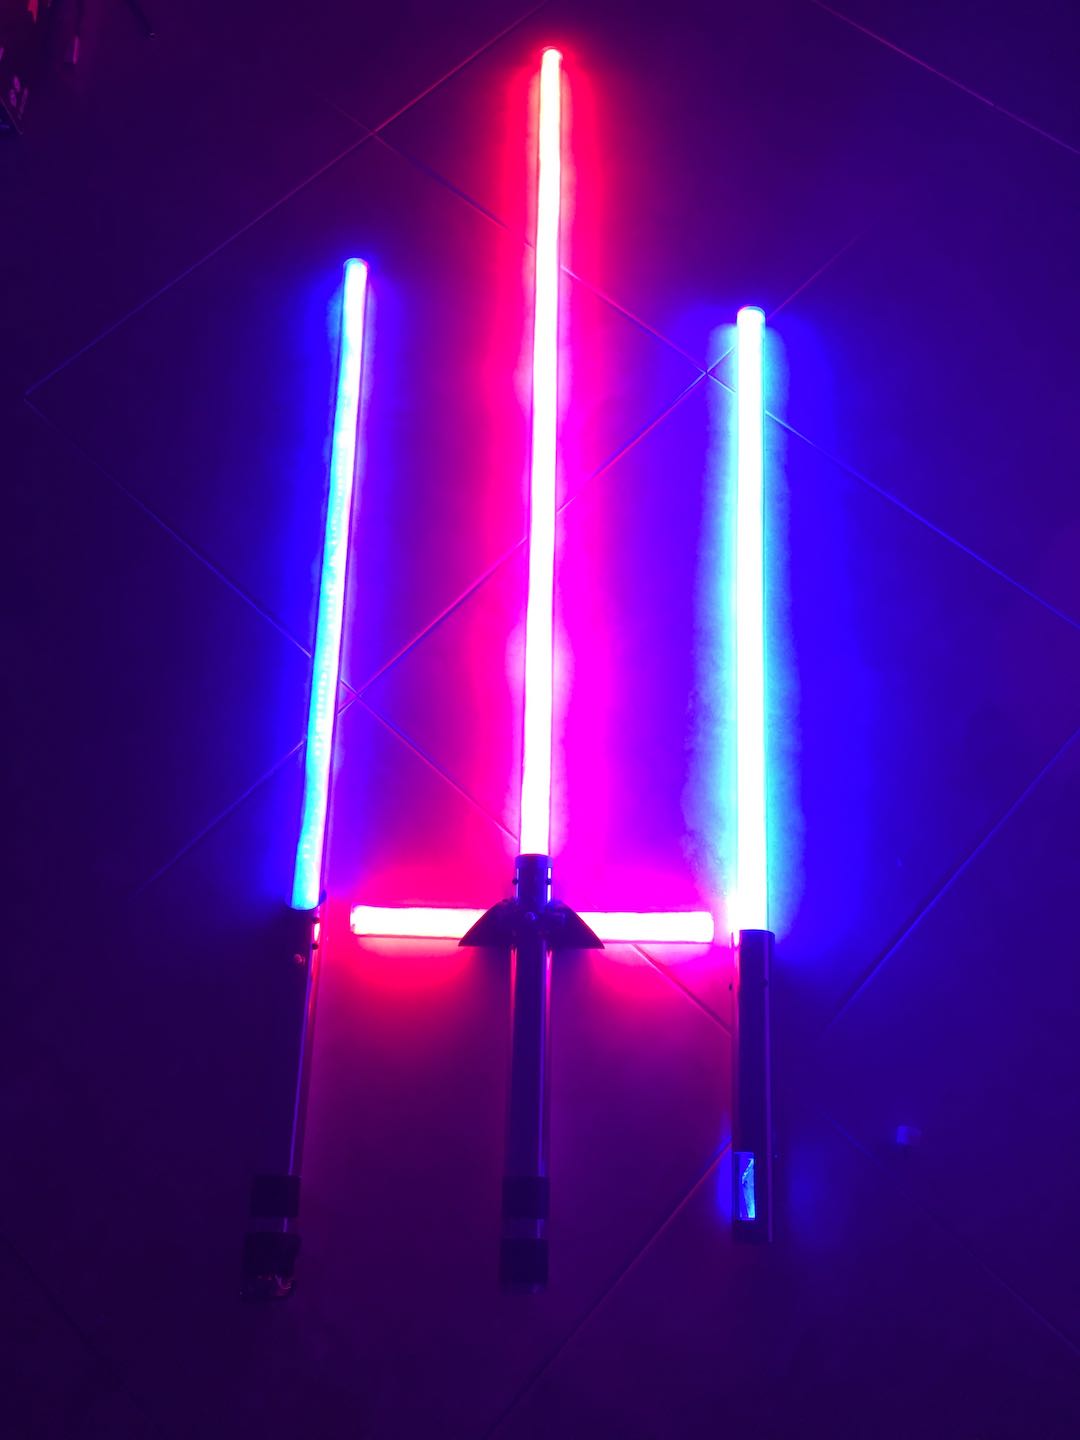
It took a bit of effort, but here’s the finished lightsaber v2. Somehow, I literally didn’t take any pictures of it by itself.
Comments