
Tower
Written 9-10-19
For our Physics 2 project, we each had to build a wooden tower based off the year’s SciOly rules. I built a couple of boomilevers in Muscatel (but wasn’t very good) but I never built a tower. Still, all the little tips and tricks I learned about in Muscatel would prove useful here.
Design
Since this was my first tower, I based my design off of other towers. I pretty much just drew a couple lines on paper so that the bottom was wide enough to stretch across the square in the test apparatus and the top would fit the loading block. For the cross bracing I just drew lines at an equal spacing so that the X’s formed were roughly smooshed squares.
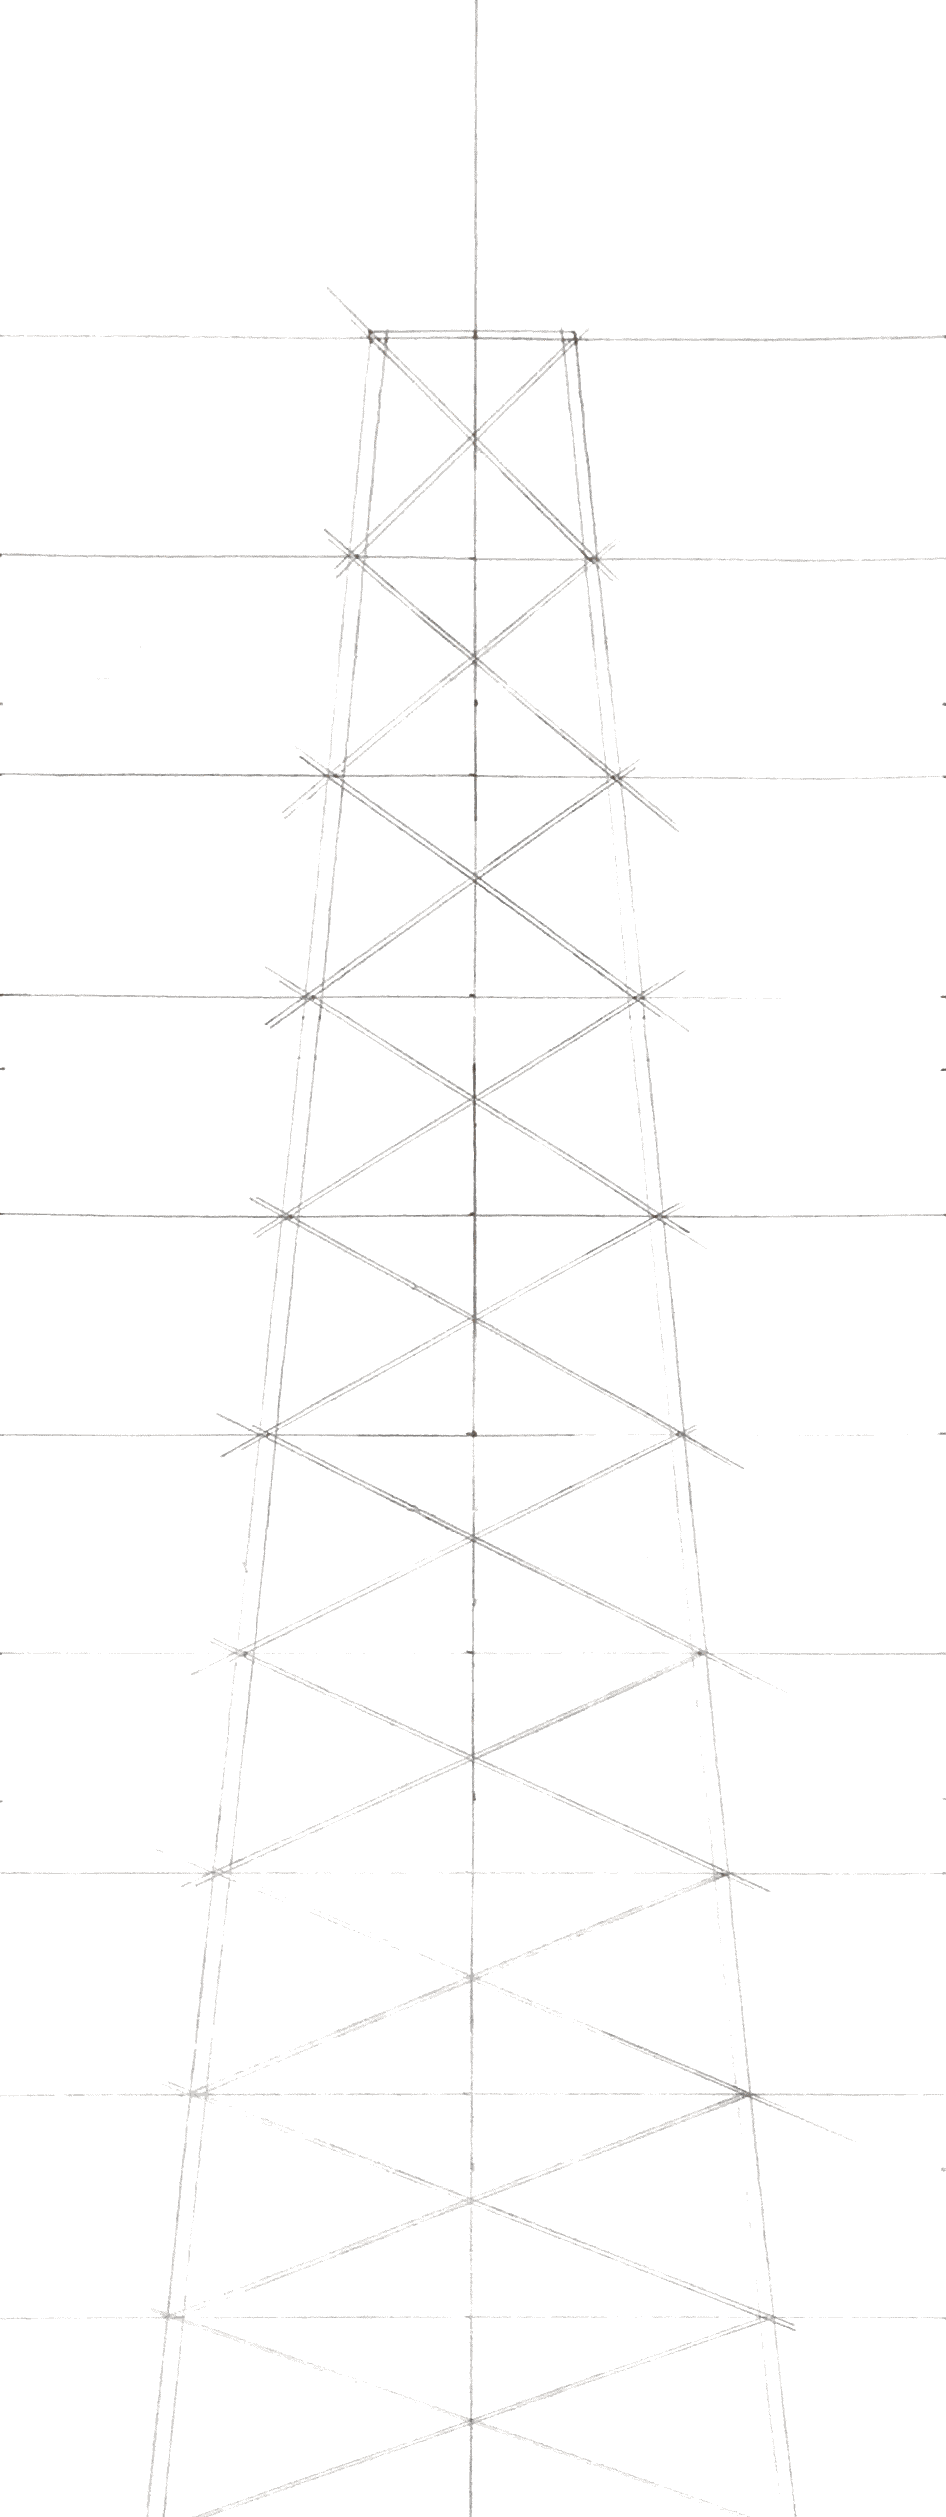
If I remember correctly, it had to be 50cm tall and stretch across a 20cm square hole. Rotating the tower 45° enabled making the bottom slimmer, so I could make it about 15cm wide instead of 20cm.
Build
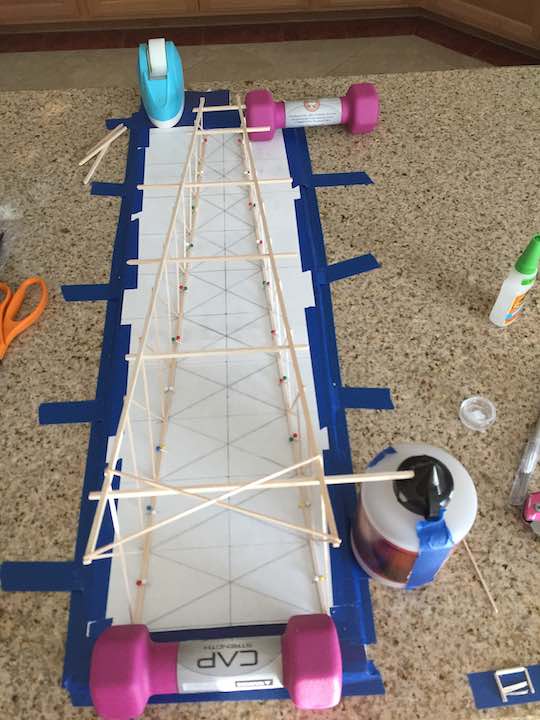
With a design finished, I proceeded to building the tower. The first step was picking the wood. I picked wood based on my intended mass of around 8g to balance maximum possible efficiency and availability of high quality balsa sticks. After a bit of searching through the piles of balsa sticks we were provided, I identified a couple 1.5g 1/8″x1/8″x36″ sticks for use as the main supporting structure and a couple of 0.5g 1/16″x1/6″x36″ sticks for the cross bracing. Next, I set up my kitchen countertop (flattest table I had) to make a tower.
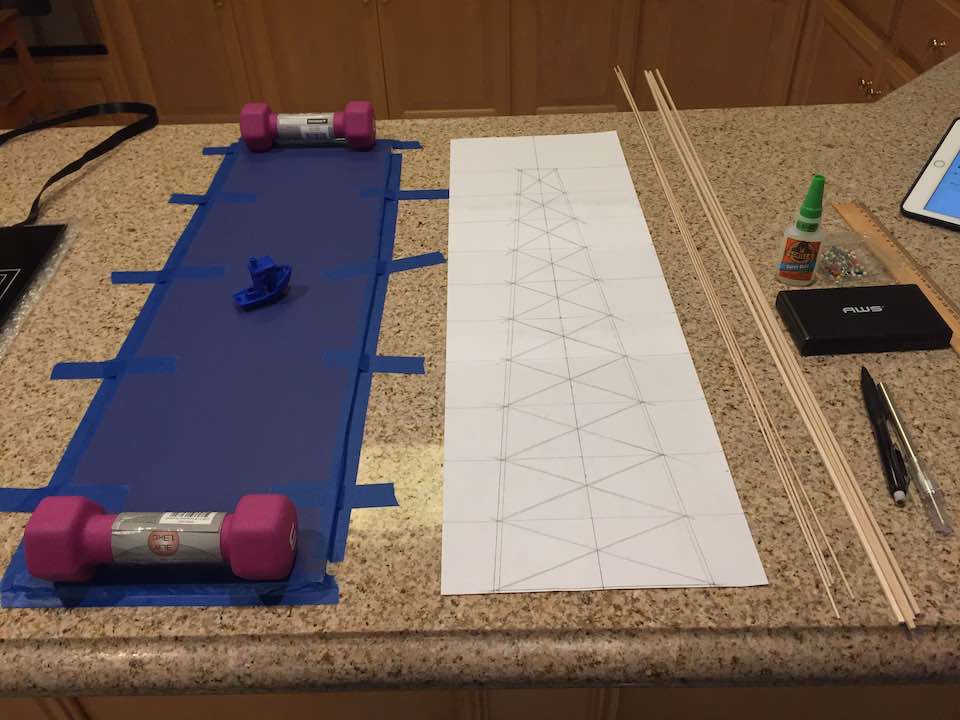
To stick pins into and provide a backboard, I used some foam poster board I had from awhile back. It wasn’t particularly flat, so I used some weights to hold it flat while I taped it to the table. For glue, I used the gel Gorilla Glue superglue because it’s thicker and fast drying. There’s specialized superglues out there but I didn’t bother. For its sharpness, I used an X-ACTO knife.
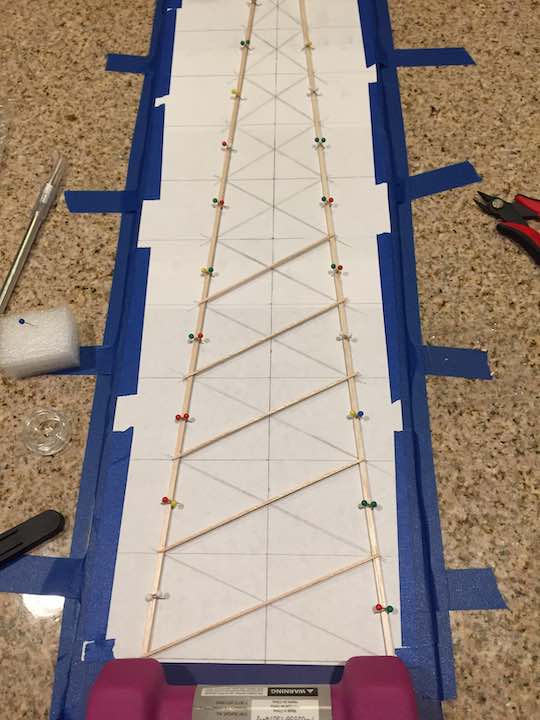

The gist of tower construction, for this relatively simple design at least, is to build two sides then stand them upright and connect them. To make each side, I started by cutting a 1/8″ stick to length and pinning it down, careful not to damage the wood in the process. Then I laid down the cross bracing in one direction first, and then in the other direction to complete the X’s.
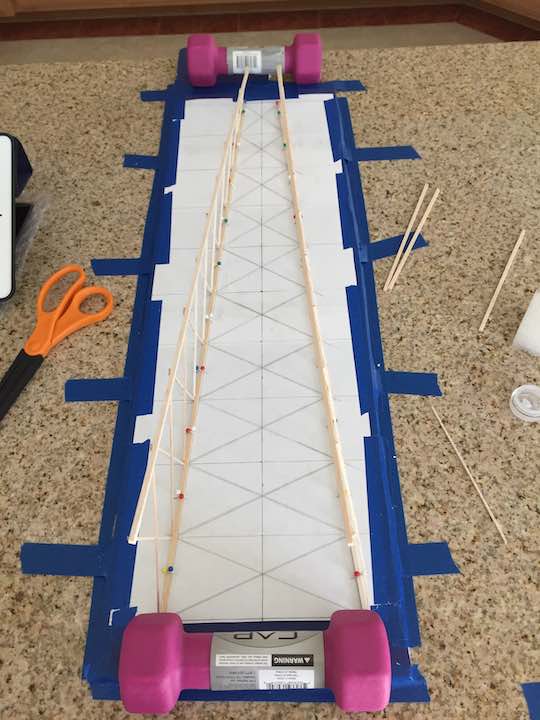
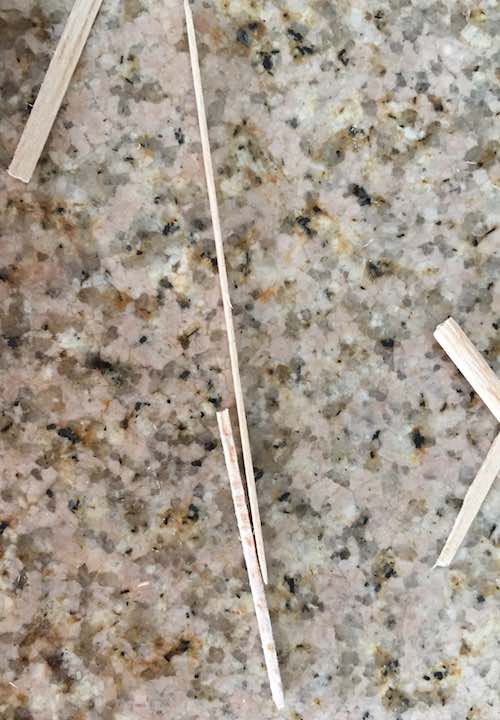
After making the sides, I stood them upright and pinned them down. That’s when I realized a crucial error in how I did the cross bracing. Since I laid the crosses in one direction first instead of a zigzag, this resulted in a slight twist in the two sides. To fix this I used some weights to push the sides into proper alignment. Then I placed the cross bracings connecting the two sides in the opposite direction to counteract twist. I also used extra 1/8″ sticks to hold the sides in place while I did the cross bracing. Another issue I had was running out of 1/16″ sticks for cross bracing and also the tower being too heavy, so I hand sanded some 1/8″ sticks down to ~1/32″ to do the remaining cross bracing.
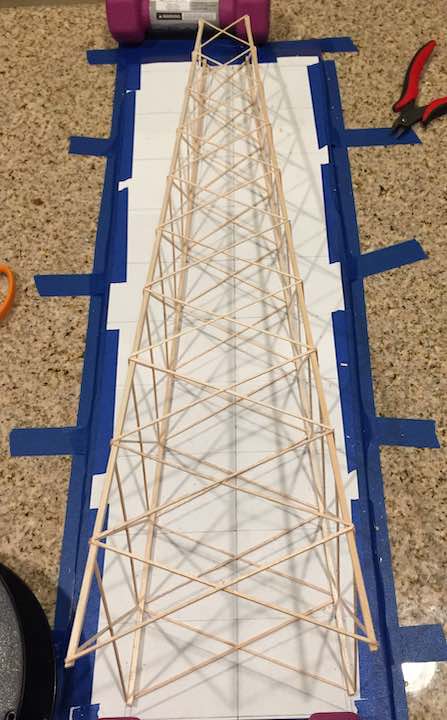
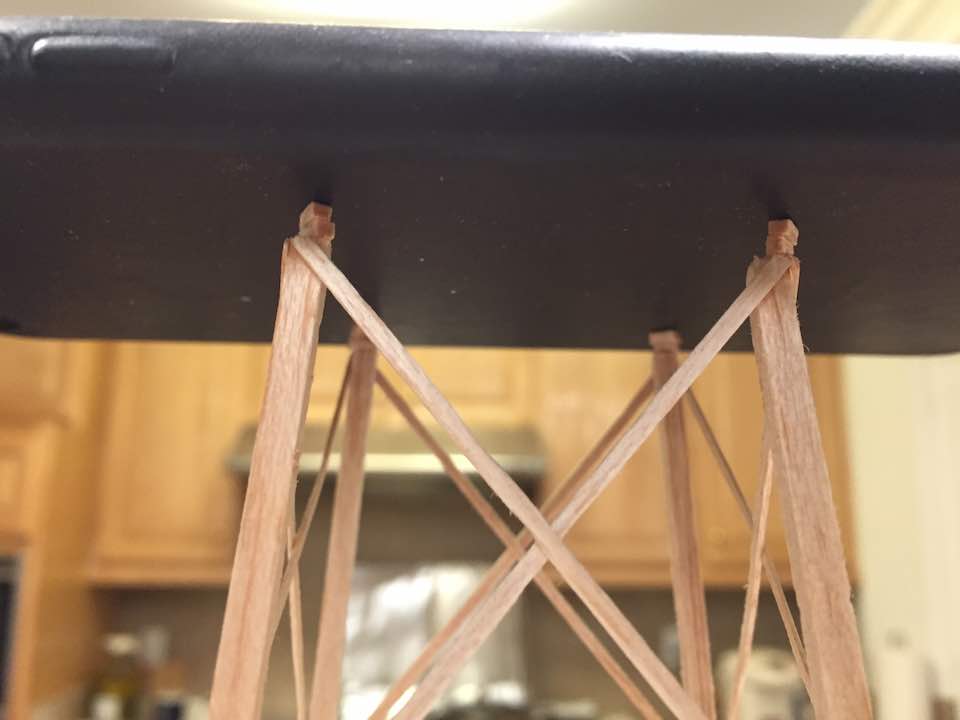
After finishing the cross bracing, I ran into another issue. I forgot to account for the slope of the tower when designing it, resulting in a slightly short tower. Using some scraps, I added a few mm to the top of the tower to get to the 50cm requirement. I also sanded the bottom and top to get it perfectly level.
Testing
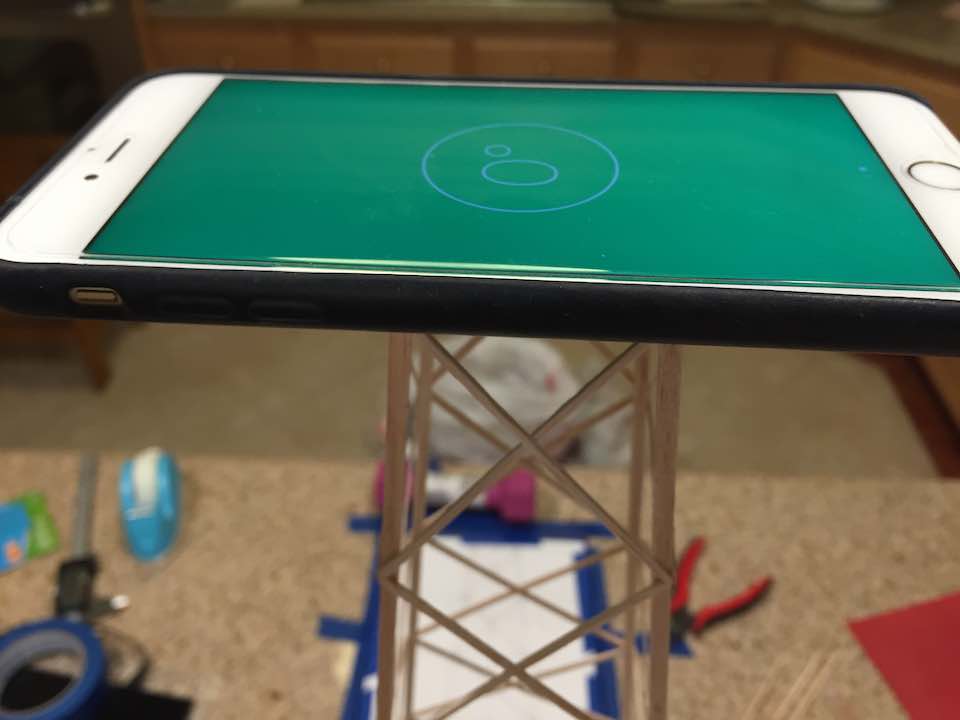
After letting the tower sit in my living room for two weeks because I built it too early, I finally tested the tower.
It performed rather admirably despite it literally being the first wooden tower I’d ever built. It was also the only wooden tower I’d ever built. Still it held just shy of 15kg before breaking – it broke a second after I placed the last 0.5kg weight – and had a mass of 8.4g, giving it an efficiency of 1720. If I remember correctly, my tower was 5th out of my entire class and the students who actually wanted to compete for the SciOly towers event.

Comments