
Tinkering With QTouch
After seeing QTouch in the Atmel datasheets countless times, I decided to take a closer look at it. It’s a really nice and simple way of working with capacitive touch sensors. I’m no expert at it, but this should be enough to get a basic example up and running.
I’ll be using an ATtiny817 Xplained Mini which I got for free from Arrow a few years ago. It’s a nifty little chip and the board has two QTouch buttons on it. I’ll also be using Microchip Studio which I prefer over MPLAB X IDE mostly because of my experience with Atmel Studio.
Atmel START
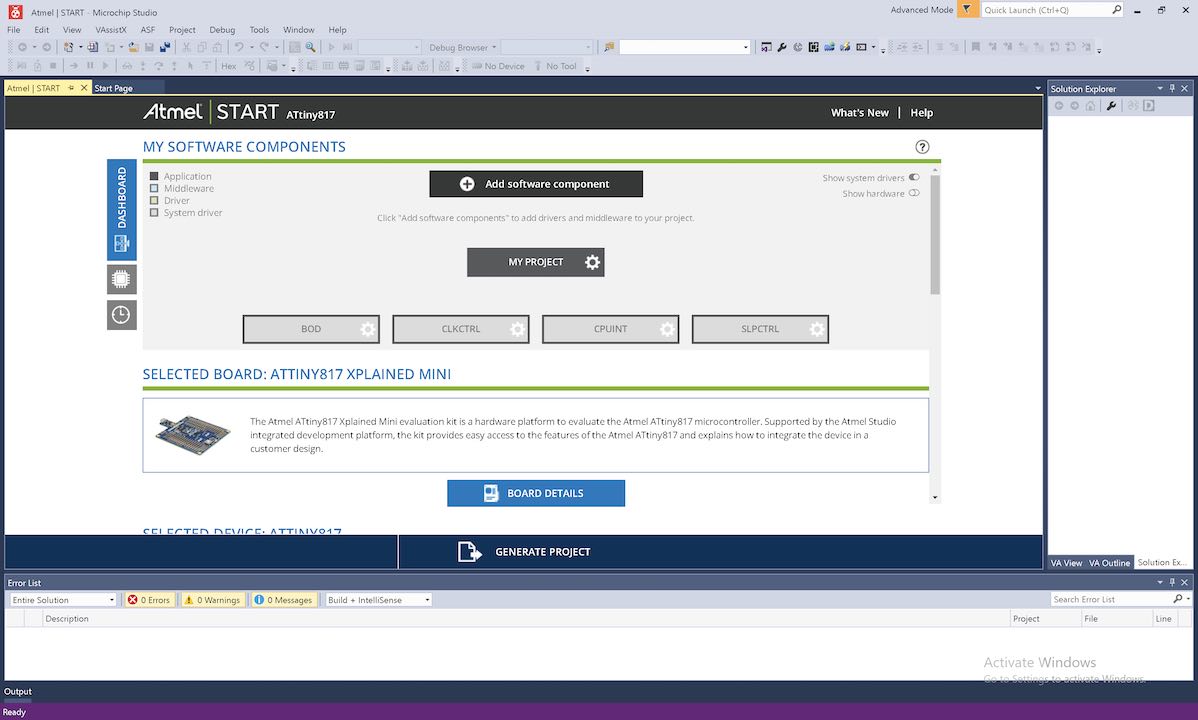
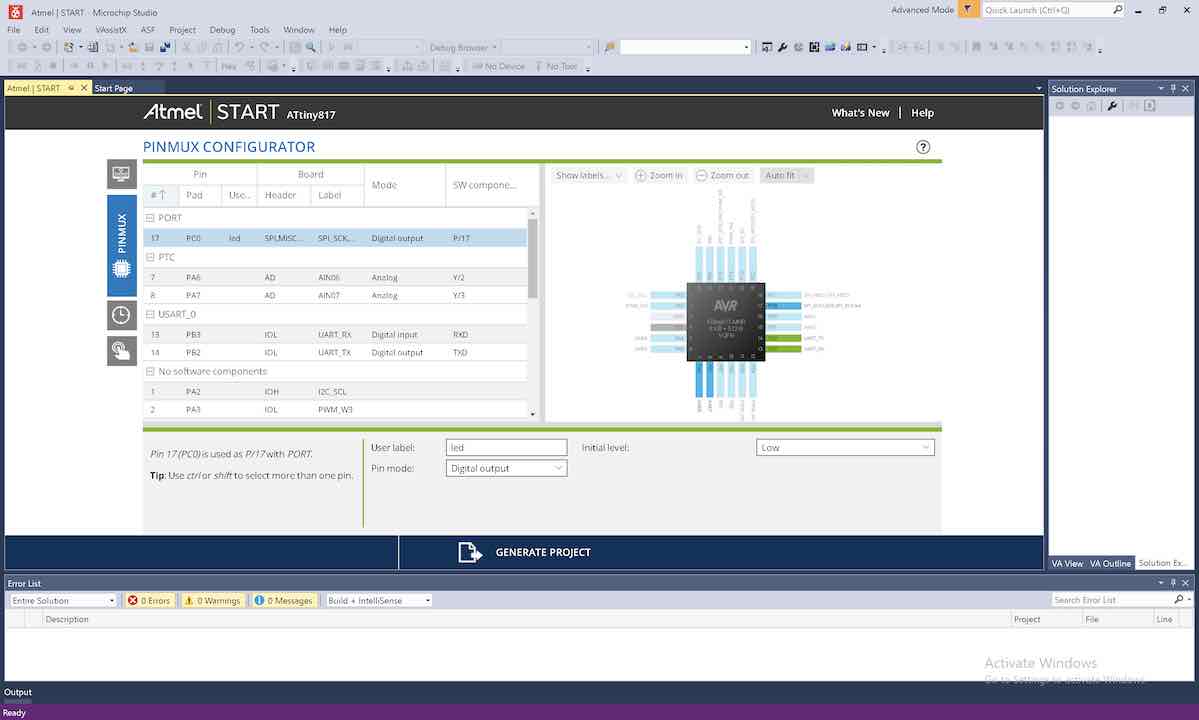
Similarly to STM32CubeMX, Atmel START provides a really easy way to quickly configure all the peripherals you need and start developing your solution in no time. You can do it within any browser, but you can also navigate to “File > New > Atmel Start Project” to do it within Microchip Studio. Once your chip/board is selected, it should look like this.
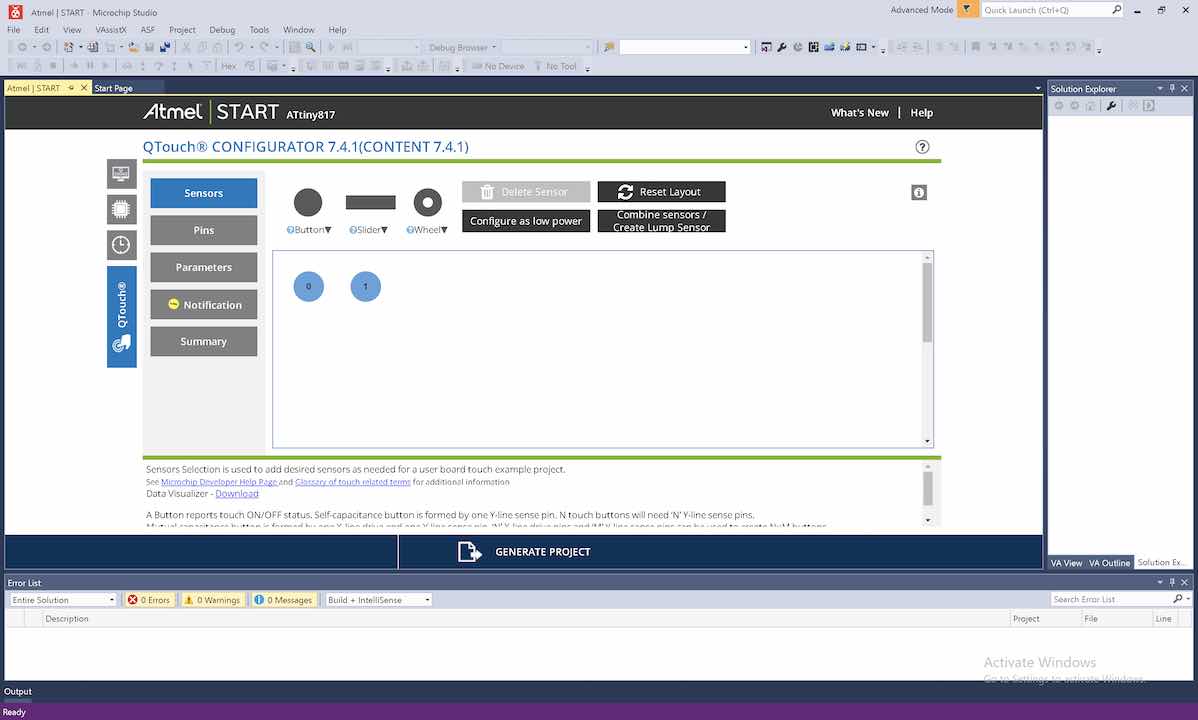
The ATtiny817 has a default prescaler on its clock so I disabled it in CLKCTRL. Next add the “QTouch Library” under “Add software component”. Open up the new QTouch tab and add in the sensors you want. It’ll ask to change the clock settings which you should accept. From what I can understand, the RTC is setup to periodically trigger some processing.
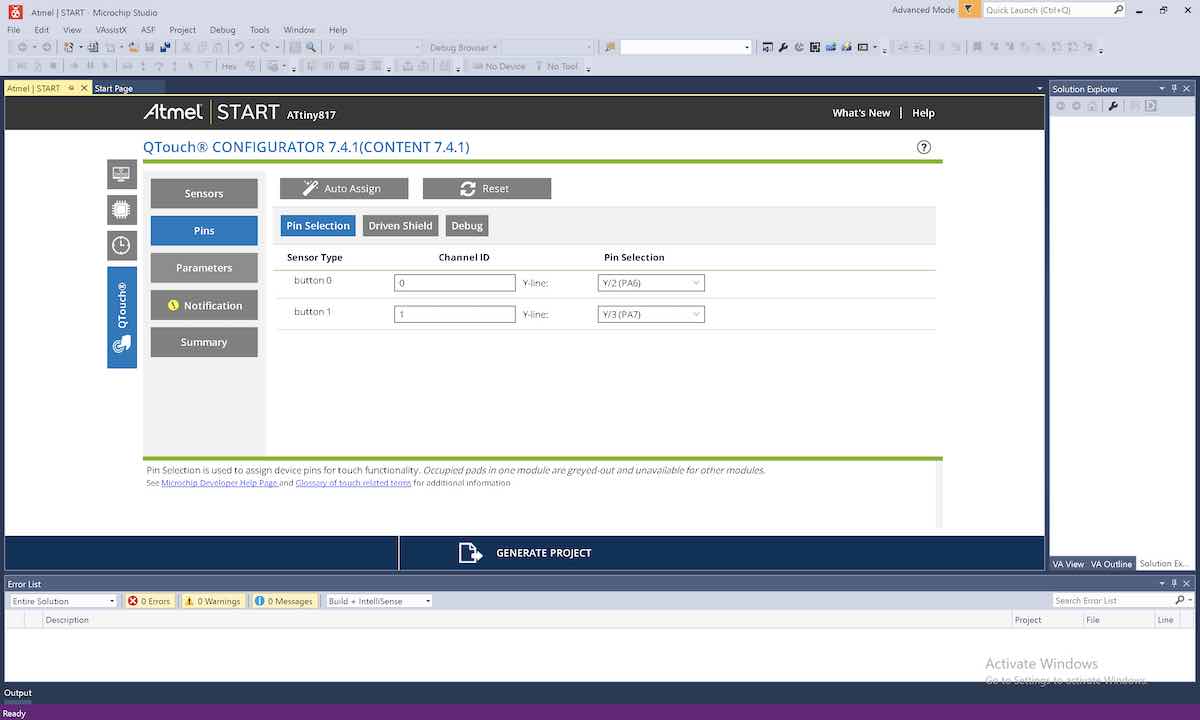
Next select the appropriate pins for your sensors. Also disable data streaming in the “Debug” tab unless you want to use the data visualizer which you can learn more about here.
There’s a lot of other settings in the configurator to make things work better but I won’t be going over those.
Next let’s add the onboard LED and some UART debugging. printf support takes up more memory and processing but it is quite convenient for debugging.
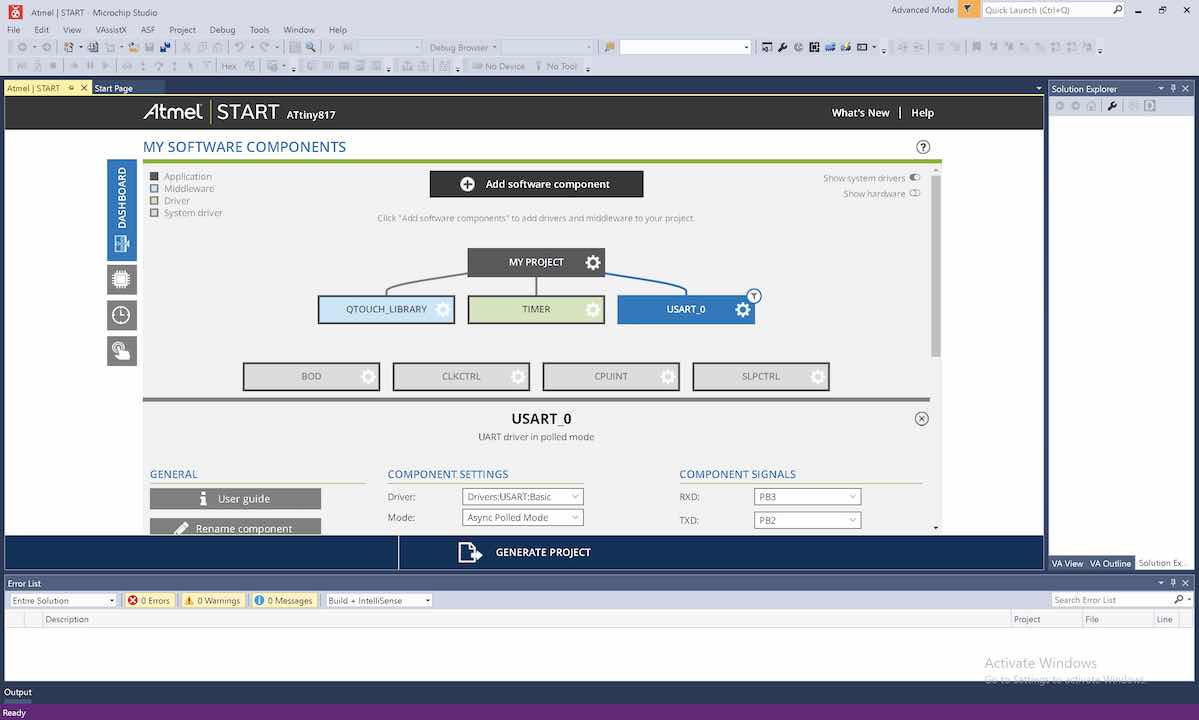
Finally click “Generate Project” to create your project.
Microchip Studio
Just about all of the code you need to look at to figure out how to use QTouch is in examples/src/touch_example.c. In fact, it looks like example code for other peripherals is also stored in this folder.
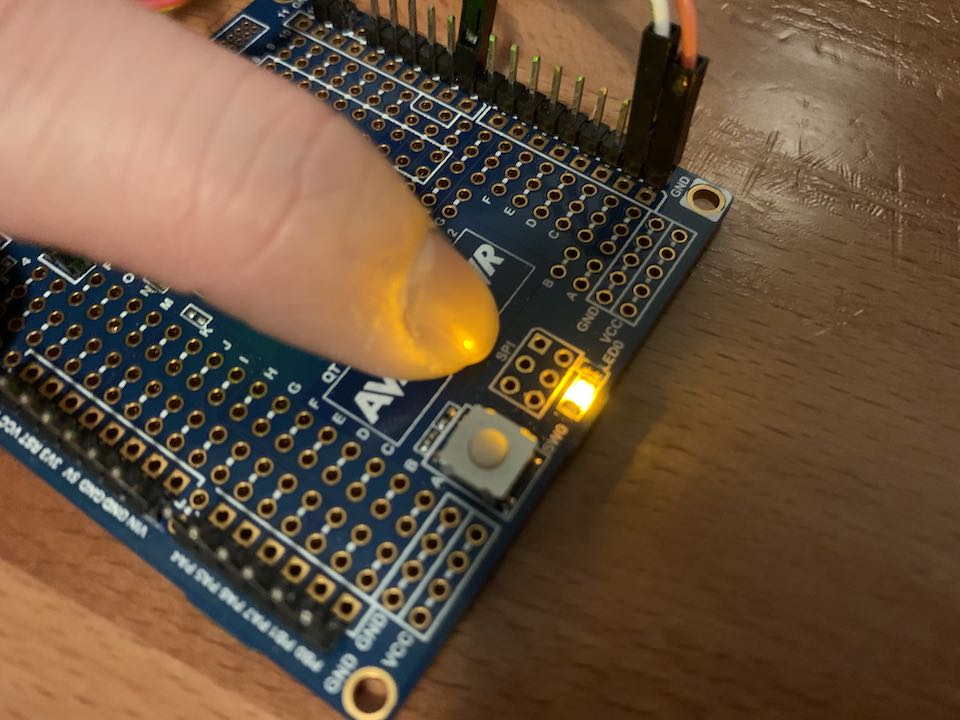
The following code I wrote in main.c lights up the LED when both buttons are pressed. The green “Start Without Debugging” button is basically just like Arduino’s “Upload” button.
#include <atmel_start.h>
#include <stdio.h>

extern volatile uint8_t measurement_done_touch;

int main(void) {
    atmel_start_init();
    cpu_irq_enable();

    while (1) {
        touch_process();
        if (measurement_done_touch == 1) {
            measurement_done_touch = 0;
            led_set_level((get_sensor_state(0) & KEY_TOUCHED_MASK) && (get_sensor_state(1) & KEY_TOUCHED_MASK));
            printf("Measurement done!\n");
        }
    }
}
Other Sensors
Here’s the other sensor types that I experimented with. Here’s an application note about QTouch implementation.
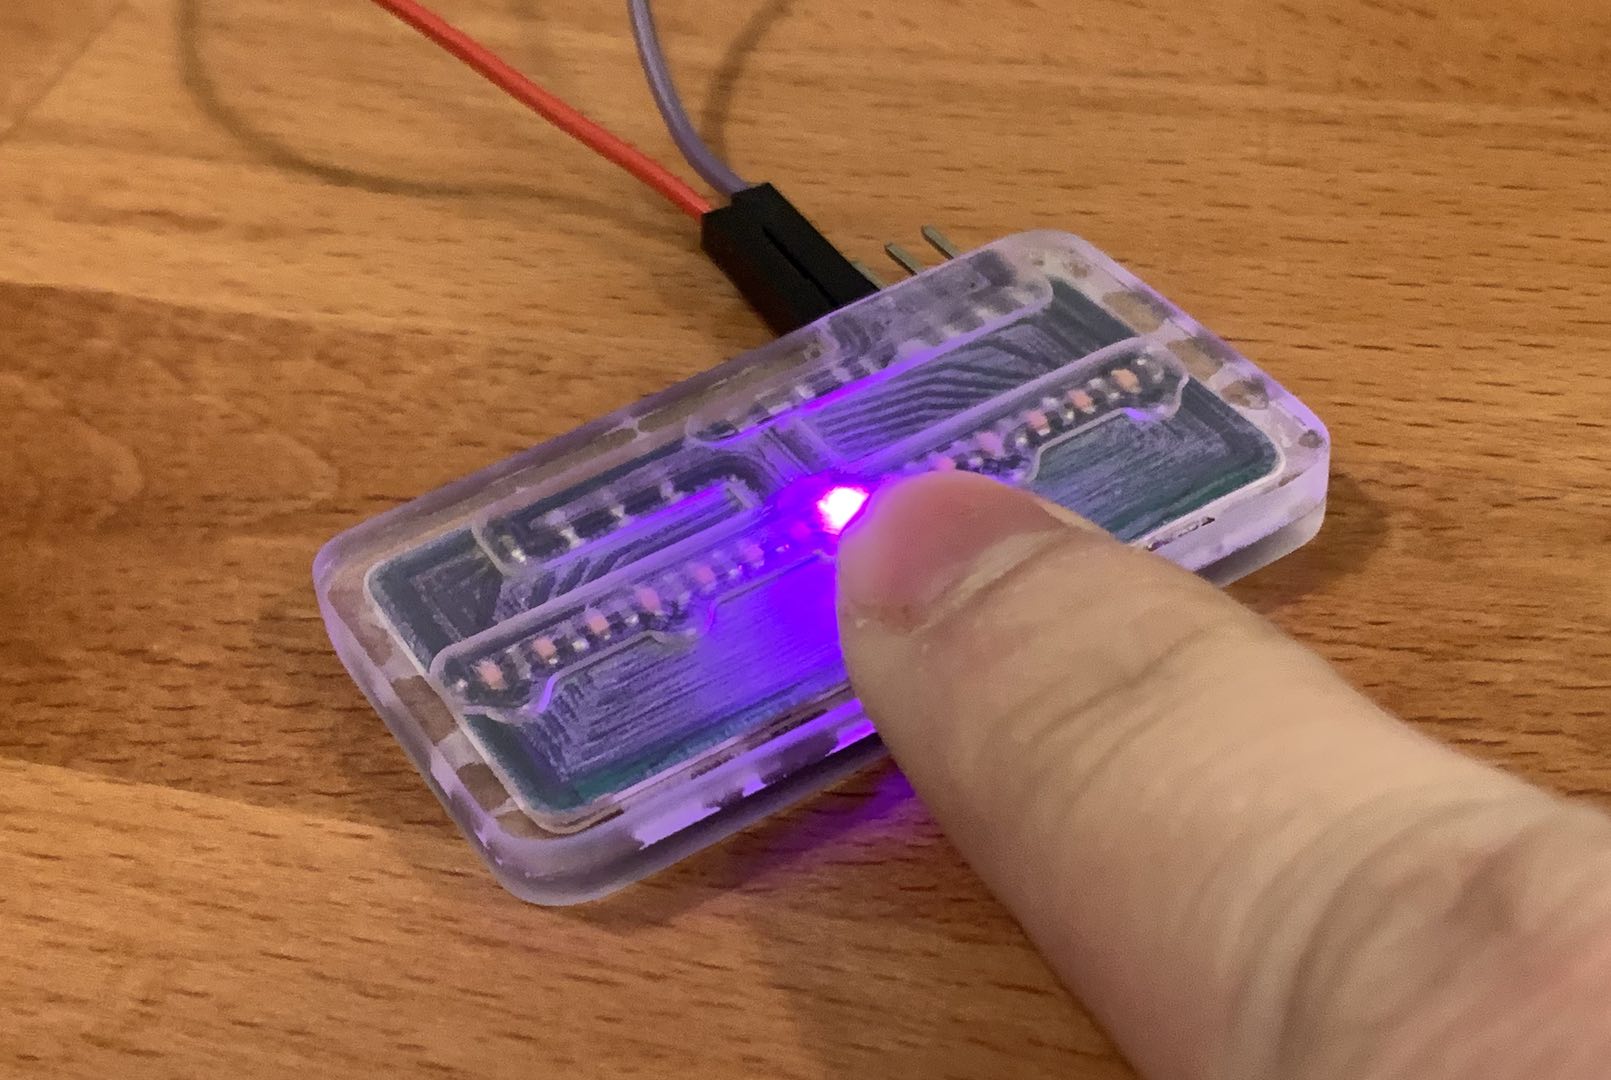
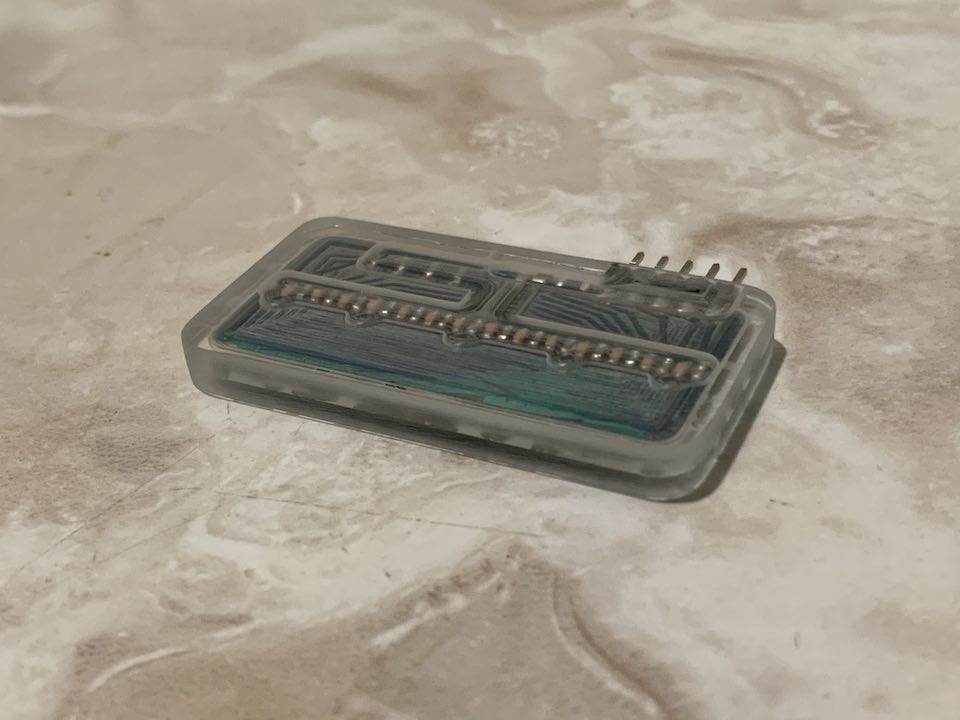
Slider/Wheel
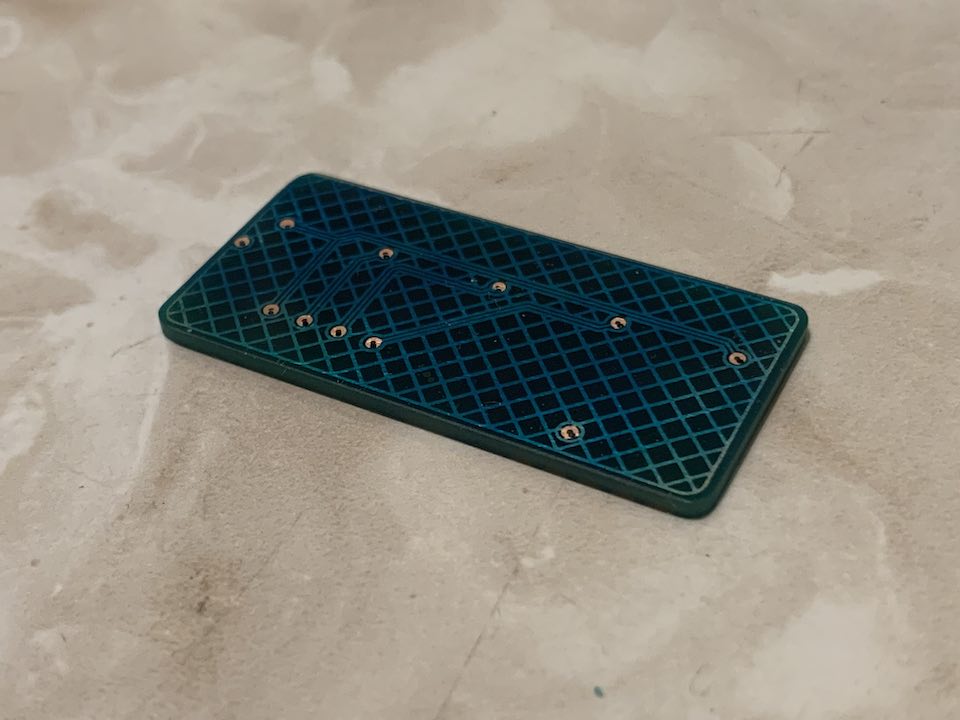
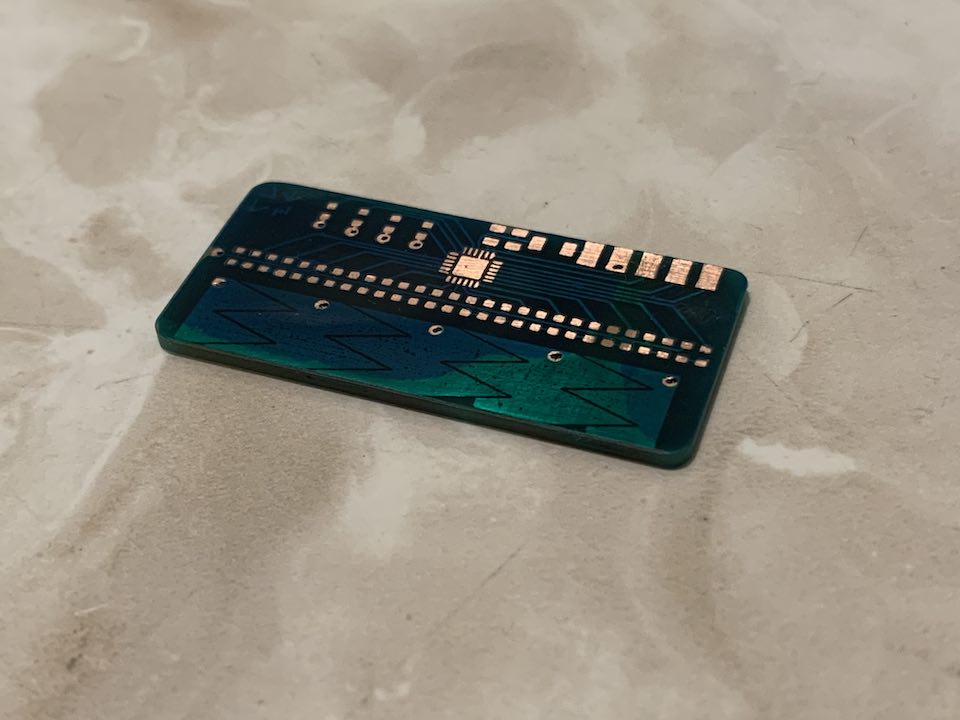
Getting a hatched ground plane and capacitive slider footprint working in KiCad was difficult, but I was able to get a demo running. Altium, which I just realized has student licenses, apparently has builtin support for what I was doing so I’ll check that out later. It took me longer than I’d like to admit to realize that using the half electrode setup from the application note is actually a wheel.

As usual, the functions of interest are in touch_example.c.
get_scroller_state()
get_scroller_position()
2D Surface
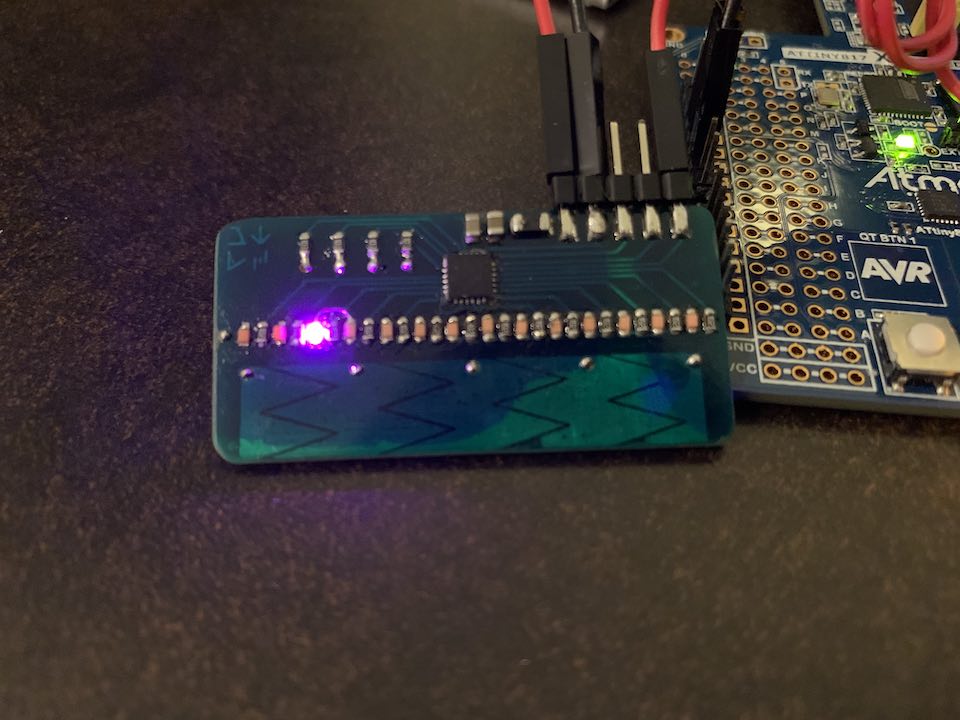
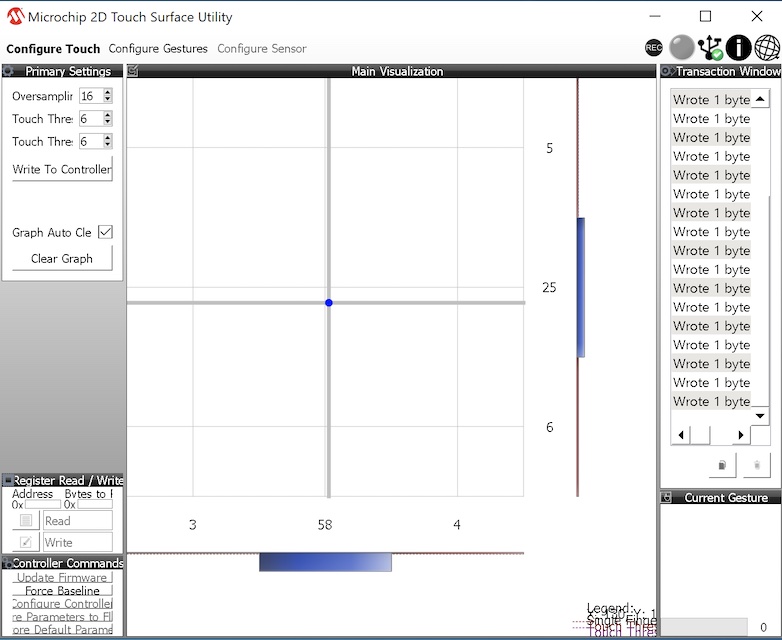
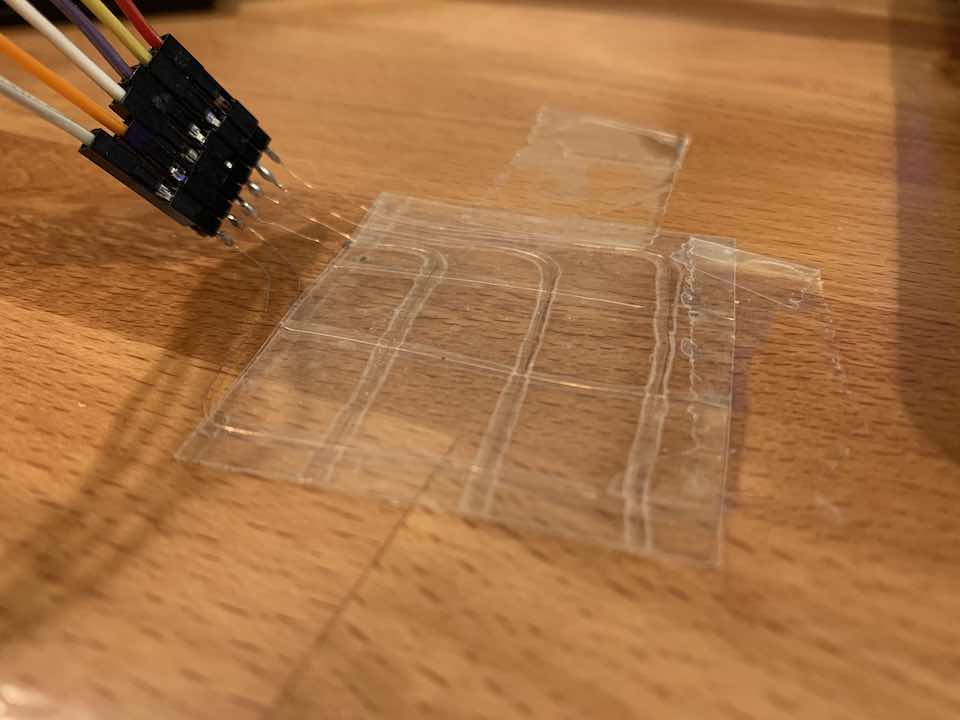
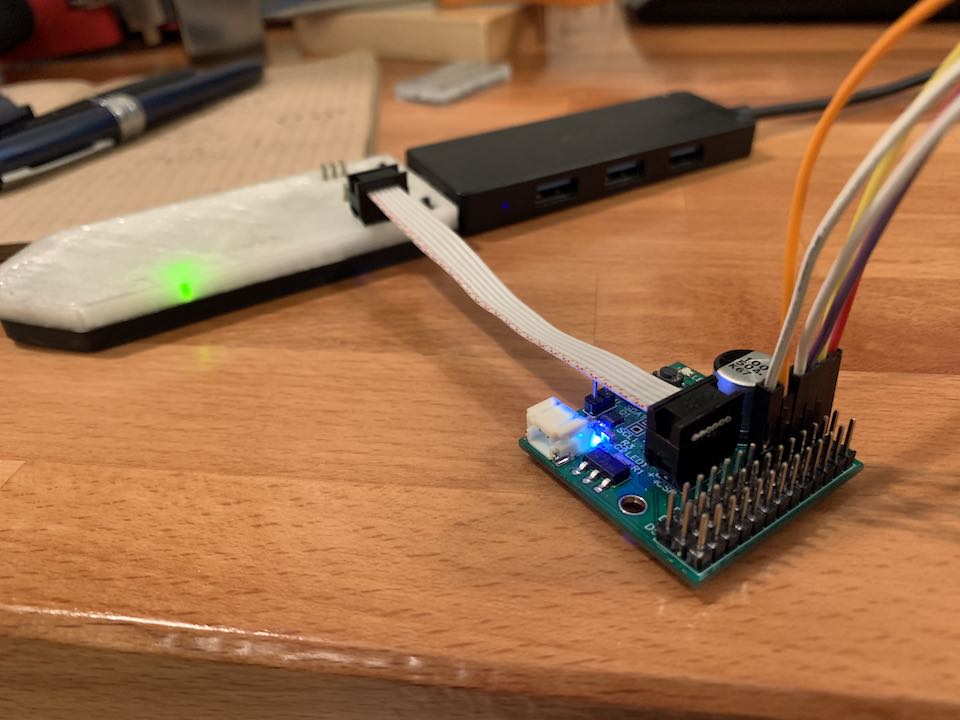
For some reason I didn’t get any pictures from when I made a super rudimentary 2D Surface sensor from tape and copper wire, so I made another. The ATtiny817 doesn’t support it, so I used the ATmega328PB board I made for Mission Possible a few years back. I can say that it definitely doesn’t not work.
Comments