DIY Tag-Connect Cable
Disclaimer: The original design is patented. This post is meant as a purely educational exploration into the manufacturing process of a clever invention. By no means should my method be used in any commercial capacity. Even personal use is of questionable legality. Please support the original inventor.
While looking through KiCad footprints, I came across the curious Tag-Connect ones. Upon further research, I found out they were an extremely clever alternative to bulky and expensive programming headers on PCBs. However, each cable costs around $40. The basic concept was rather simple, so I figured I’d try my hand at making one.
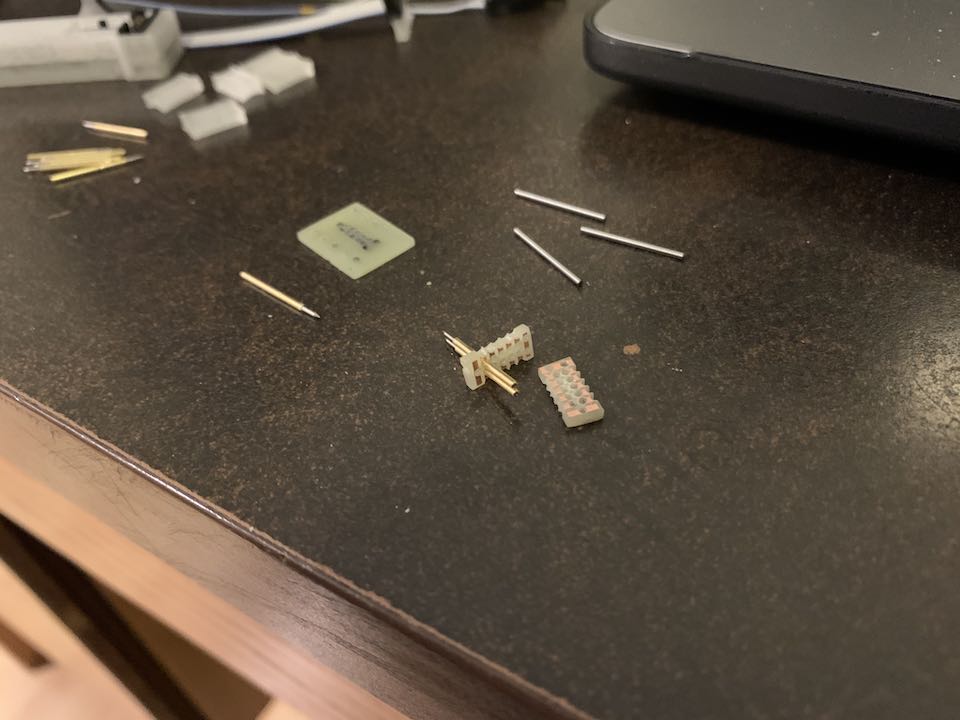
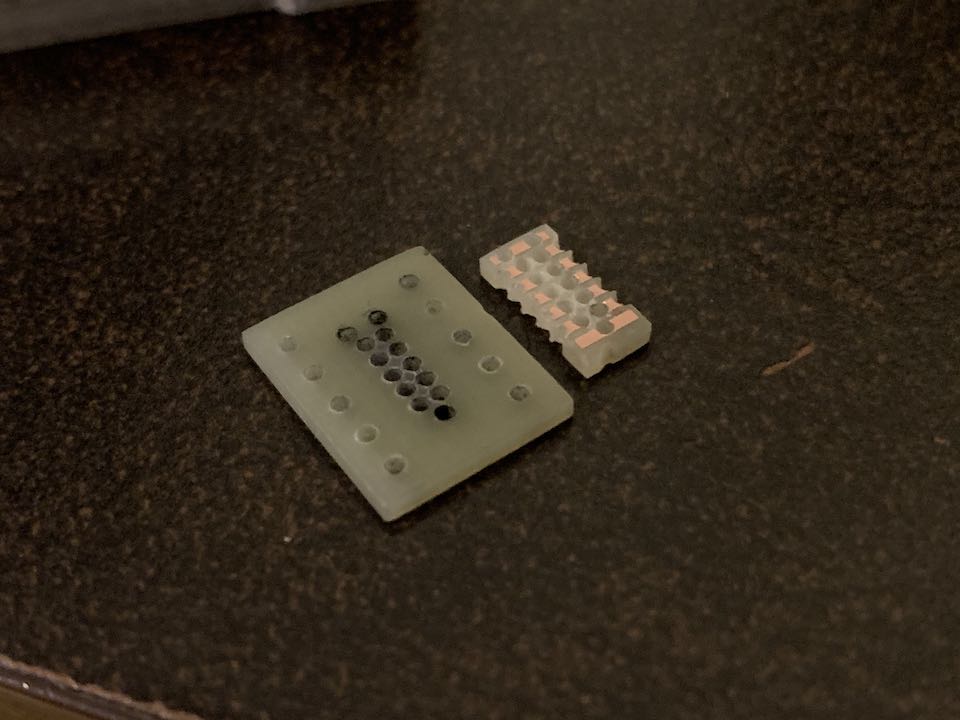
The basic design involves using two PCBs to maintain the proper spacing between the pogo pins. Since I needed maximum accuracy, I dusted off my CNC router which I hadn’t used in probably a year.
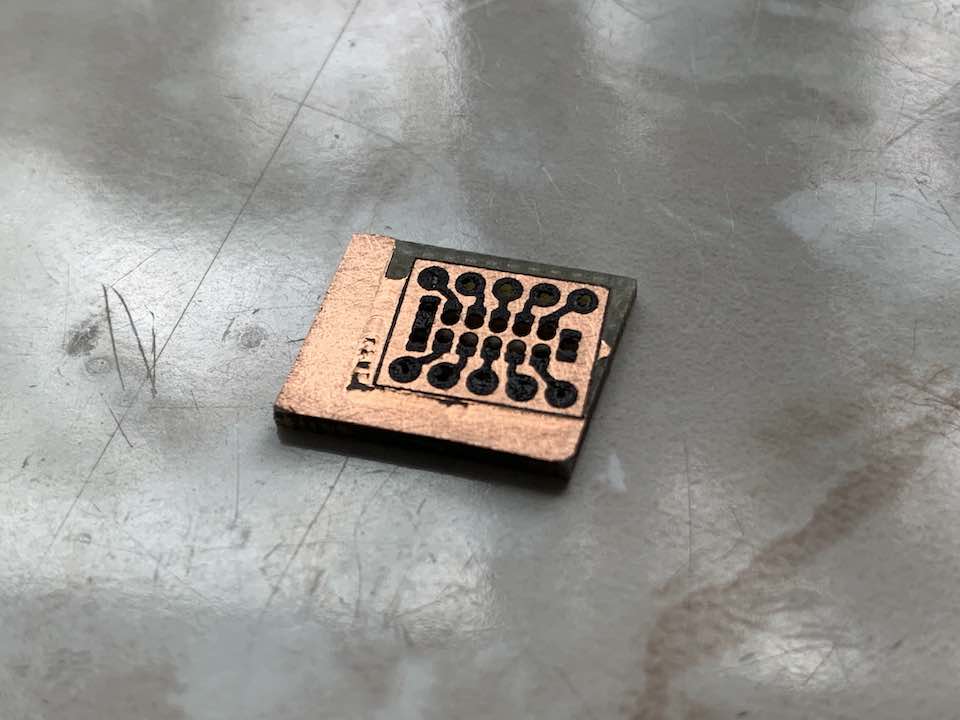
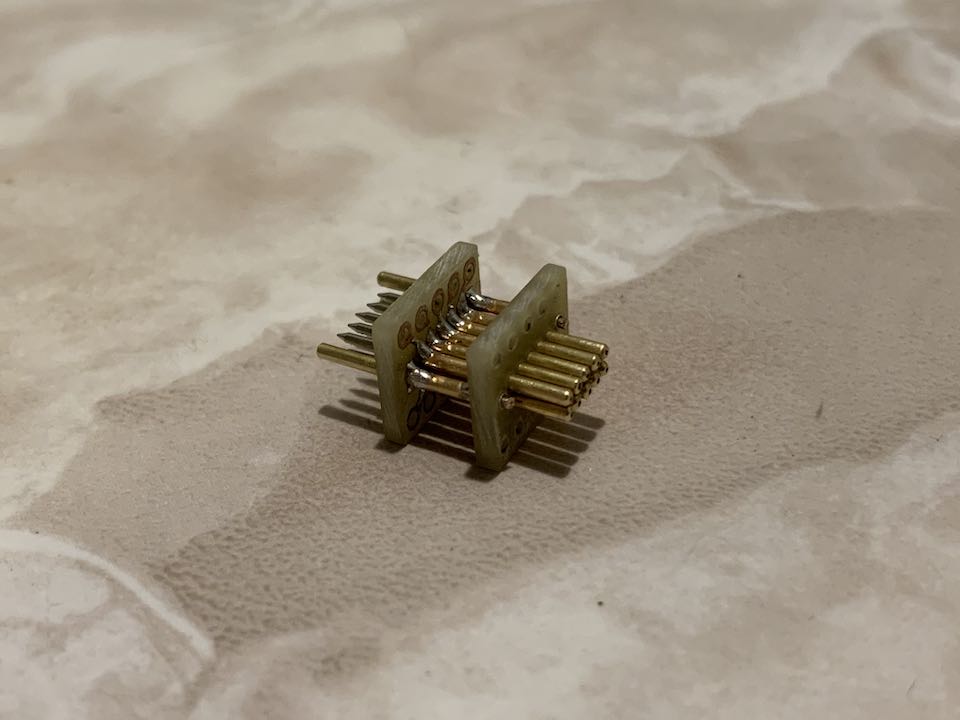
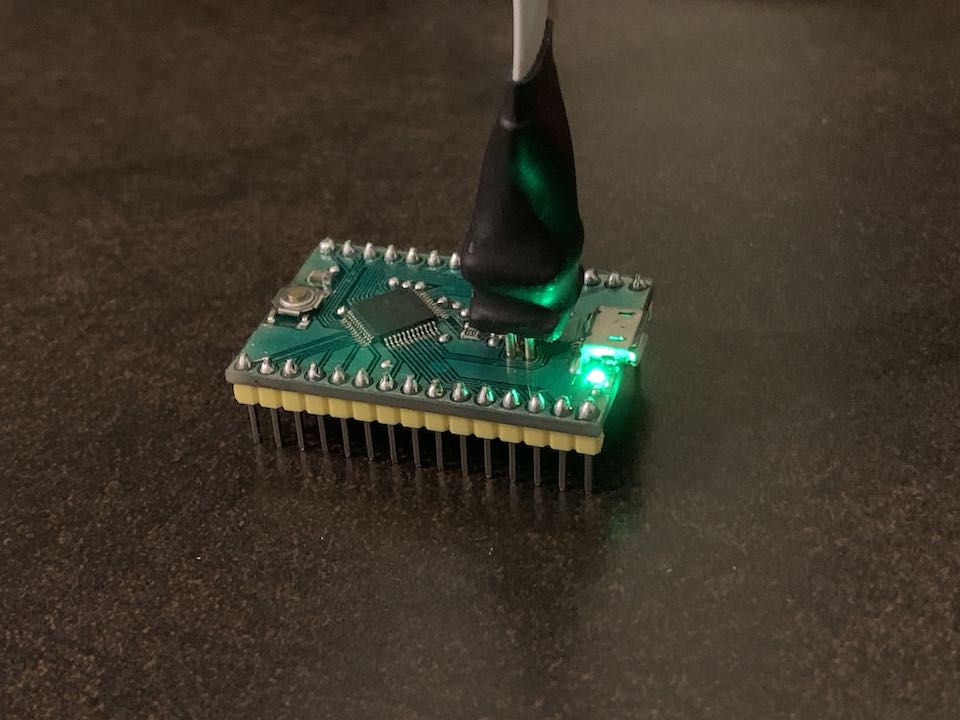
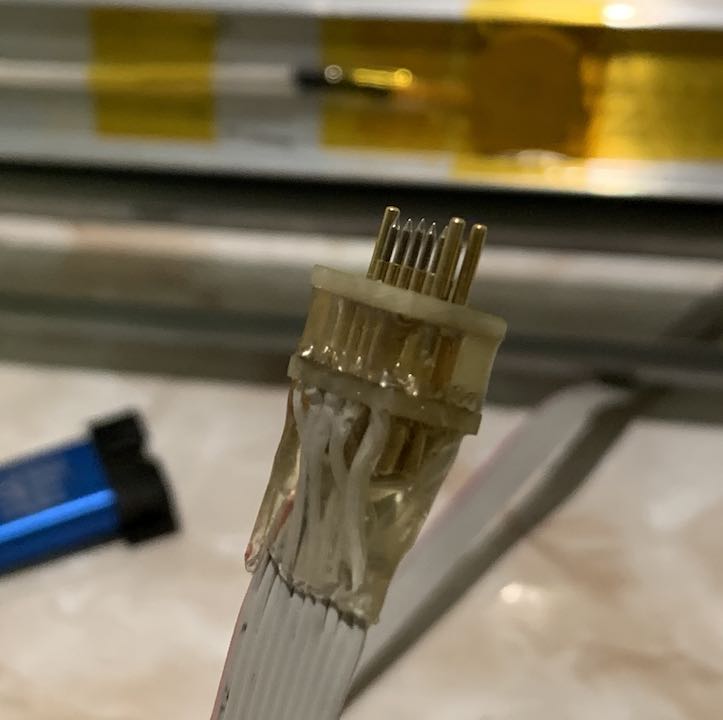
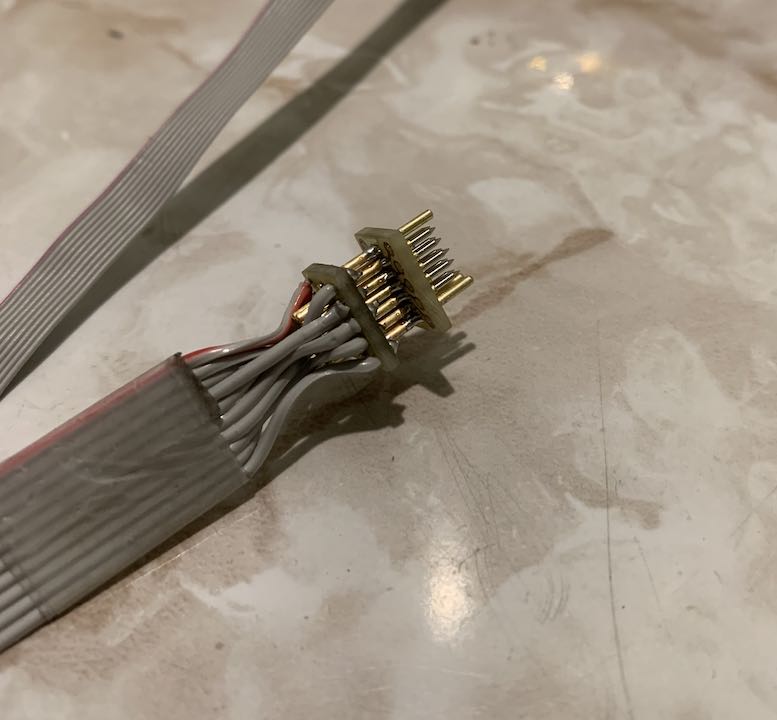
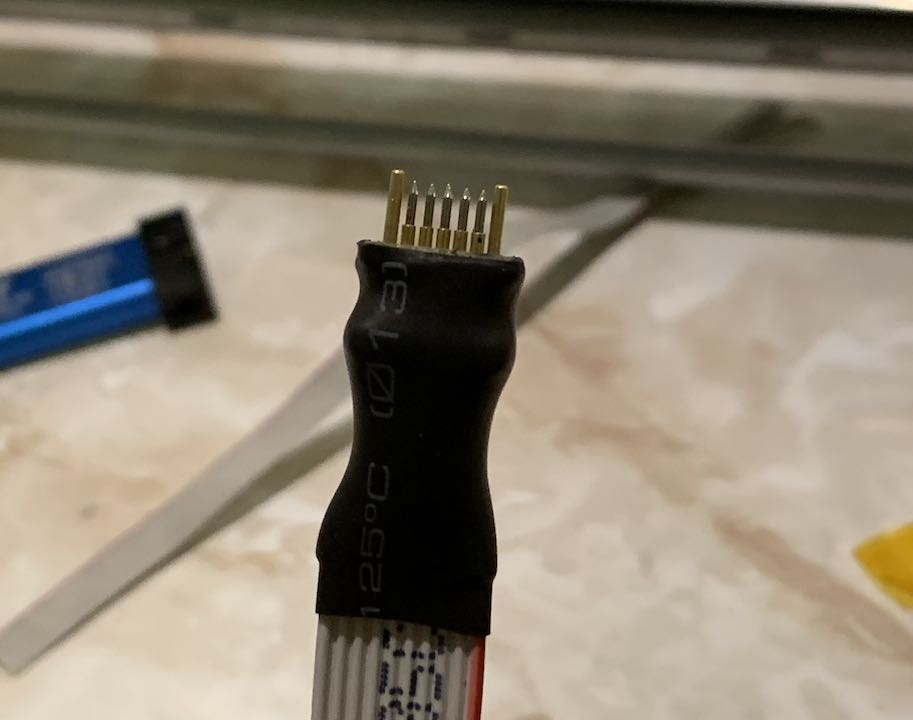
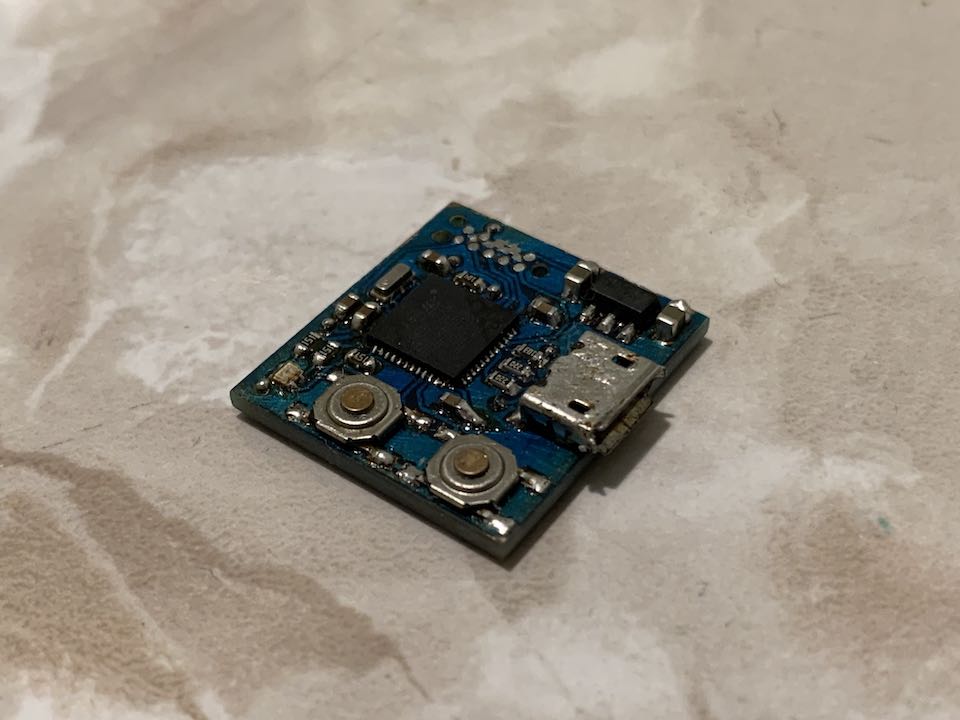
After building my custom ST-Link V2-1’s, I decided to build a slimmer one. I’d also use an unbroken 1.0mm drill bit this time.
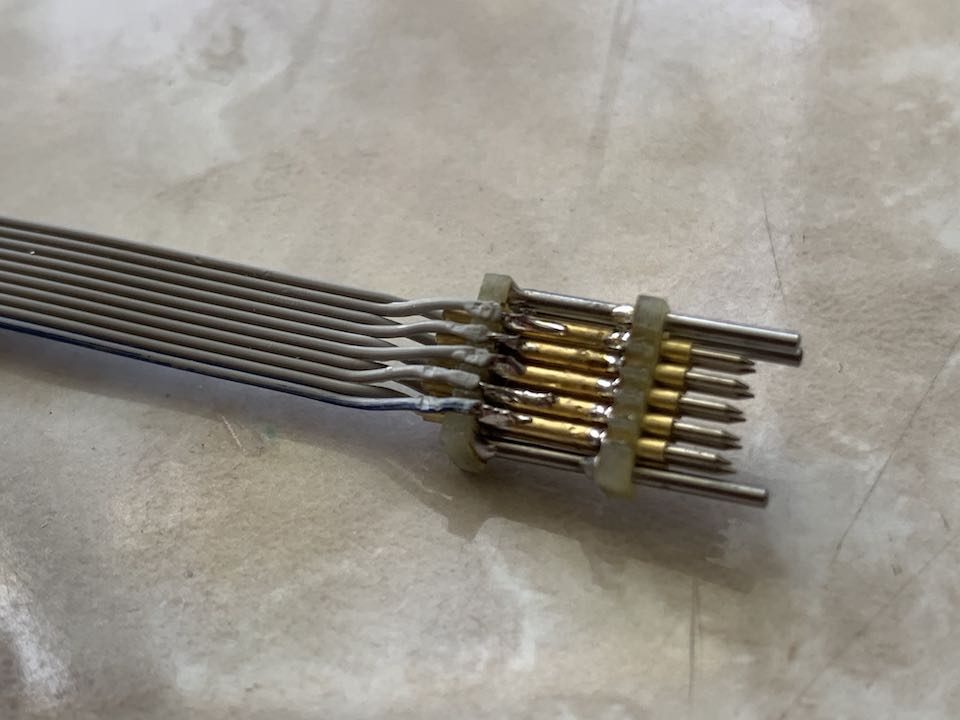
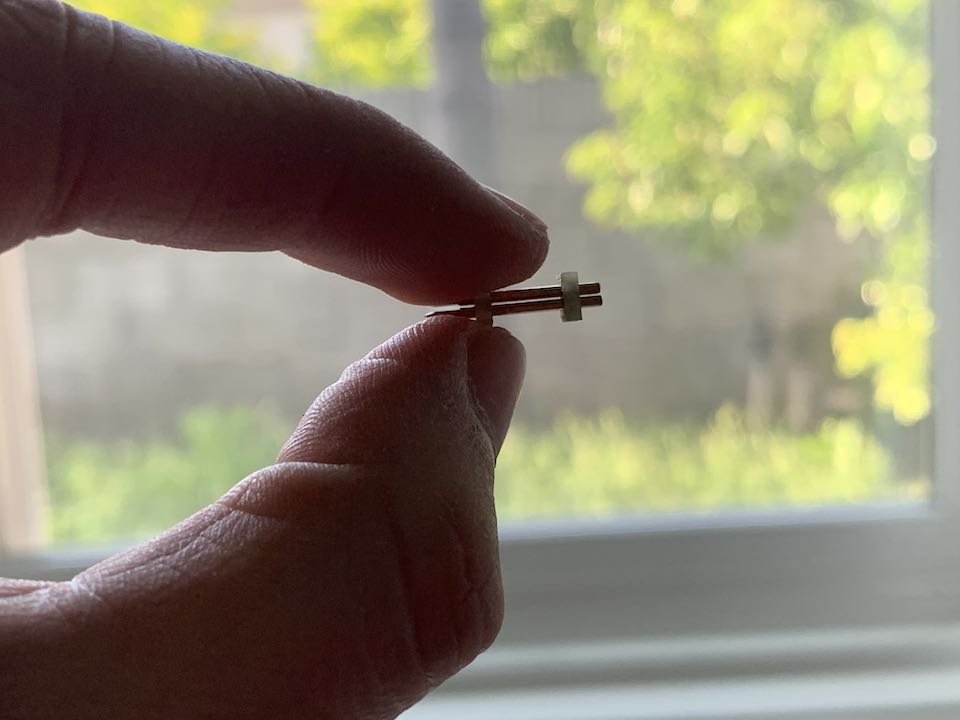
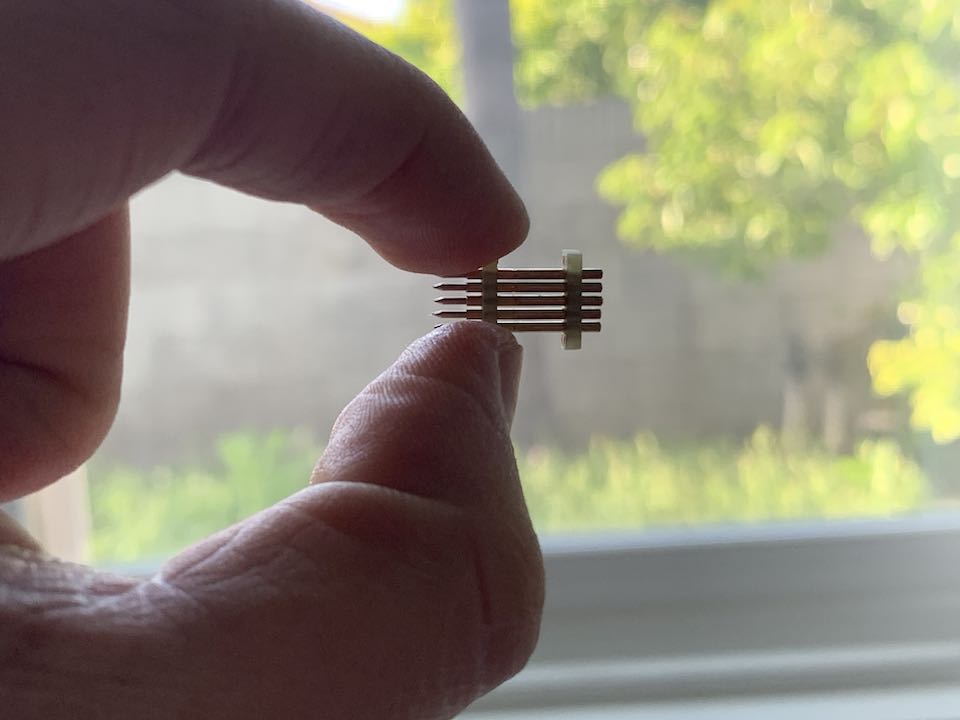
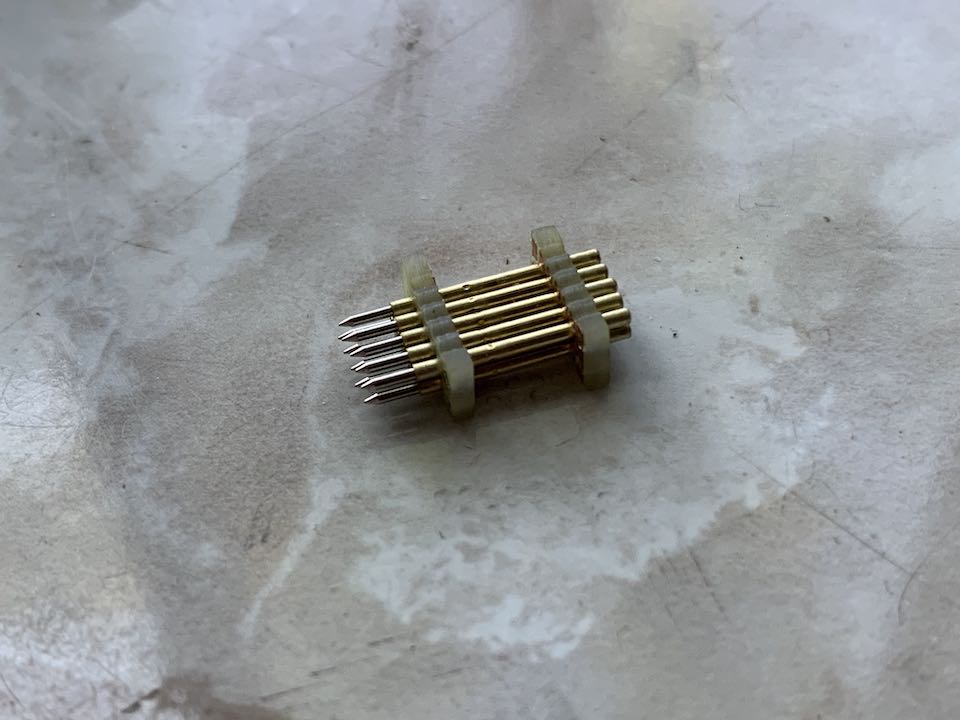
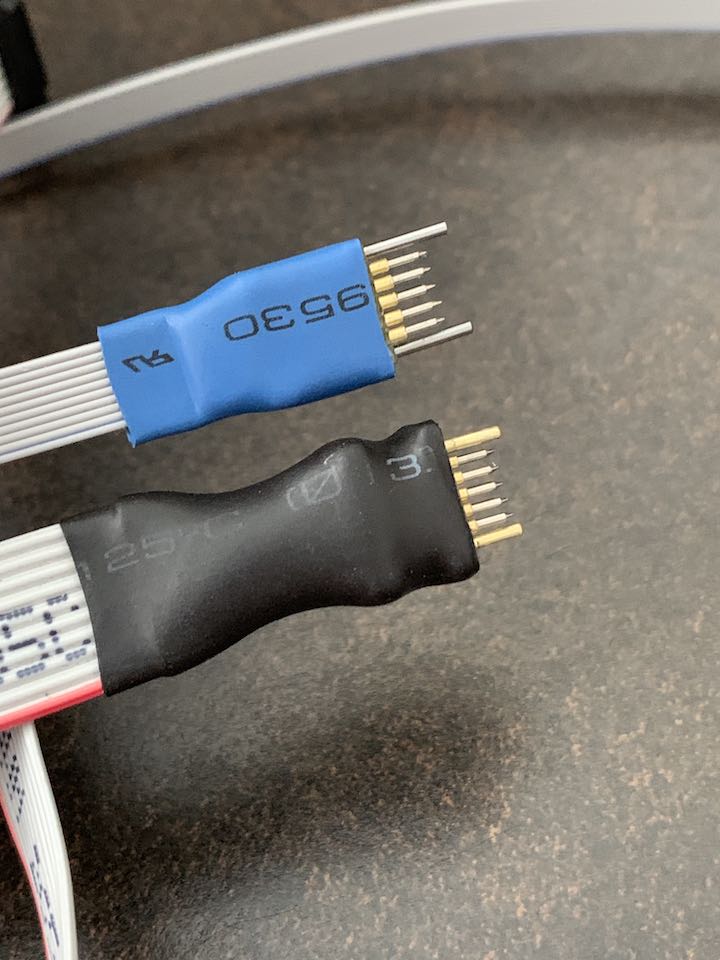
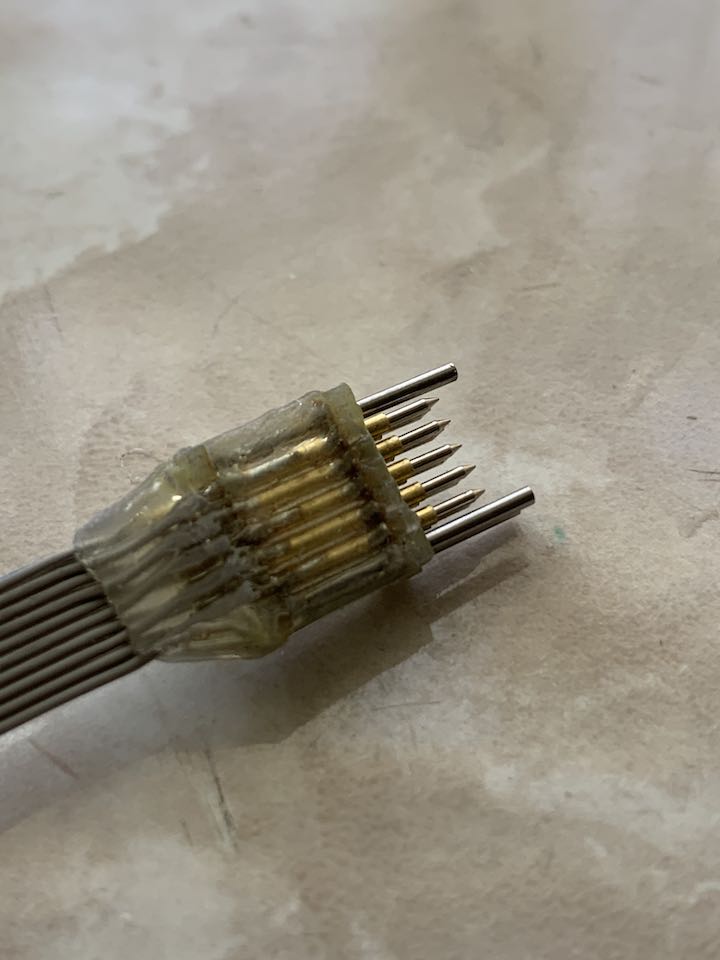
I even built a 6-pin one for AVR programming. I also use it for SWD when I don’t need the UART.
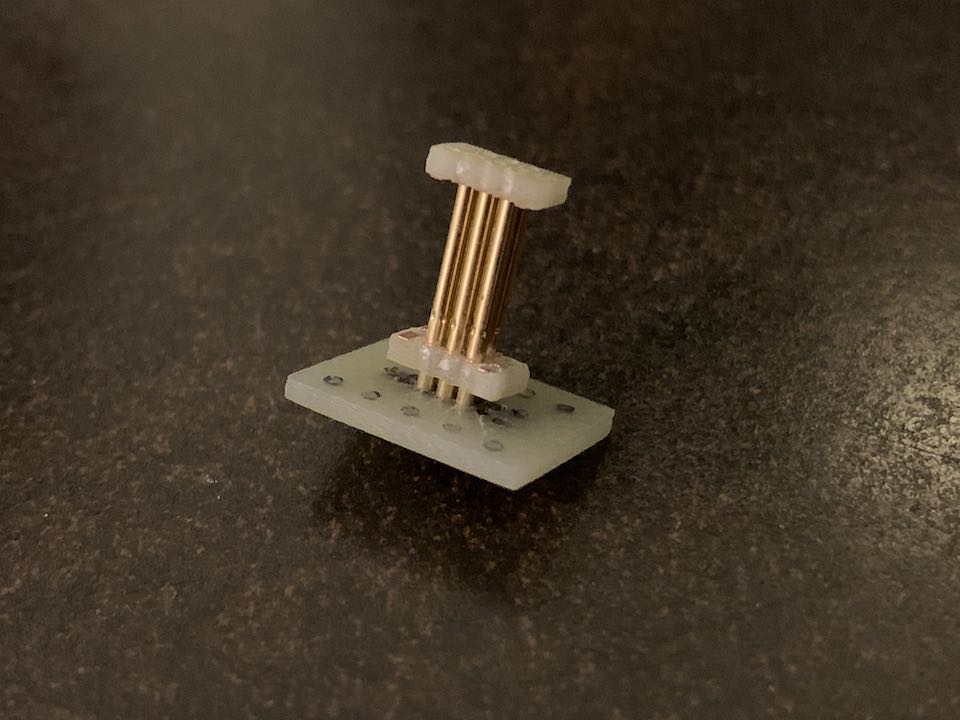
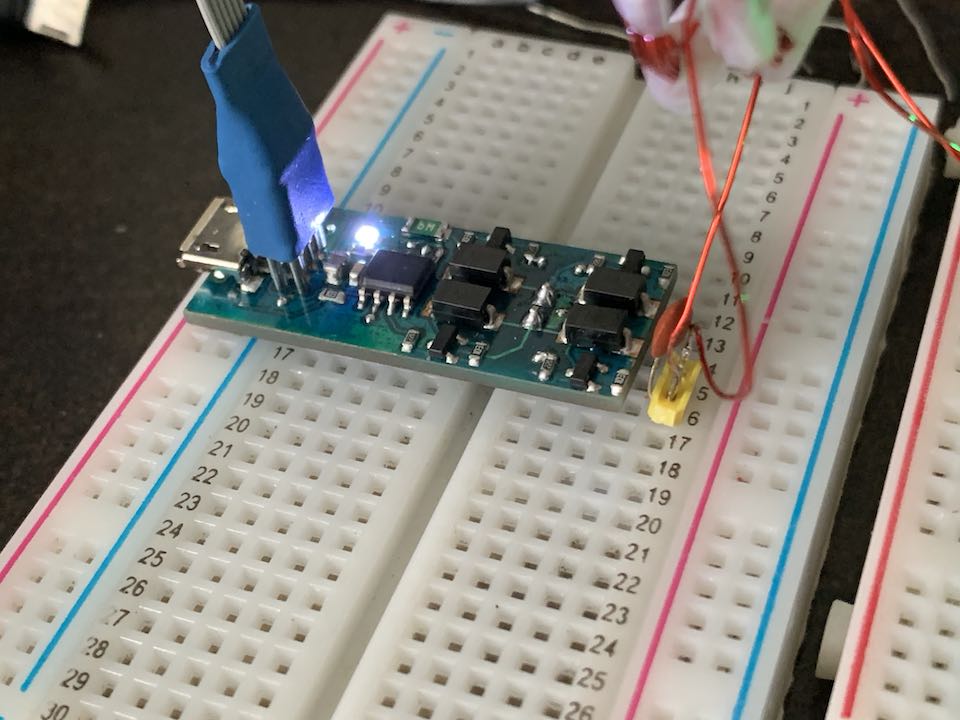
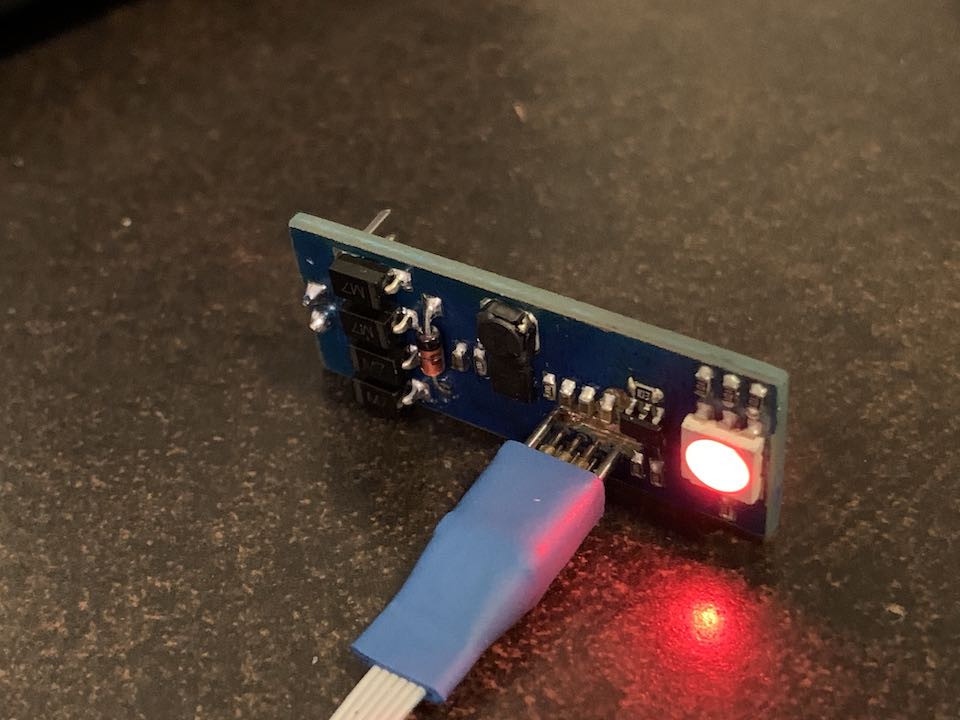
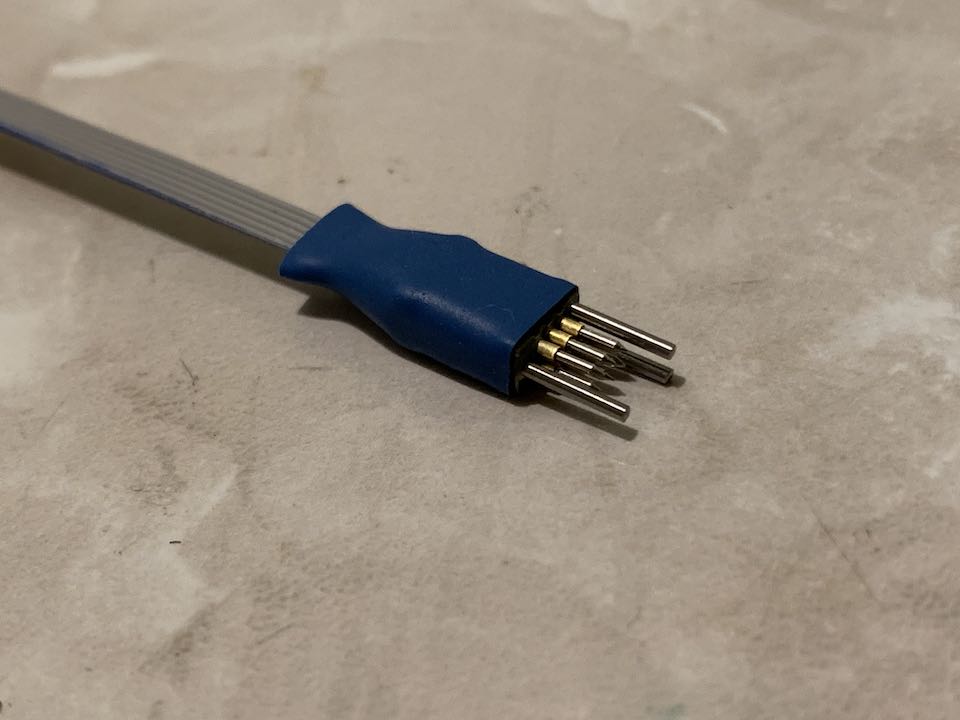
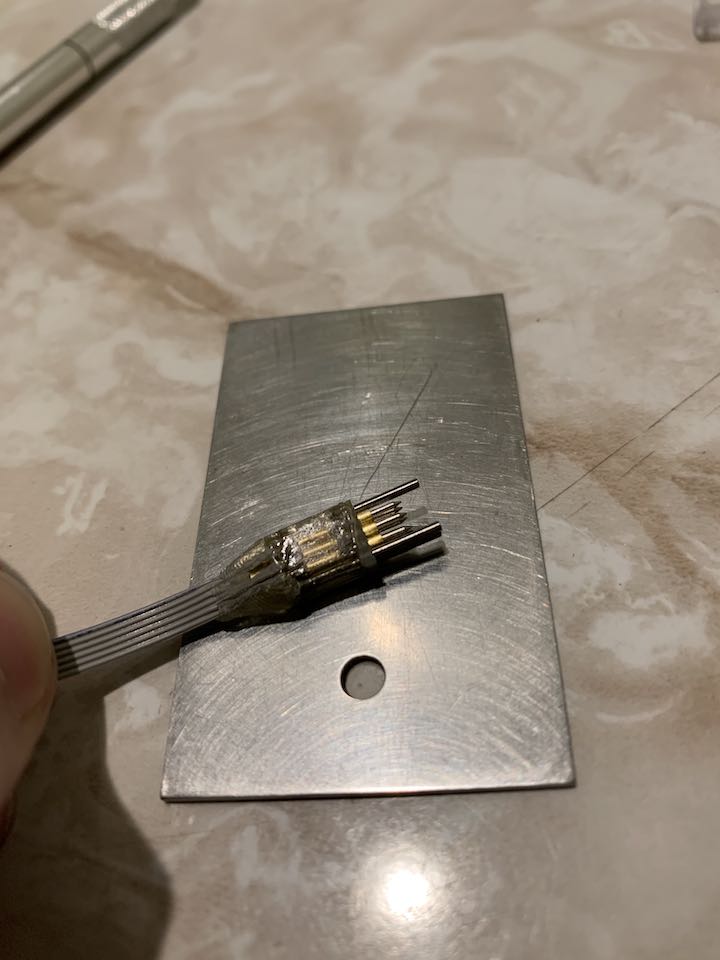
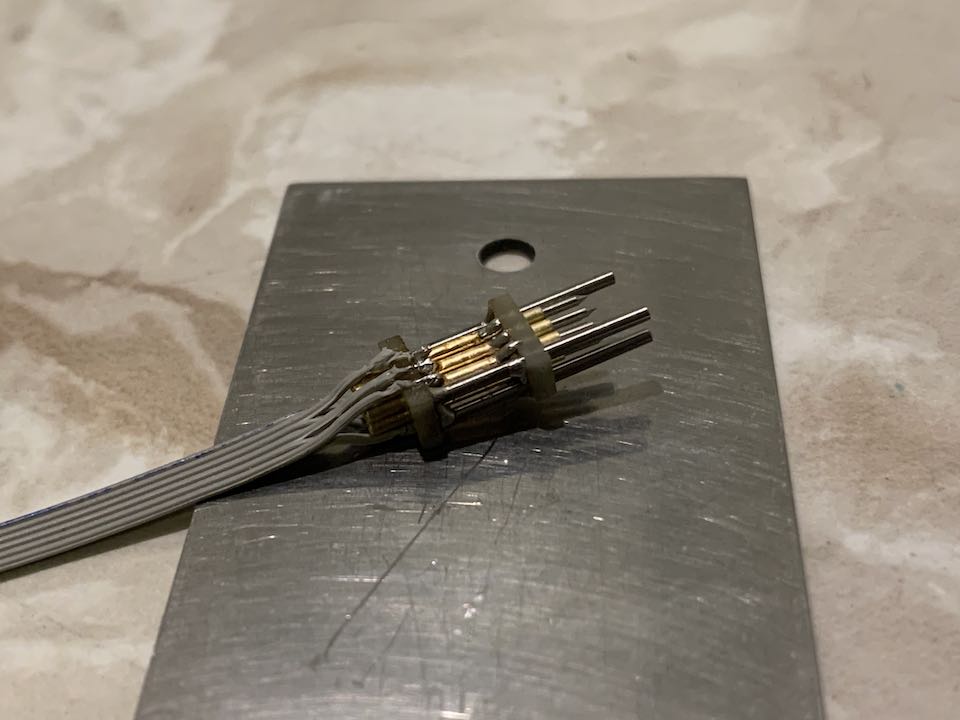
Over the summer, I was able to get my hands on a legitimate Tag-Connect cable to do a comparison. The real thing is much bulkier but of higher quality, precision, and durability. It uses ~0.9mm rods instead of 1.0mm and has better pogo pins with what I believe are crown heads. For $2 in materials but an absurd 2 hour manufacturing time, I’d say this was a pretty successful project but not worth doing for the average maker.


Comments