PCB Agitator
One of the issues I was running into when etching PCBs was uneven etch rates and long etch times. The solution is to keep the etchant moving across the board, commonly known as agitation. While I could have just taped a vibration motor to my etching container, I decided to make something a bit fancier.
Design
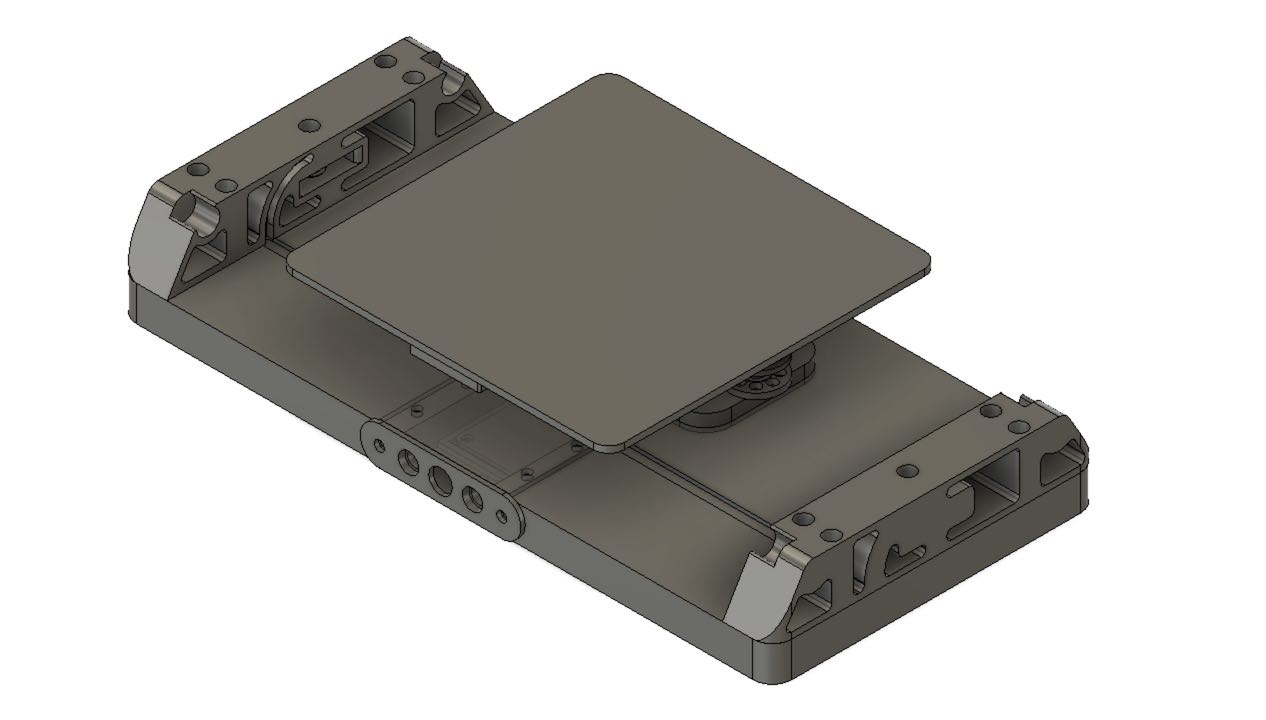
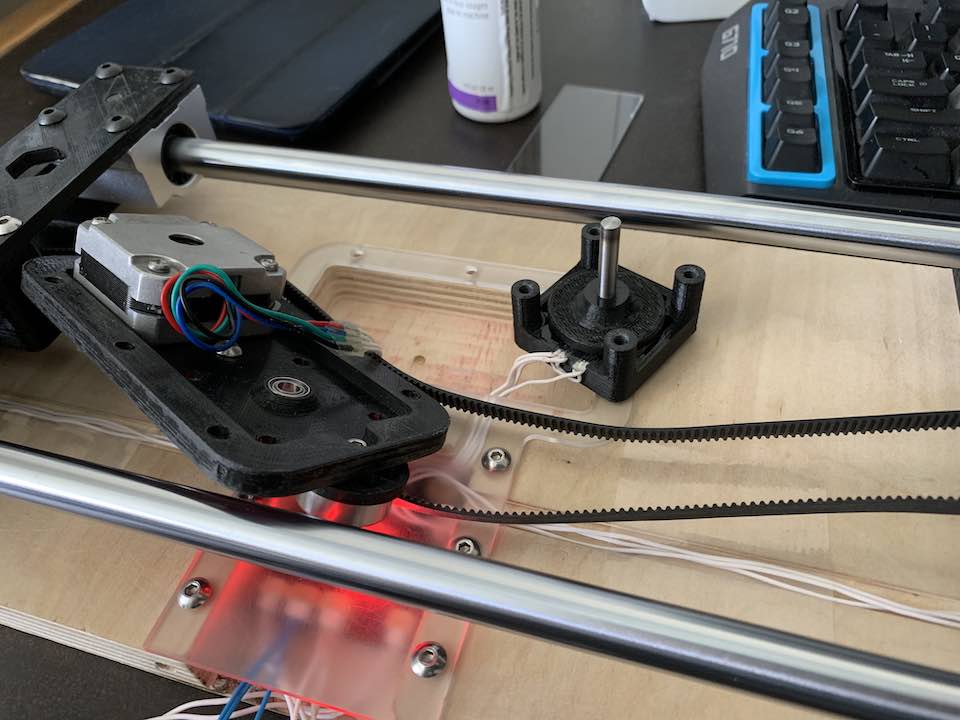
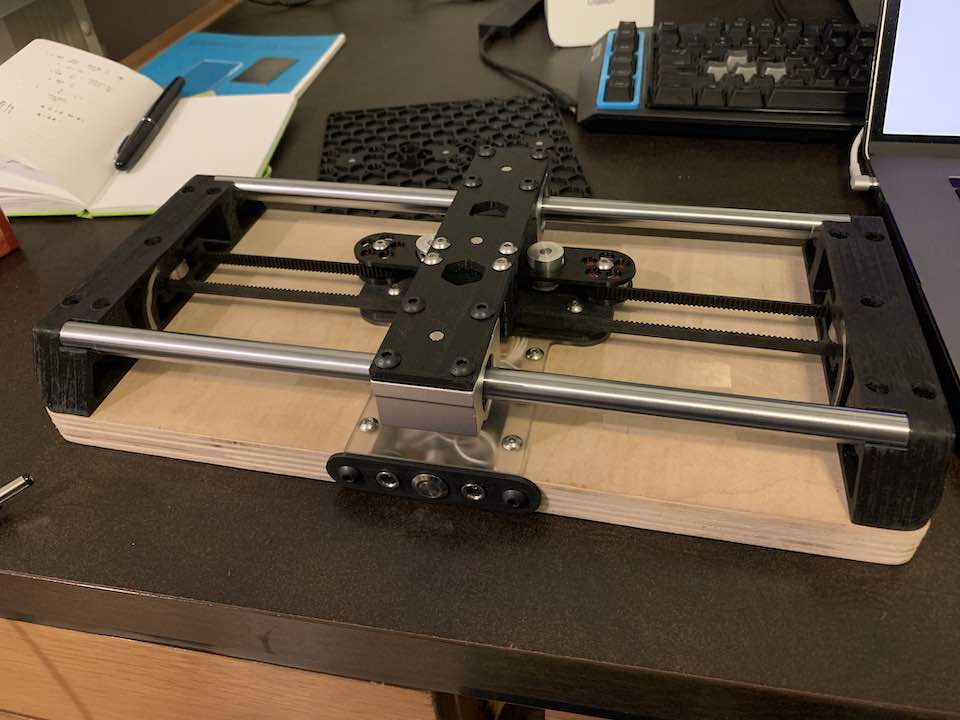
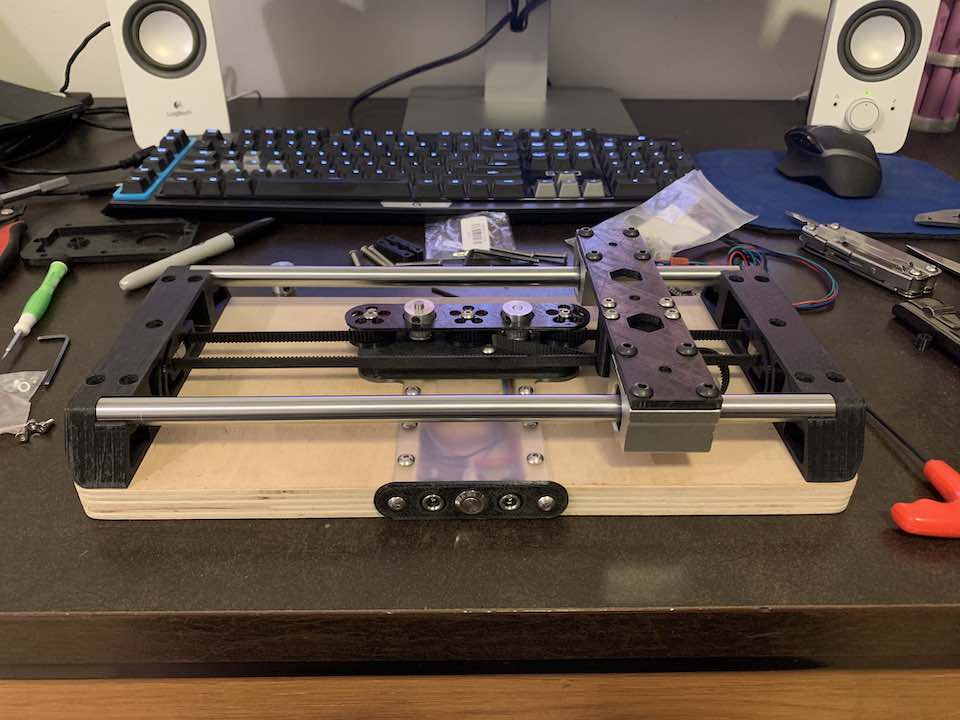
As with most projects, the direction of my design was heavily dictated by the parts I had lying around. I went for a highly symmetric and clean design. Mechanically, it’s basically a camera slider. I wanted to implement some sort of closed loop control, so I added homing Hall effect sensors and a magnetic encoder similar to what I used in the PCB Laminator. The UI was trickier to implement since I wanted to use as few buttons as possible. To maximize flexibility, I still wanted to be able to set a start point, end point, acceleration, and max velocity. Seeing as I already had an encoder on the sliding mechanism, that became the slider to pick my settings. Pair it with one button and we are good to go.
Electrical
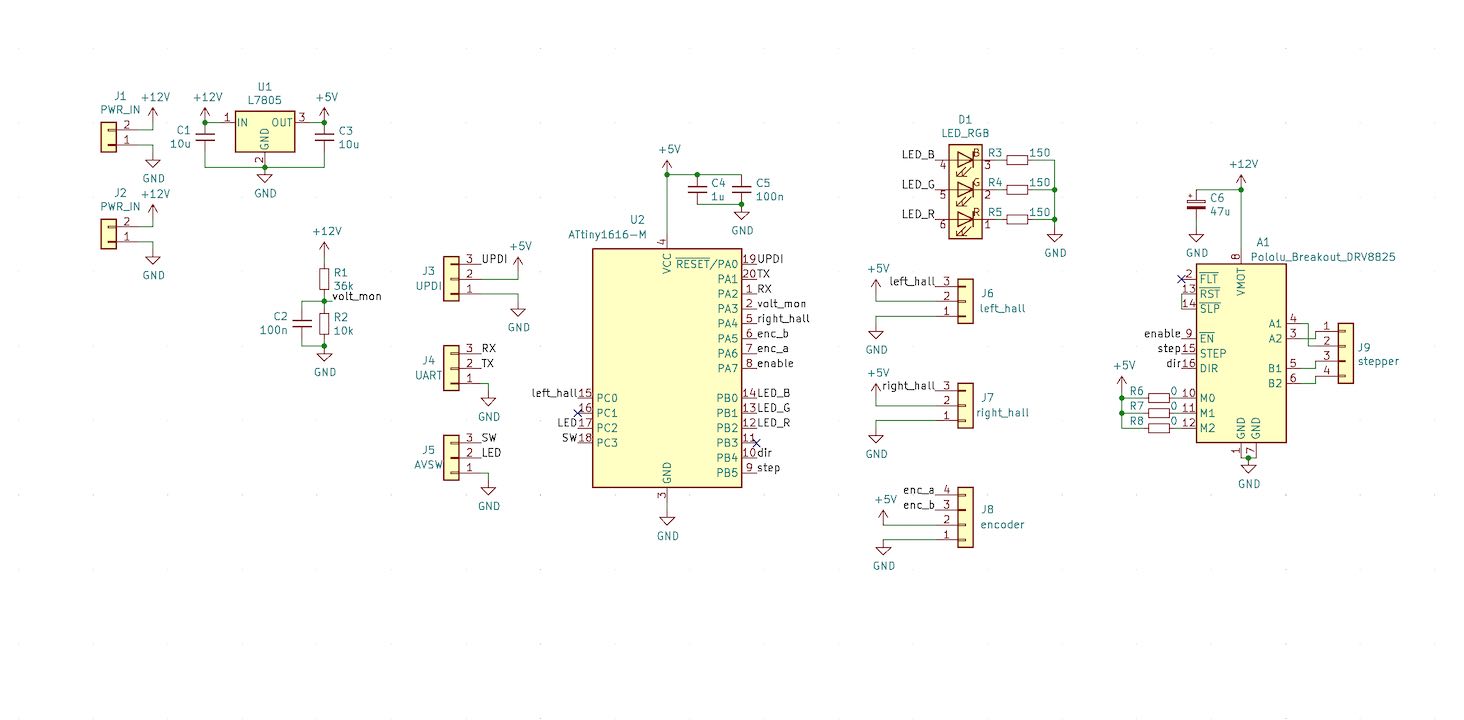
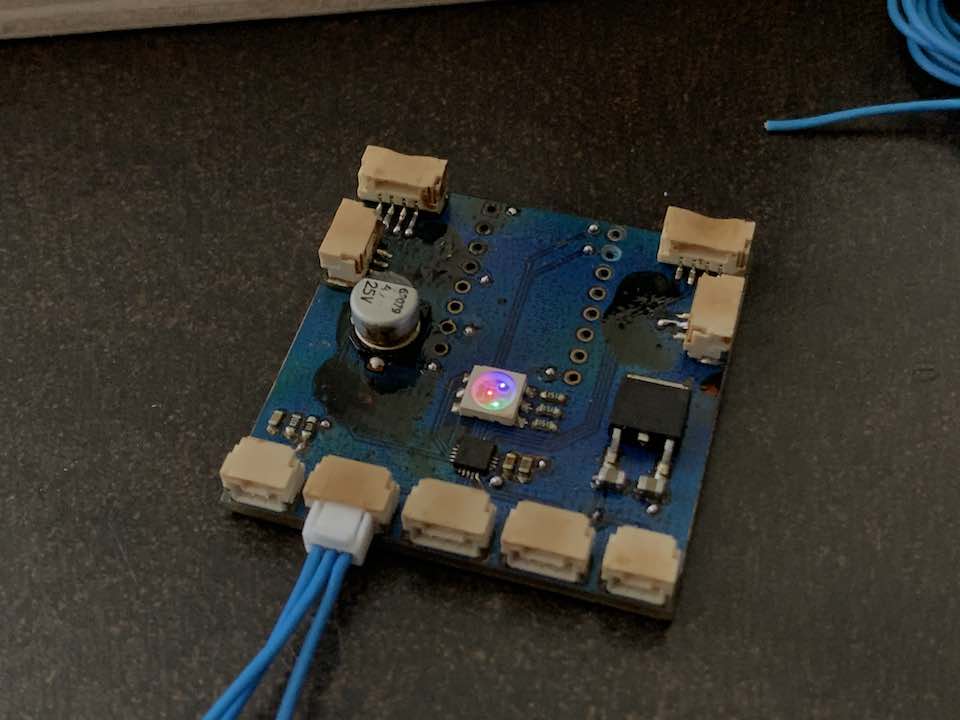
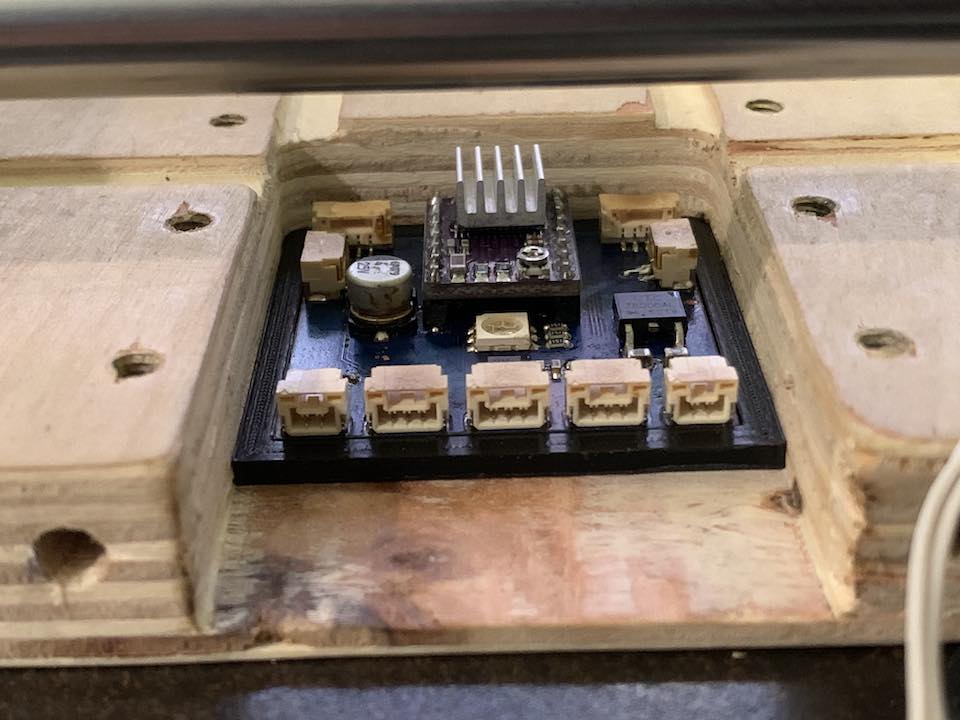
The schematic was pretty straightforward. This was the first time I used an ATtiny1616 which is now my designated microcontroller for low power use cases. I even added input voltage monitoring because I have destroyed several LiPo packs from accidental over-discharge.
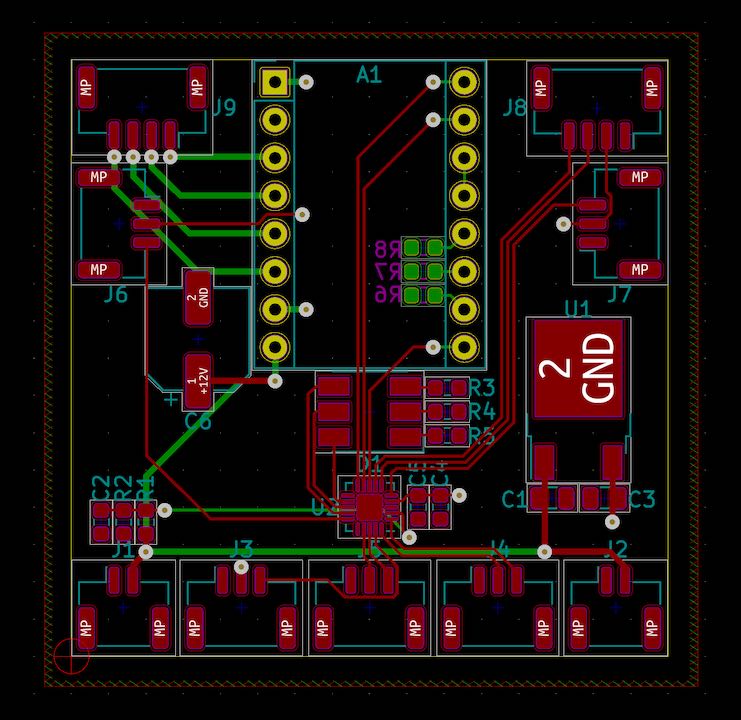
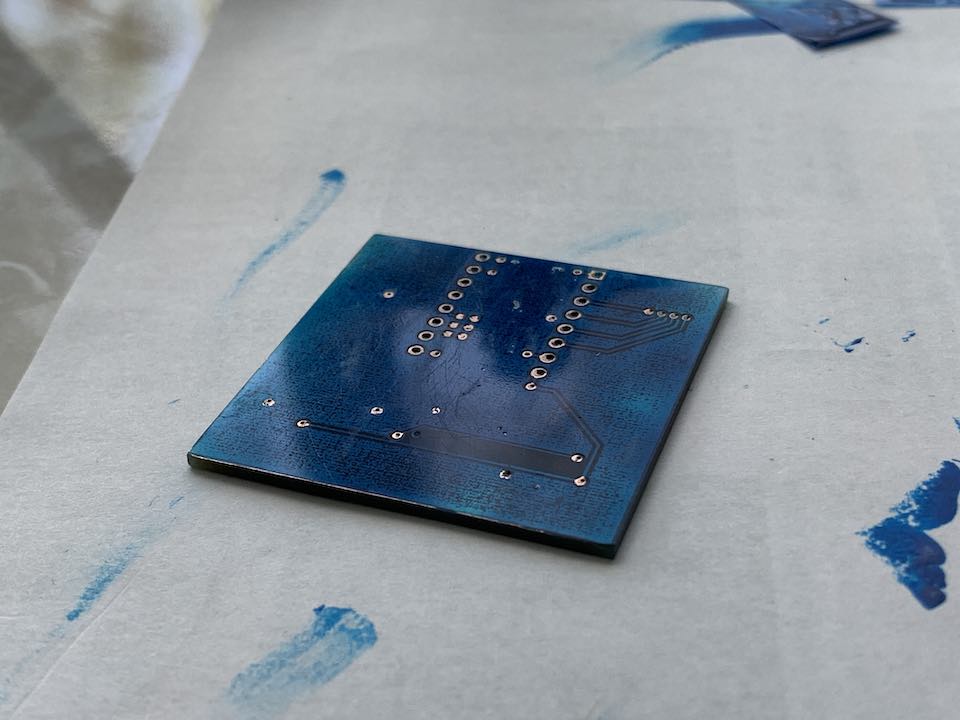
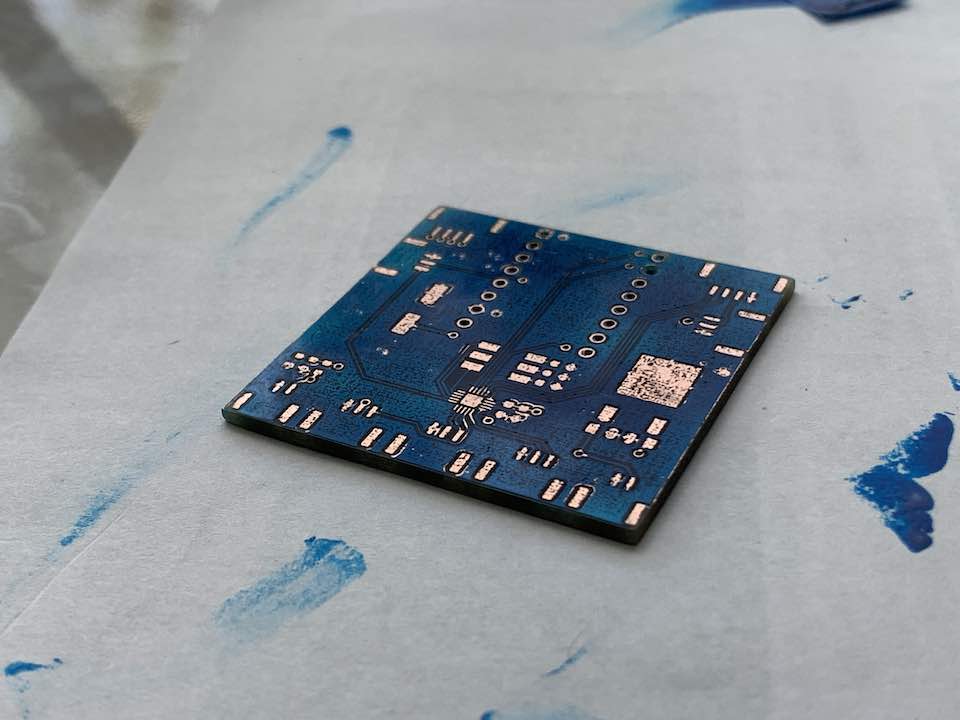
The PCB layout was also pretty straightforward. Keeping up with the whole symmetry theme, I made it as symmetric as possible.
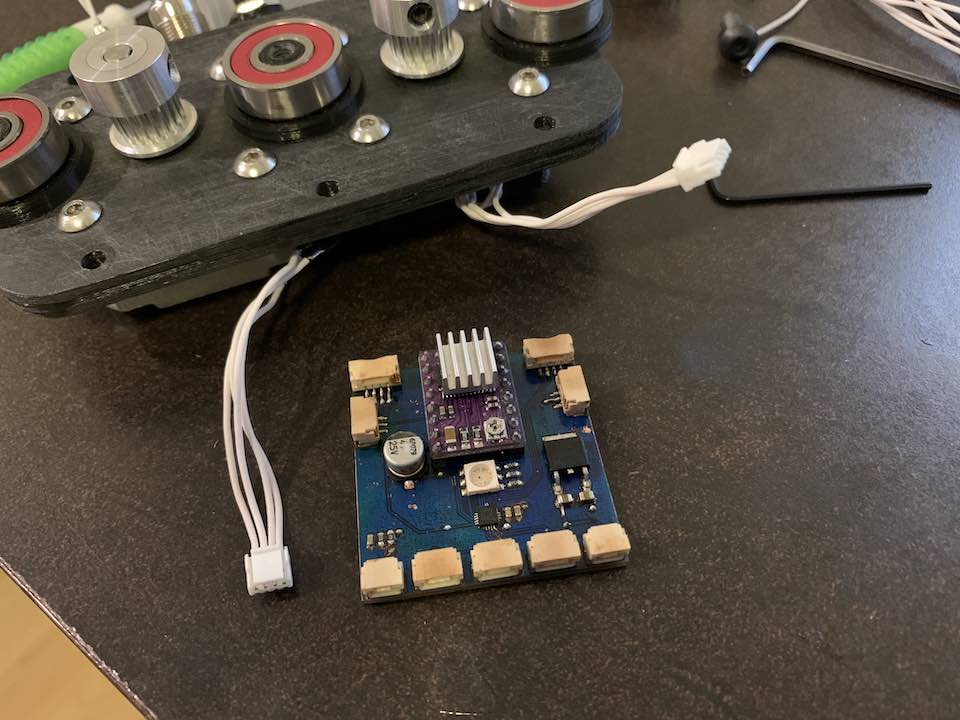
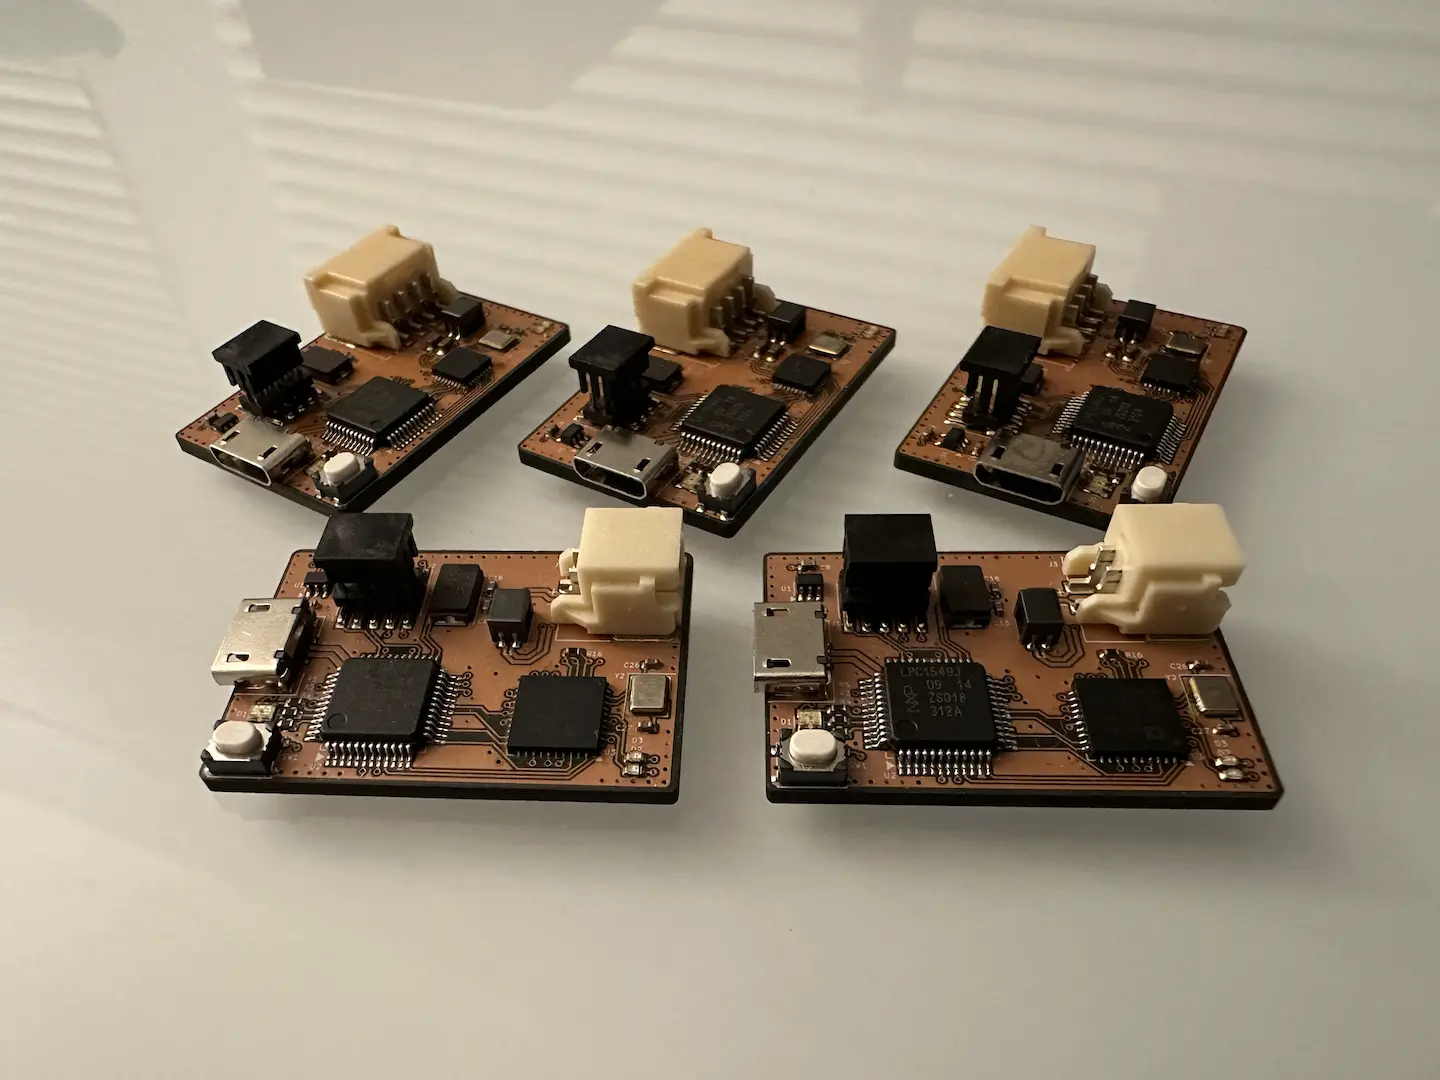
As usual, the PCB came out pretty good.
Assembly
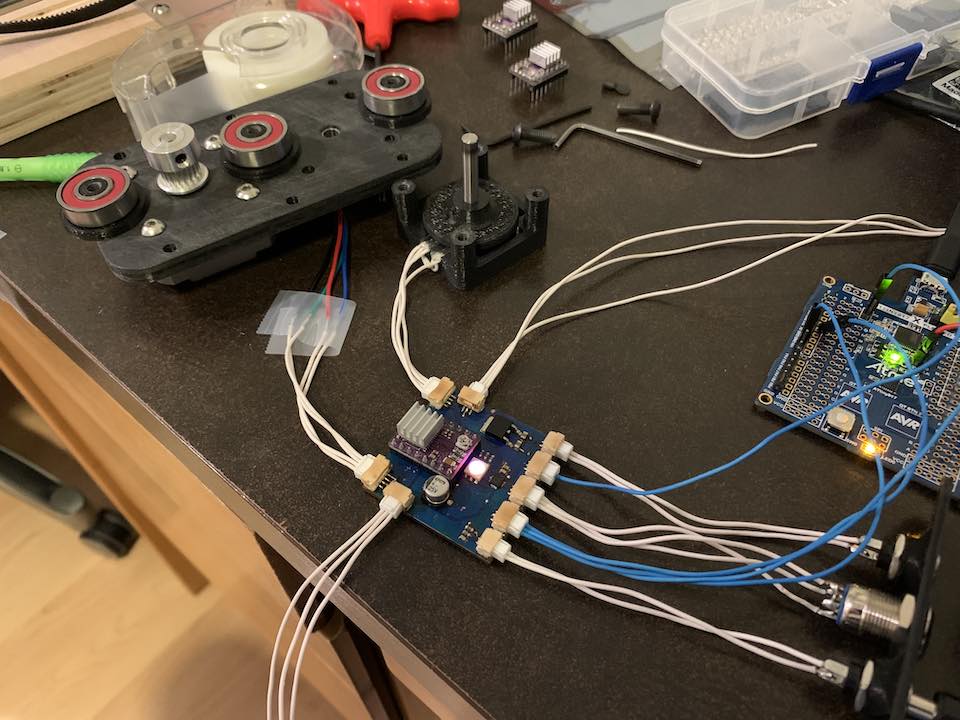
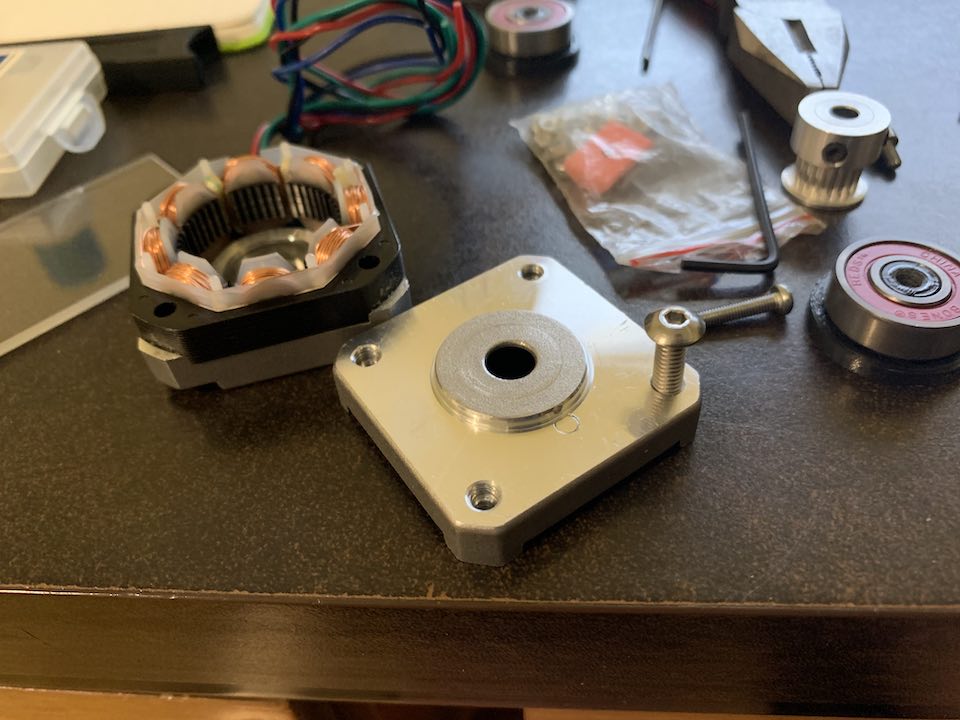
After several hours of 3D printing, CNC routing, and sanding, my parts were all ready for assembly.
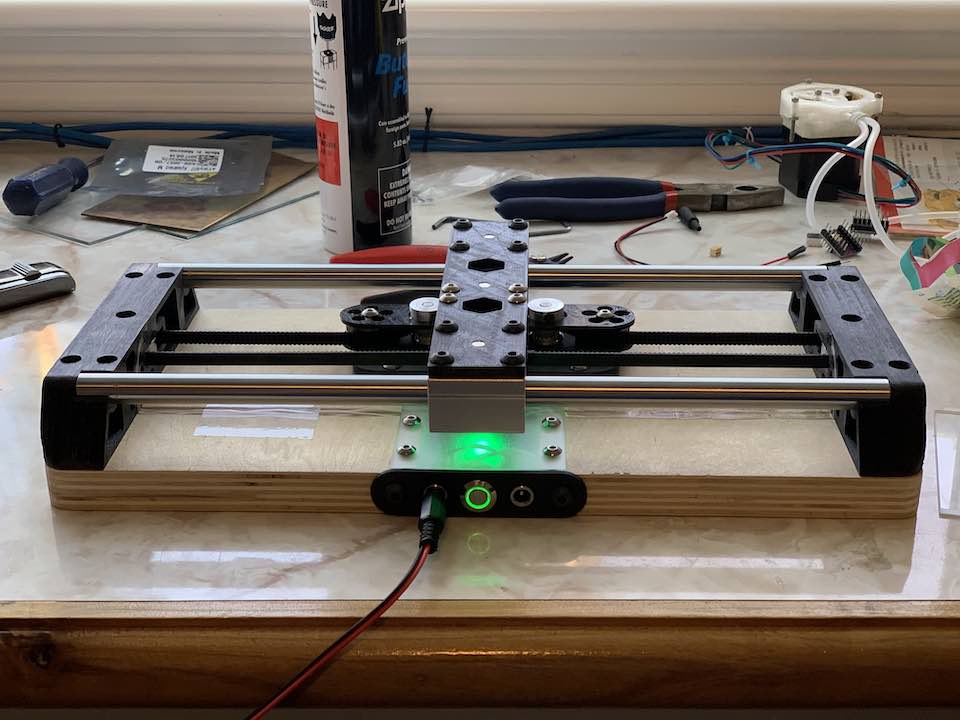
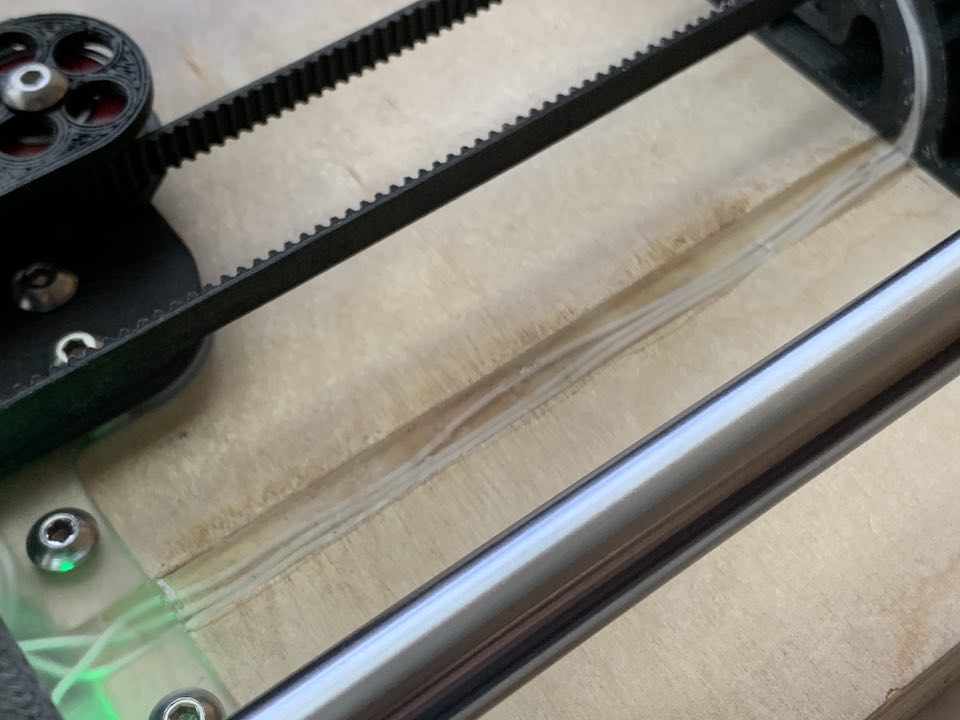
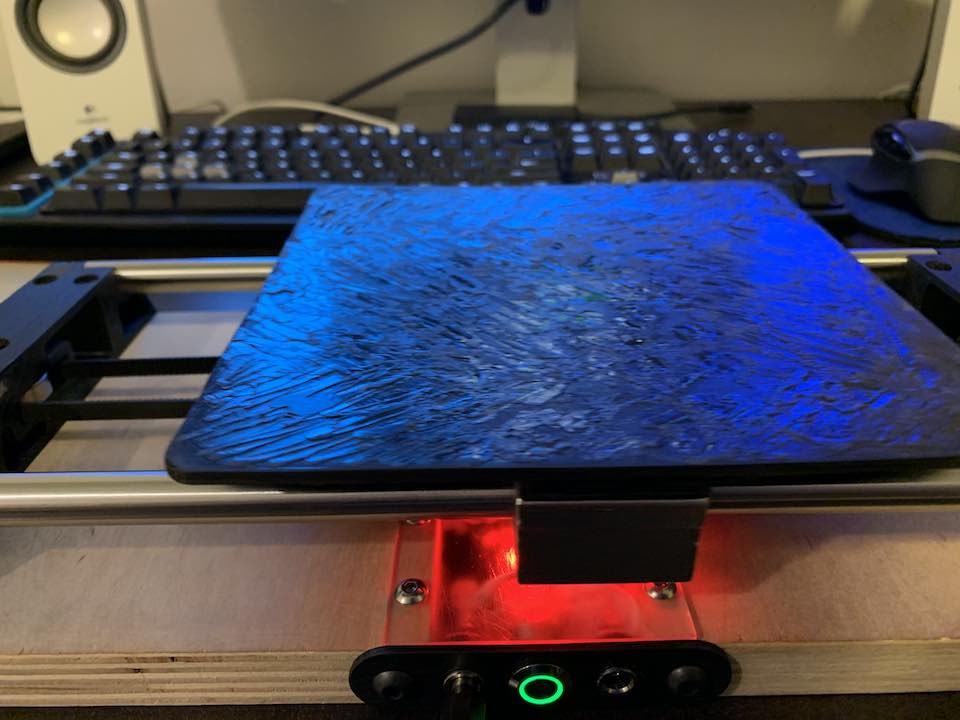
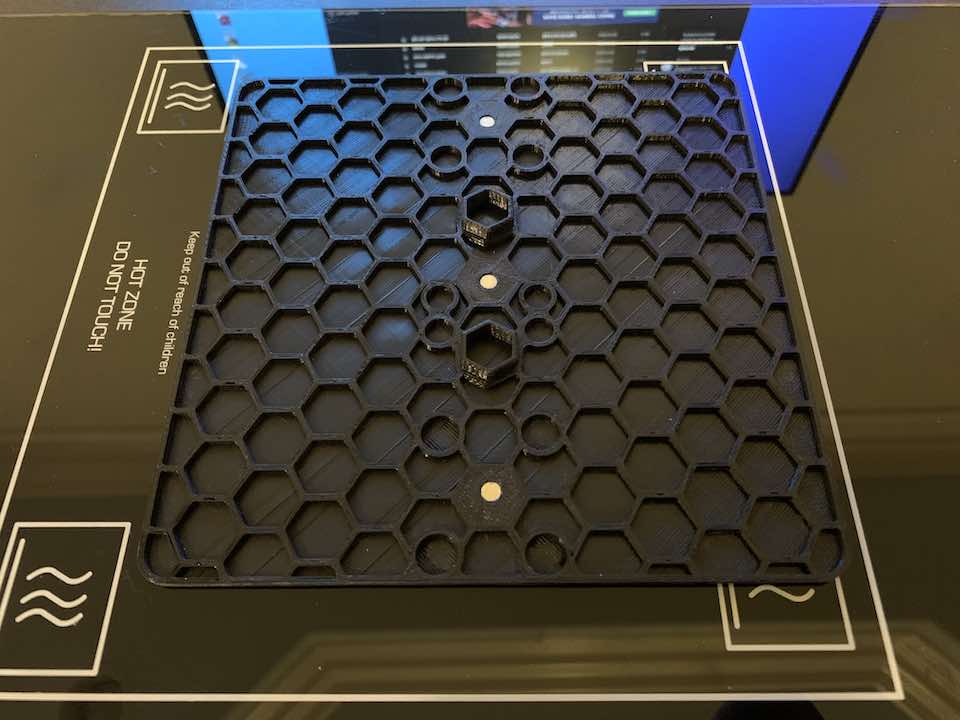
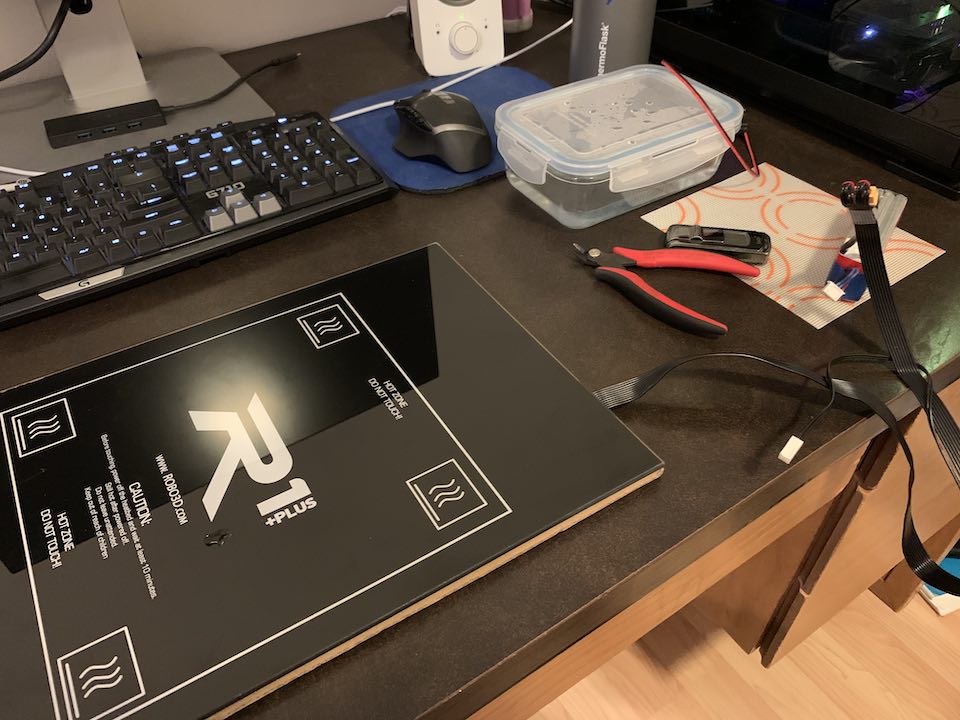
Wanting a more integrated solution than using silicone oven mats to prevent the etching container from sliding around, I decided to cover the platform in hot glue. I tried using a heated bed for a 3D printer to smooth it out, but without a release agent it just made a mess. The end result isn’t smooth, but it’s got texture.
Software
I developed the code using Atmel START and Atmel Studio. Getting the basics up and running was pretty easy but the control loop was where things got interesting. I started with an open loop system and after several iterations I settled on an Arduino AccelStepper inspired algorithm. I had to switch to full stepping because the computation was too heavy so there’s definitely some optimizations to be made there.
Adding in the closed loop took a few iterations to get the behavior I liked. The resolution of the encoder is about 1mm, so it’s really only good enough to counter stalling. At first I tried incorporating the encoder data and restart the open loop trajectory upon stalling, but it just didn’t feel right. Eventually I settled upon what I like to call clopen loop control. Basically the encoder data is used only after finishing a full trajectory. If it stalls in the middle, it doesn’t care. Couple that with traveling to the farther endpoint each time and I had something that just felt right. It even stops moving when it runs into the homing sensors which is a plus.
There were a couple of other interesting bits like a custom variable microsecond level delay made by counting cycles, state machine, analog comparator interrupt, and more. I don’t think it’s good enough to throw on Github, so the full code can be downloaded here as a zip.
Demo
I have to say it works pretty well. It’s pretty surprising how much of a difference agitation makes to etching PCBs.


Comments