OSRO (Open-Source Reflow Oven)
https://github.com/dragonlock2/OSRO
Having used my original reflow oven for several years now, I decided to build a better one. As is the theme with my recent projects, it’s important that what I design from now on be easy enough to reproduce. Since I didn’t want to add a screen or buttons, I used an ESP32-C3 (purely for the RISC-V, go bears!) and gave it a web UI. I actually started this project almost two years ago, completing both the hardware and initial firmware. I can’t believe it took this long to actually deploy it but here we are.
hardware
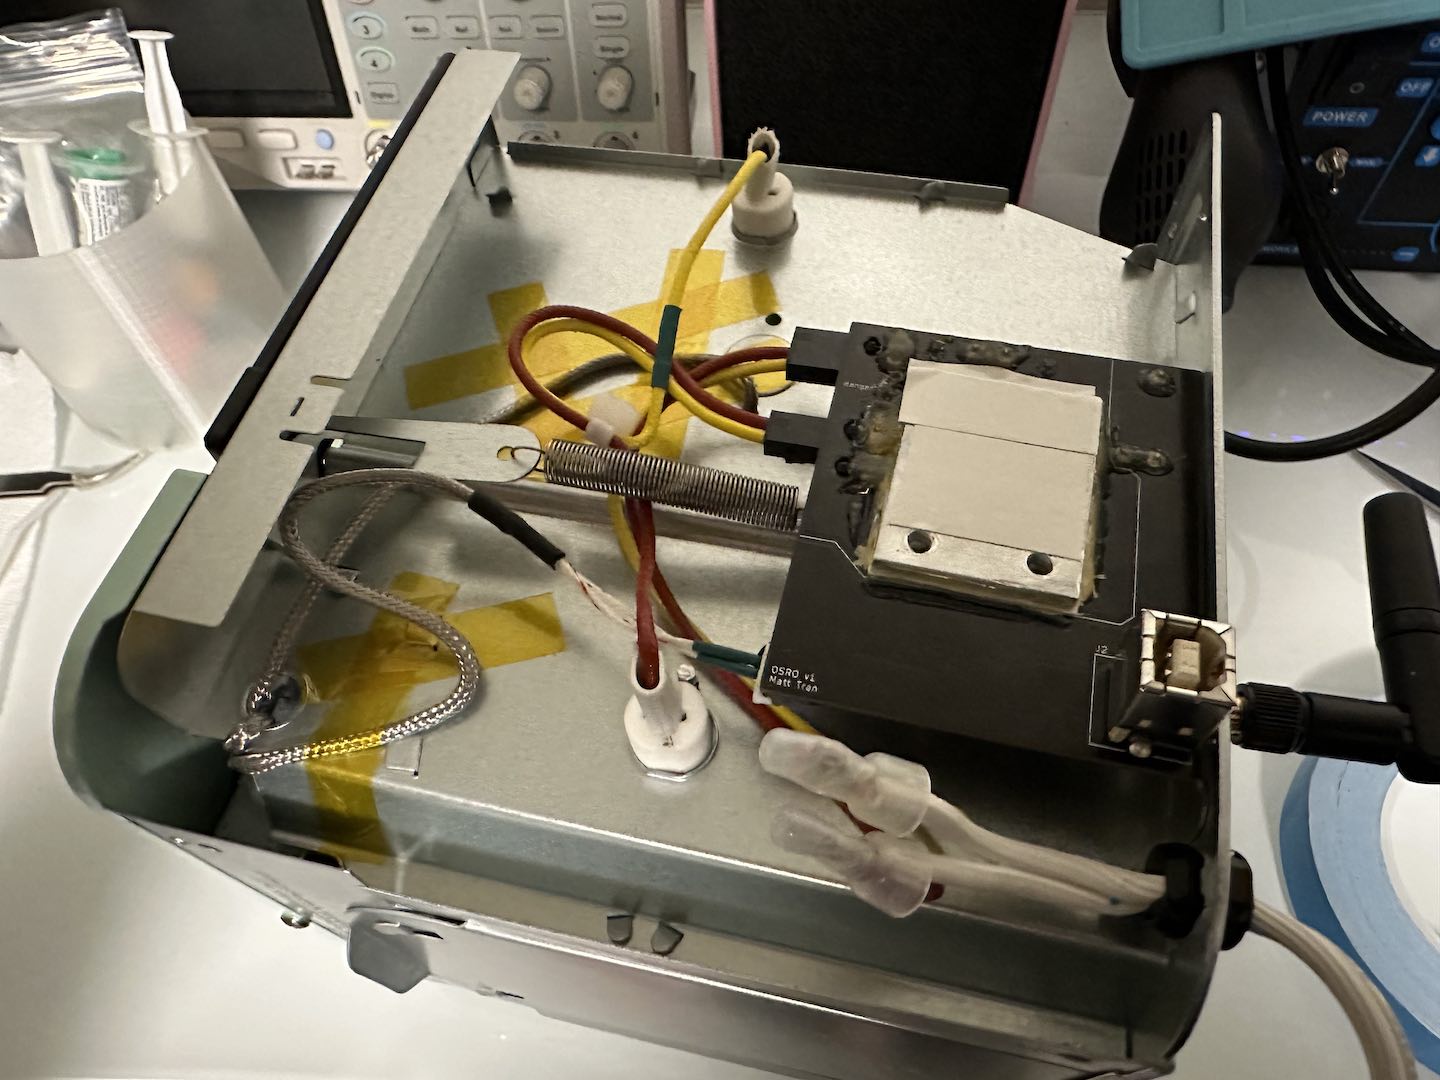
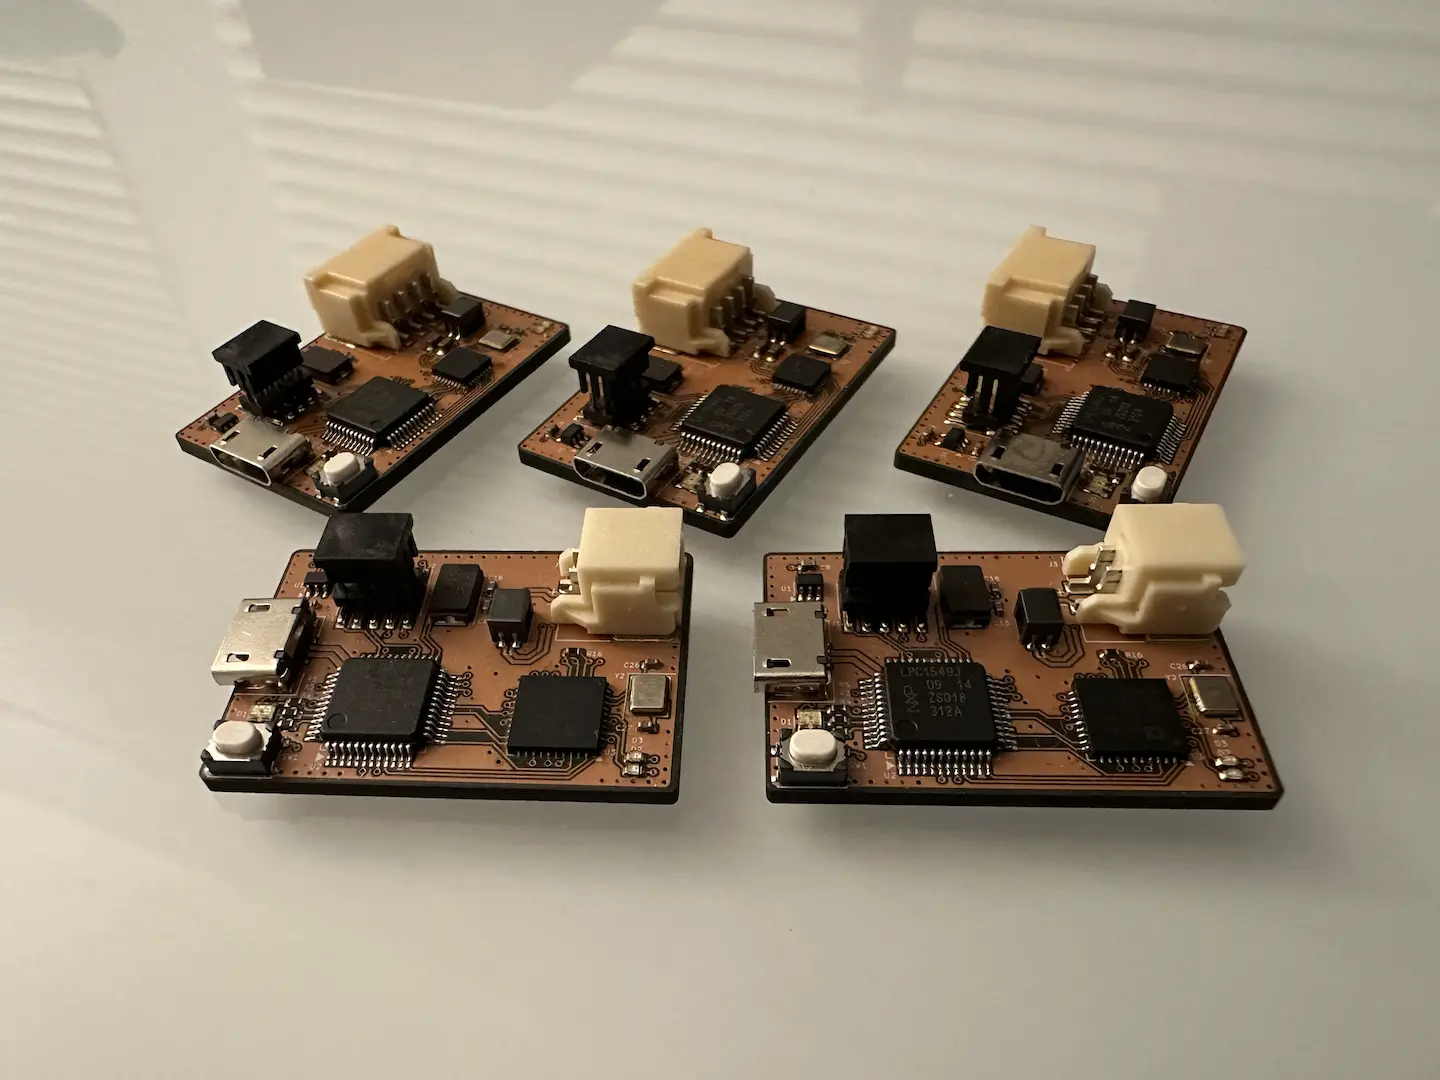
As per usual, the hardware design is rather simple except for the power part. Using an ESP32-C3 module with an external antenna meant not having to worry about the RF layout. It even supports programming and debugging over the USB connection for maximum convenience. To avoid needing an external 5V supply, the board contains a 5V converter. The ZCD (zero-crossing detector) is made from an optocoupler with appropriately sized resistors which basically just signals when the absolute value of the AC voltage falls below some threshold. I tried properly calculating the thermals and triggering of the TRIAC this time around. An optocoupler provides an initial gate current until the TRIAC latches on. Very importantly, the layout was done to maintain enough isolation gap between the control electronics and the high voltage stuff. I also used isolated TRIACs (at the cost of thermal performance) to not worry about a live heatsink.
With initial testing with a small heater, I blew a couple of optocouplers and traces. That’s when I realized TRIACs from Amazon were fake or at best out of spec parts. The TRIACs failed to turn on which meant the optocoupler took all of the load. After emergency shipping legitimate TRIACs from Digi-Key, it worked perfectly!
firmware
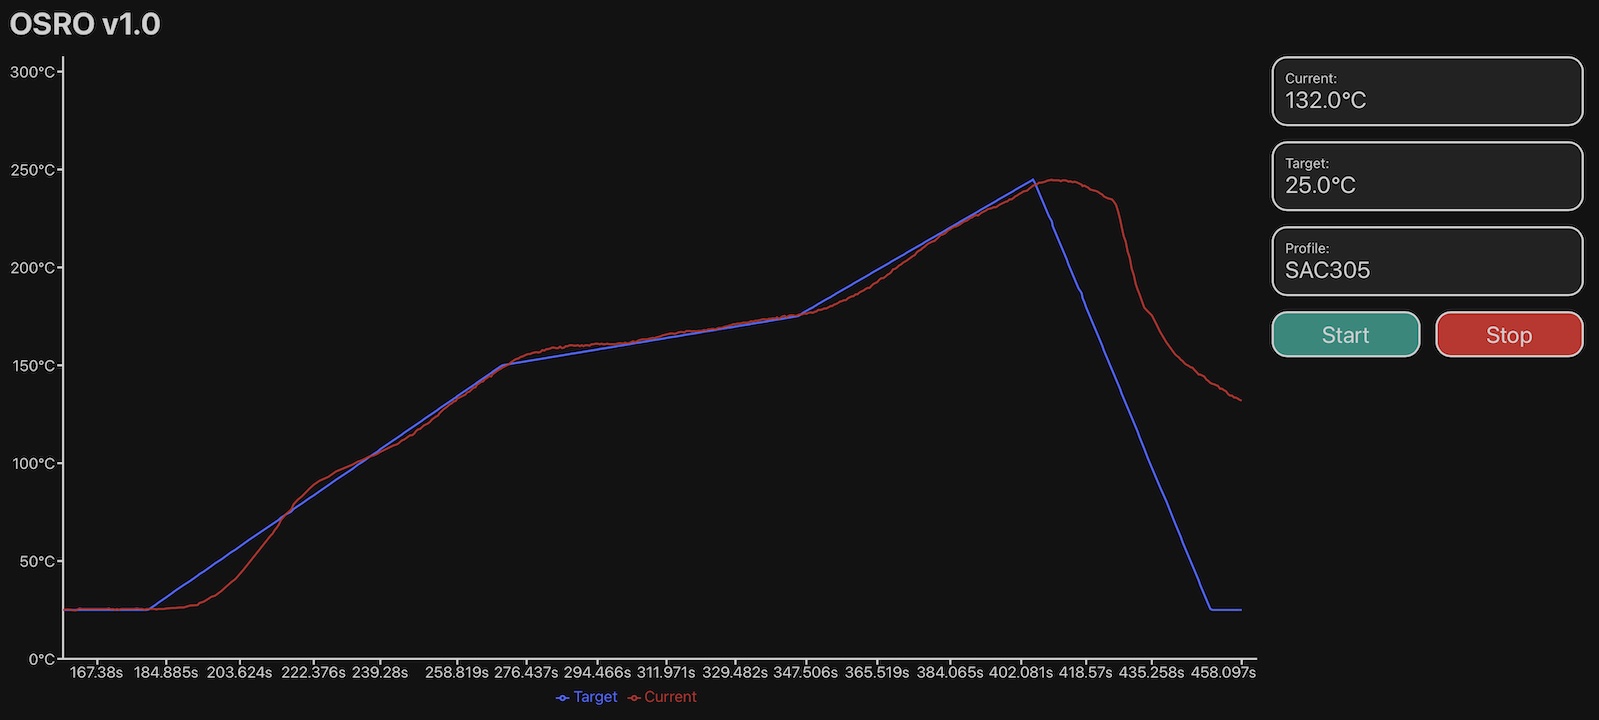
My initial firmware from nearly two years ago was pretty basic and inflexible so I refactored it completely. The Wi-Fi module supports connecting to anything ESP-IDF supports, including WPA2-Enterprise networks like eduroam. It adds a console command for changing the Wi-Fi connection but requires a recompile to make anything permanent. The server module creates an HTTP server that serves the web UI and a JSON REST interface to control the oven submodule. The oven module handles PWM of the heater (using the ZCD to switch at zero crossings and reduce noise), reading temperatures, and running a PID loop. The oven plays profiles by hooking in to the profile module and requesting the current target temperature. This was also my first time playing with FreeRTOS and I have to say it’s nice and minimal.
The web UI is something I’m quite proud of as my first React project. It was definitely a pain though, I won’t be doing this often. The development process involved doing all of the UI and business logic in JS and all of the styling in CSS. I put quite a lot of effort into making the UI look good even on mobile. One interesting caveat with JS is that code can stop running when the tab goes out of focus. This messed with my temperature sampling and I ended up having to timestamp each sample.
mechanics
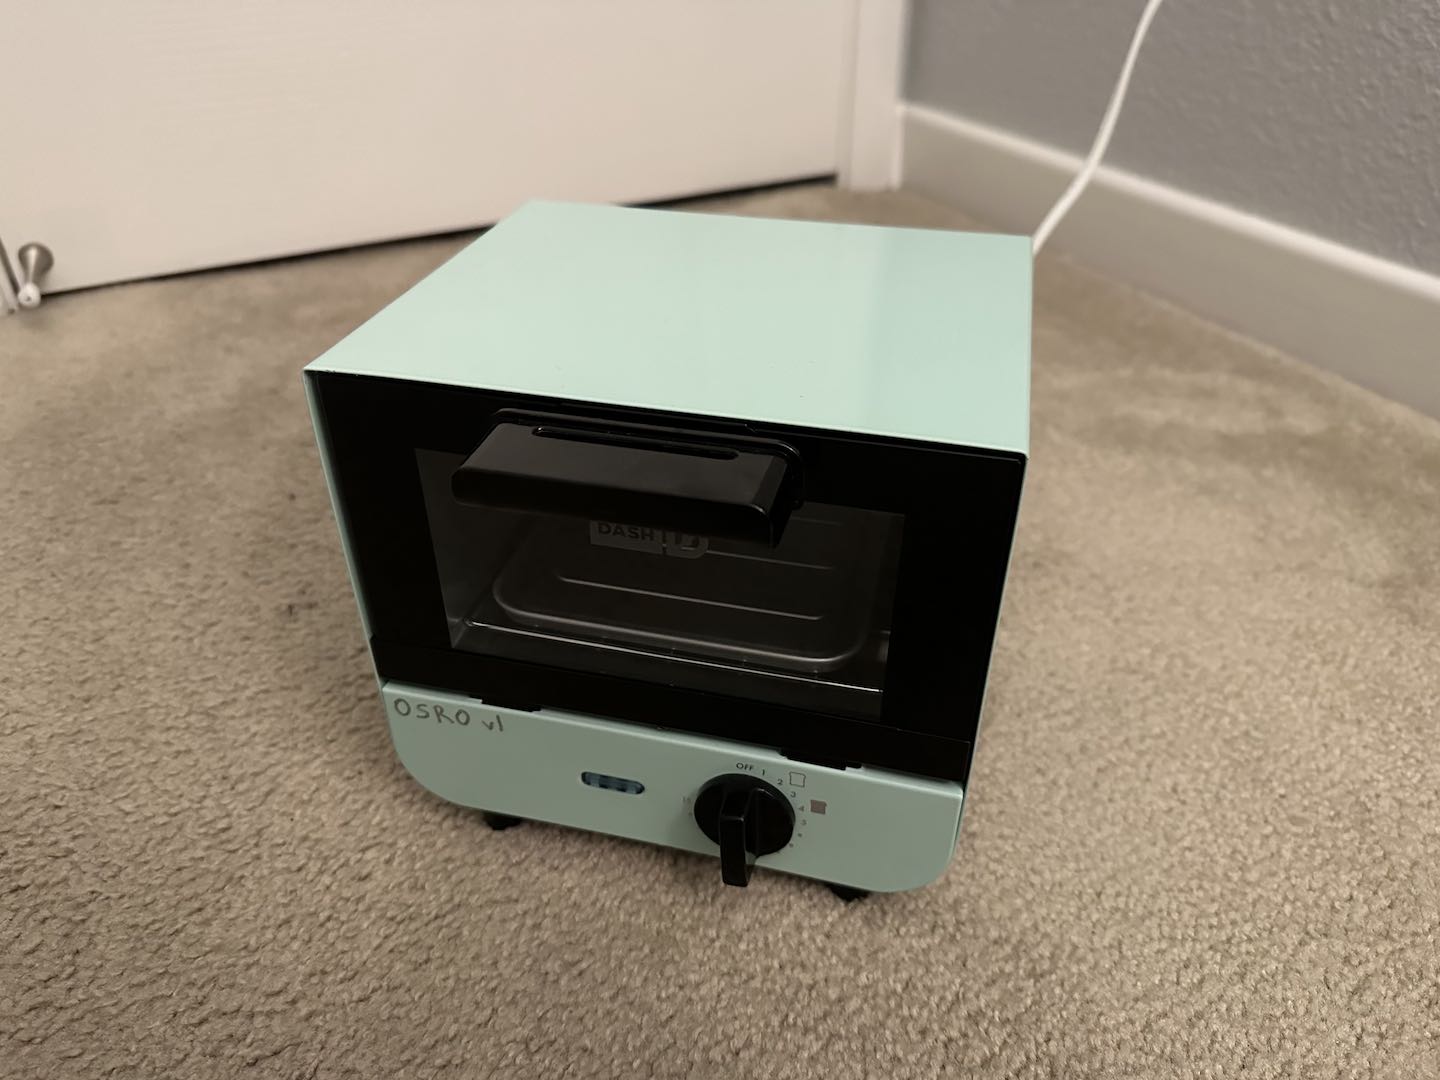
Since I didn’t want to deep clean a used oven, I ended up buying a brand new one to convert. I settled on the popular Dash oven because it’s tiny and cute. It was a bit finnicky to get mounted, but I got it. Liberal amounts of thermal tape were used to move heat from the TRIACs to the casing. After many tries, I got the PID tuned manually. One day I’ll learn how to do it automatically. Overall, the project was successful!


Comments