
Zephyr Rubber Ducky
zephyrboards/samples/apps/rubberducky
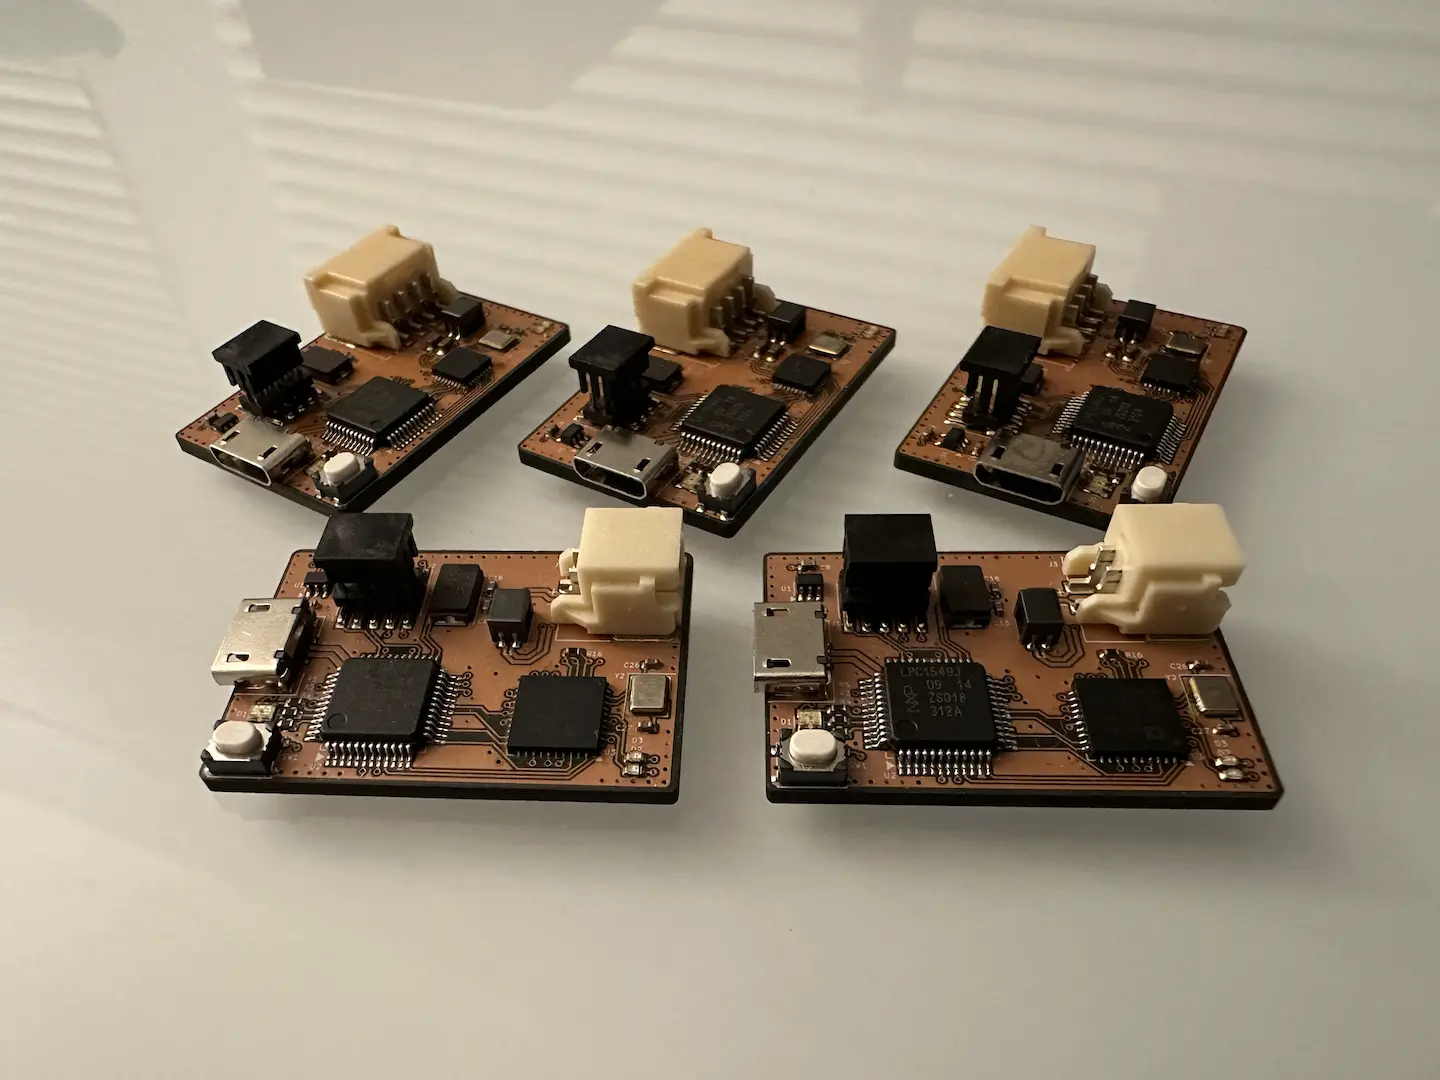
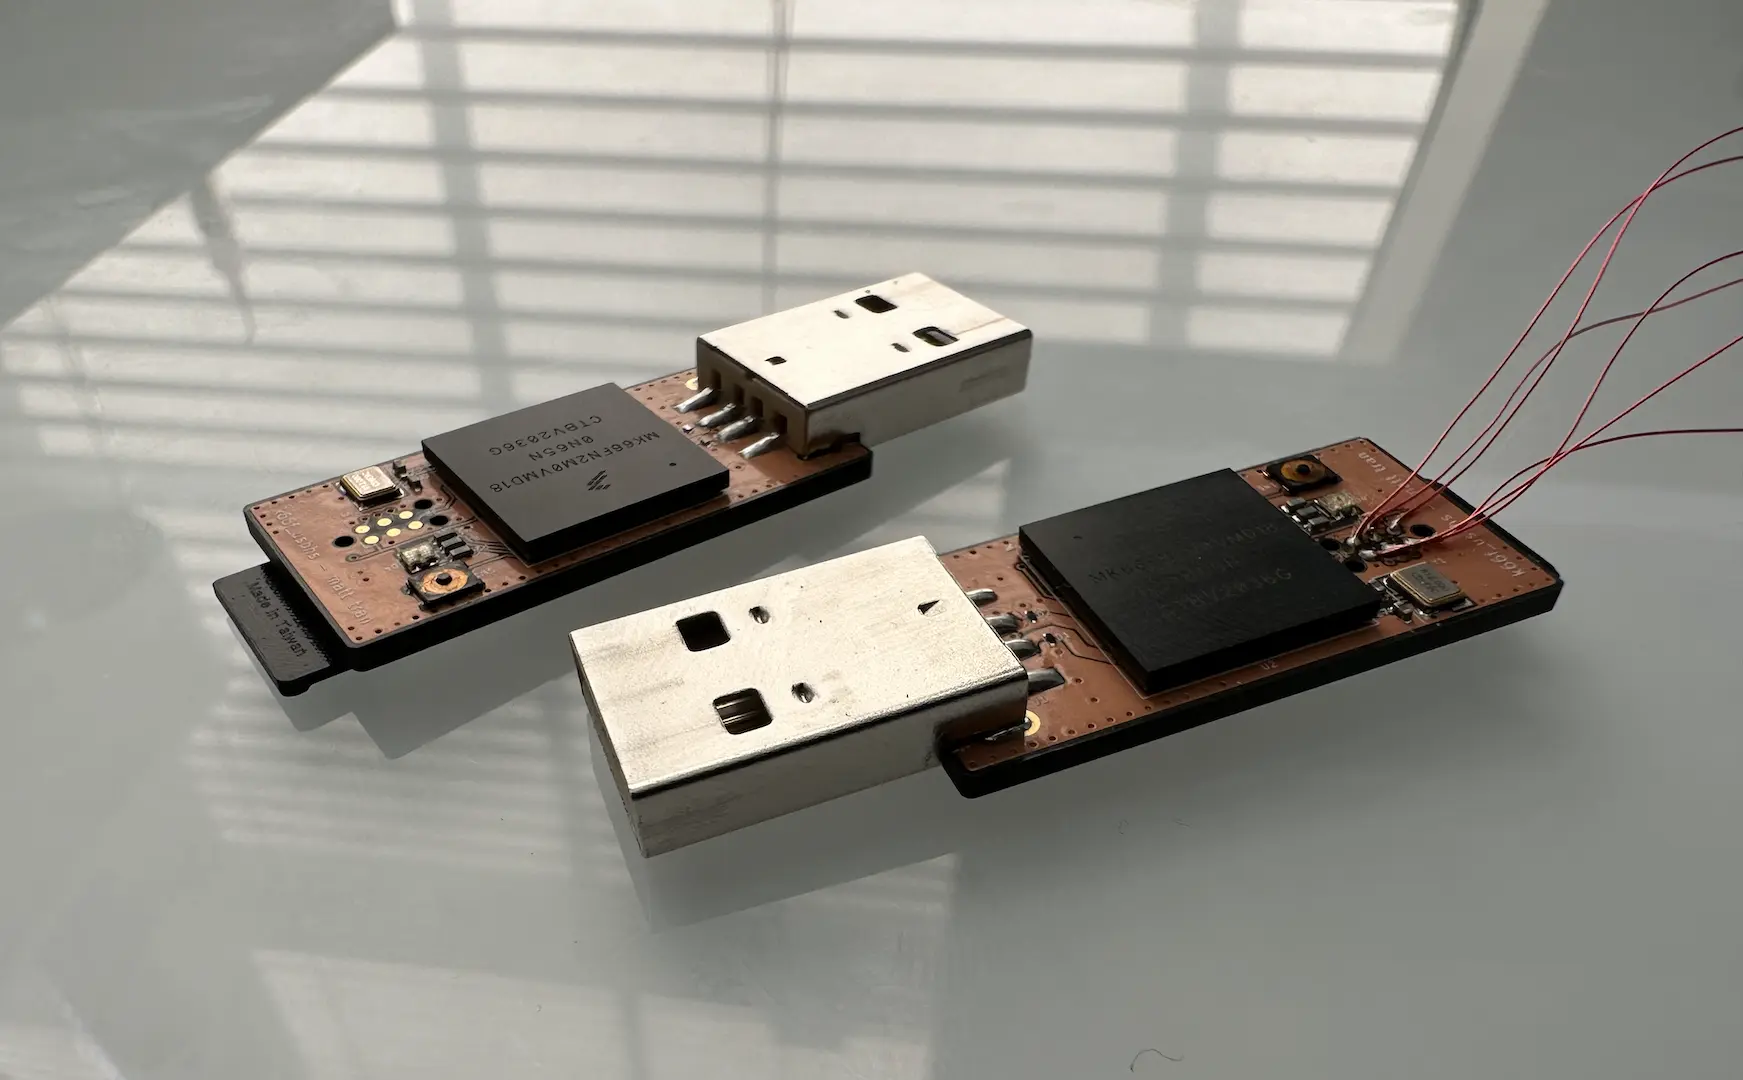
After seeing the Hak5 USB Rubber Ducky, I decided to build my own. Conceptually it’s quite simple, only needing a microcontroller with USB and an SD card. Honestly, the SD card isn’t even necessary. With the creation of k66f_usbhs, I had a perfect board to test on. Since it’s Zephyr, virtually any board should work.
Payload API
To start, I got the device enumerating as a keyboard and mouse. Zephyr’s HID subsystem is pretty easy to use, just need to add and register the descriptors which already have macros. Unlike TinyUSB, the structs for the reports aren’t defined by default so I copied those over. Thankfully, the HID keycodes are included. Interestingly, after USB connects and is configured I have to wait about 500ms before sending any reports or they’ll be ignored. With USB HS, HID can actually run at 8kHz. Unfortunately some very specific combinations of PC hardware and software miss reports so I had to send them multiple times to be registered. Funnily enough, Crowdstrike blocks unknown PID/VIDs from sending HID reports, but simply changing the PID/VID to an Apple keyboard bypasses it.
Next, I needed a way to deploy different payloads based on the operating system. There’s some research on this topic, I found the easiest implementation to be QMK’s. Essentially, different operating systems will request string descriptors of varying lengths during the enumeration process. To achieve this using Zephyr’s USB stack, I had to dig in to how control transfers pass through it. My first try was adding an empty interface to get custom_handler() to call my own handler. It worked, but some operating systems didn’t like that added interface. What ended up working was overriding bos_desc.h to bypass the empty definition in the real bos_desc.h so that usb_handle_bos() would use one I defined. No patches needed!
Payload Development
Instead of embedding the payload inside the firmware, I wanted to dynamically load them from the SD card. Zephyr’s DFU works with MSC so I could make the bootloader enumerate as a drive to change payloads easily. Instead of learning yet another language with DuckyScript and writing an interpreter for it, I wanted to write the payloads in good old C++. My initial idea was to compile a binary with only a run() function that takes in some API struct. On further research, I found out about Zephyr’s LLEXT subsystem which can dynamically load ELFs and link in its required symbols. A little overkill, but it works quite well. After adding a loader for a fs_file_t and moving to v3.7.0-rc3 which has much better LLEXT support, it was working.
For the actual payload development, if one has the full Zephyr workspace configured it’s as easy as adding a file to compile that has a run() function with C linkage. A lot of Zephyr functions like k_msleep() are already exposed so it’s almost like using normal Zephyr. Apparently I can also export an EDK to develop payloads without the full workspace, but I am yet to try it.
Reverse Shell Example
For fun, I also decided to write a reverse shell payload which lead me down a rabbit hole that took as long if not longer to get out of than the Zephyr firmware itself. A basic implementation of a reverse shell is to load up the respective shell as a subprocess and pipe its stdin/stdout/stderr over a socket. The server it connects to would then pipe that connection to another stdin/stdout. For security, I also wanted to use a TLS connection. After almost going with Go, I ultimately forced myself to use Rust and learn more.
Wanting to learn about asynchronous programming, I quickly pivoted to Tokio. Instead of spawning threads that get blocked on some slow IO call, a lightweight async task can be spawned instead which executes a nonblocking version of that call. That task then goes to sleep and is awoken later when that call finishes. For tasks that need a lot of CPU, an actual thread can be spawned to handle it. For TLS support, I was deciding between rustls and native_tls which both have Tokio versions. I ended up picking rustls because macOS didn’t allow self-signed certificates to be used without additional configuration. Since I own some websites, I could’ve used real certificates but wanted to keep this potential malware and my legitimate stuff separate.
For piping stdin/stdout/stderr over a TLS socket, I ended up using a single Tokio task which would select over the various blocking reads. This is suboptimal for bandwidth to some degree, but was necessary since TLS sockets can’t be split into read and write halves to pass to separate tasks. Interestingly while I could redirect Powershell and Bash, I couldn’t redirect Zsh’s stdin and ended up using Bash for the macOS client. On the server side, I had to disable stdin newline buffering to get single chars to send which is bad for bandwidth but feels better. I also disabled stdin echo since I was getting double chars. Consequently, the server program only works on macOS/Linux because of Termios use.
Overall, the reverse shell worked scarily well. In about 10 seconds, I can get a reverse shell on virtually any unlocked computer. On Windows, Powershell even unintentionally disappears, requiring Task Manager to kill it. In the future, it’d be fun to look into running the client in the background and privilege escalation for more fun exploits. Learning codesigning to be able to run on more locked down computers and also embedding a shell would also be interesting to look at. Of course, it’s important to remember to not run these programs on non-consenting participants. Don’t want to end up in jail :P


Comments