
Lightsaber v3
Written 9-29-19
With a lot of time on my hands during the summer, I decided to build yet another lightsaber. v1 and v2 were great, but they were far cries from the professionally made ones. I wanted one that had a removable blade, kill switch, crystal chamber, multiple sound fonts, accelerometer, etc. What I ended up with did all that and earned its place as one of the coolest things I’ve ever made.
Electronics
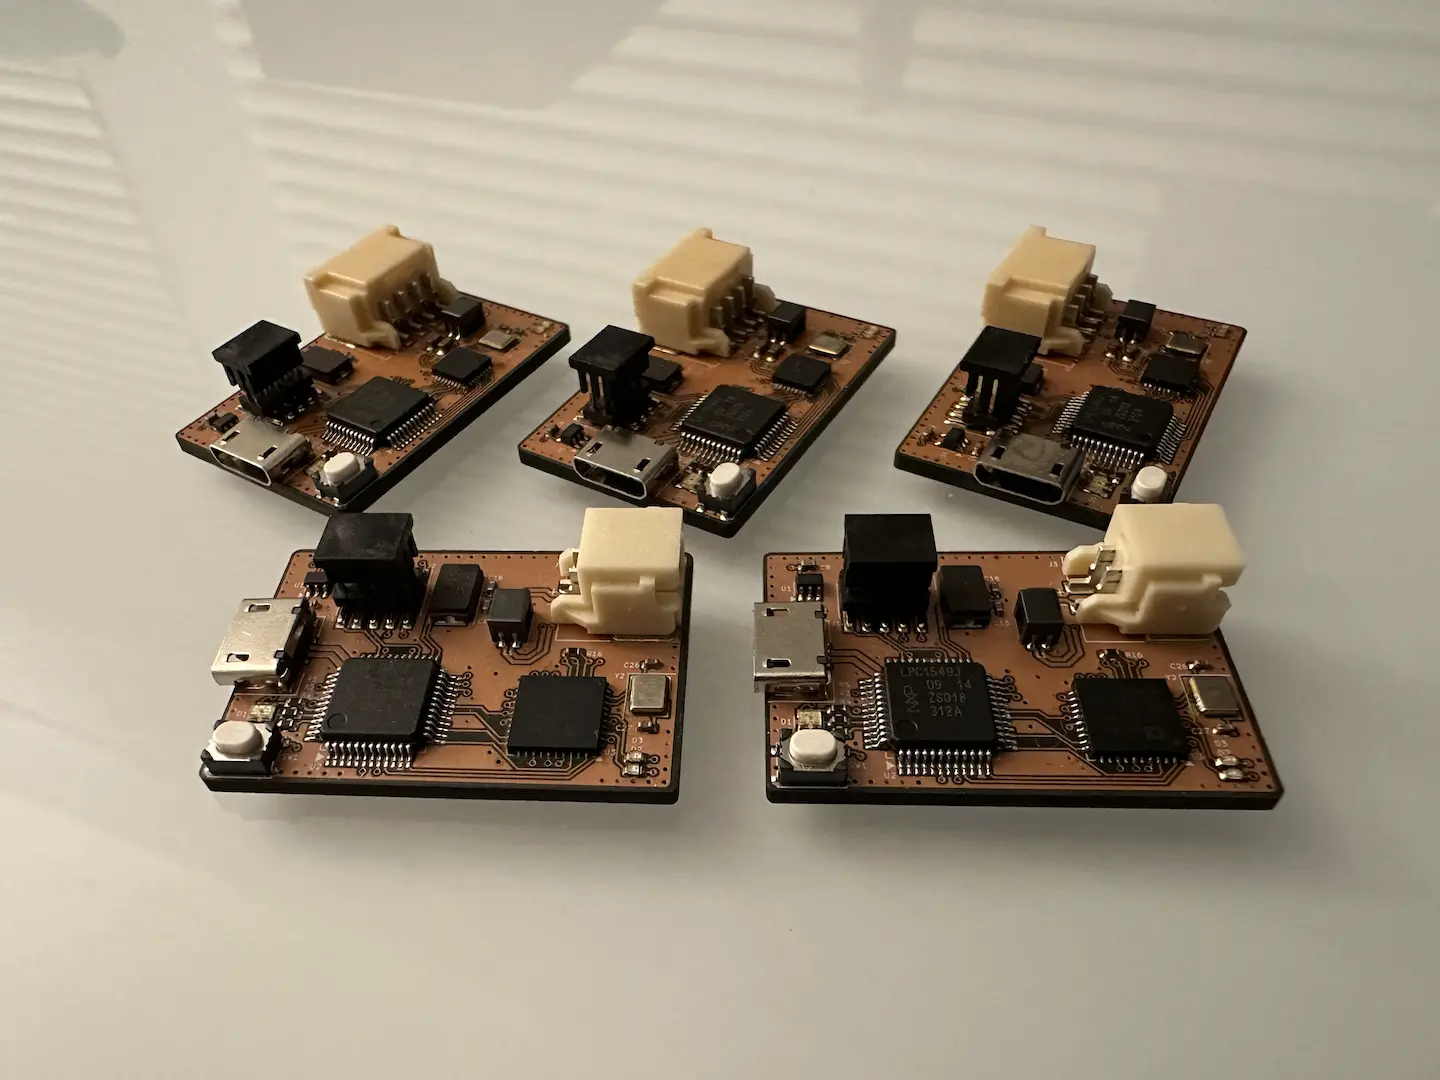
The most important thing to consider was the electronics. The electronics in v1 and v2 were definitely unnecessarily large for what they did. I couldn’t consistently make PCBs or work with SMD components yet, so I looked for a board that could do most of everything I needed. After some searching, I settled on using an Adafruit Feather 32u4 Adalogger. It was Arduino compatible, worked off a lithium battery, and had a MicroSD slot. The rest of the electronics were just miscellaneous things like adding an audio amplifier, low pass filter, BJTs to control the blade, switches, accelerometer board, etc. It was pretty straightforward.
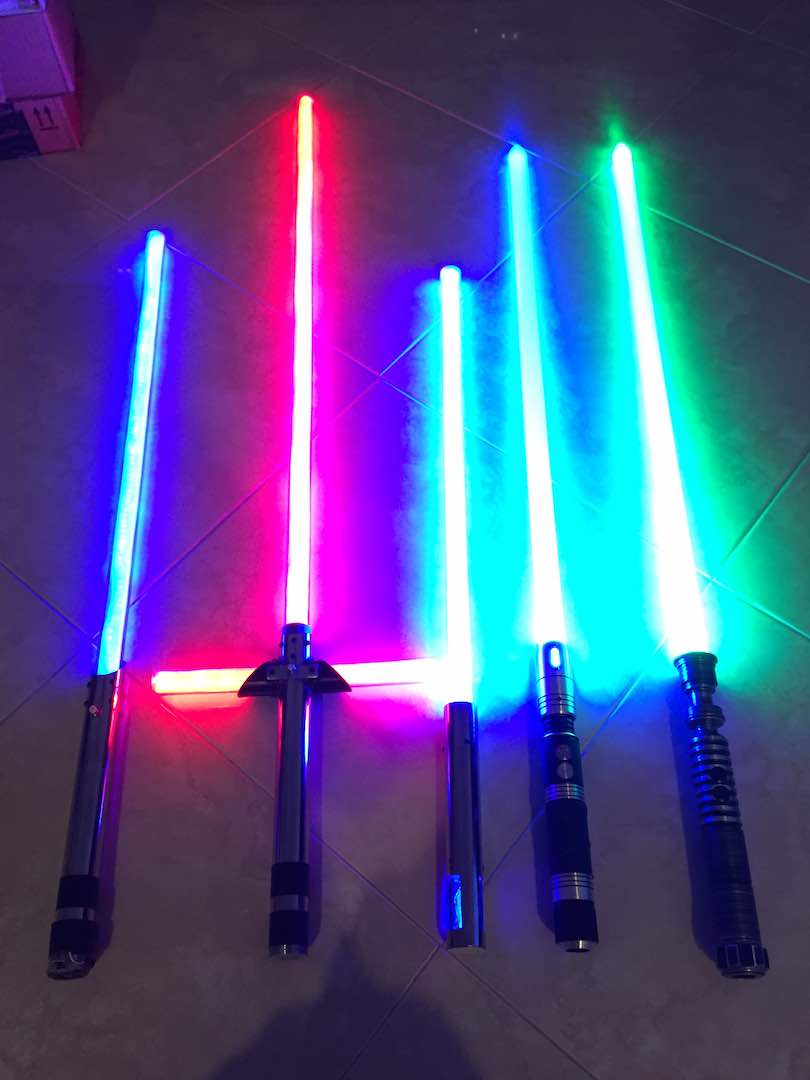
One of the sacrifices I made with v3 was in the blade. v1 and v2 both had segmented LED blades which were cool but hard to make removable. I decided to just string all the LEDs together into one long piece. Straw hat LEDs proved a very good choice for increasing density and brightness. Learning my lesson from v1.5, I sorted the LEDs by forward voltage at 20mA to ensure even lighting all the way down the blade. My diffusion could use some work, but it’s definitely brighter than anything I’ve seen so far.
Chassis
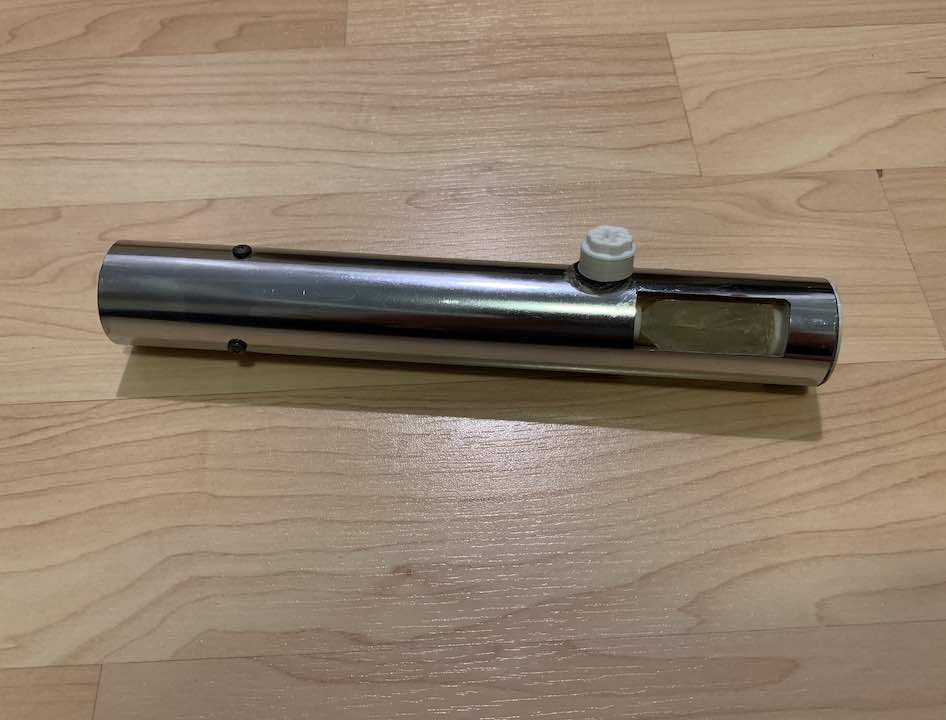
For the chassis, I once again stuck to a chrome sink tube from Home Depot. I really wanted to buy a lathe to make a custom chassis, but they were way too expensive and large. Funnily enough, I didn’t intend on making the hilt as short as I did. I was experimenting with trying to make a katana style hilt but failed. The only part of the sink tube that was still circular was what was left to make v3.
While I couldn’t get a lathe, I did convince my parents to buy me a 3D printer, which has time and time again proven to be the best investment I’ve ever made. Building a lightsaber was an excellent first project to get started in CAD and printing. The first thing I worked on was the blade socket. After a couple iterations, I was able to get the tolerances just right to fit the blade snugly but still be removable.
Next up was the crystal chamber. Since I had to consider ergonomics and size restraints, I ended up placing it at the bottom of the hilt. I know it’s technically wrong, but I had no other choice. Using some 3D printed parts, I made a basic crystal chamber using a quartz crystal and some brass tubes. The most stressful part was cutting out windows in the tube since I don’t have the most precise hands. It all worked out and I was left with a very nice crystal chamber.
Code
By far the most interesting part of the project was the code. I had never done anything particularly complicated before then, so it was a fun challenge. I put a lot of work into making a simple user interface using two buttons. The code is a bit messy, but I did end up implementing most of the features standard in more professionally made ones.
Here’s the code.
Final Assembly
With the electronics and code done, it was time to stuff everything into the chassis. And by stuff I actually mean it since it was a pretty tight fit. I didn’t really like that the lightsaber wasn’t easily repairable, but I fixed that in v4. I didn’t get any pics during the assembly, but here’s some of the final product.

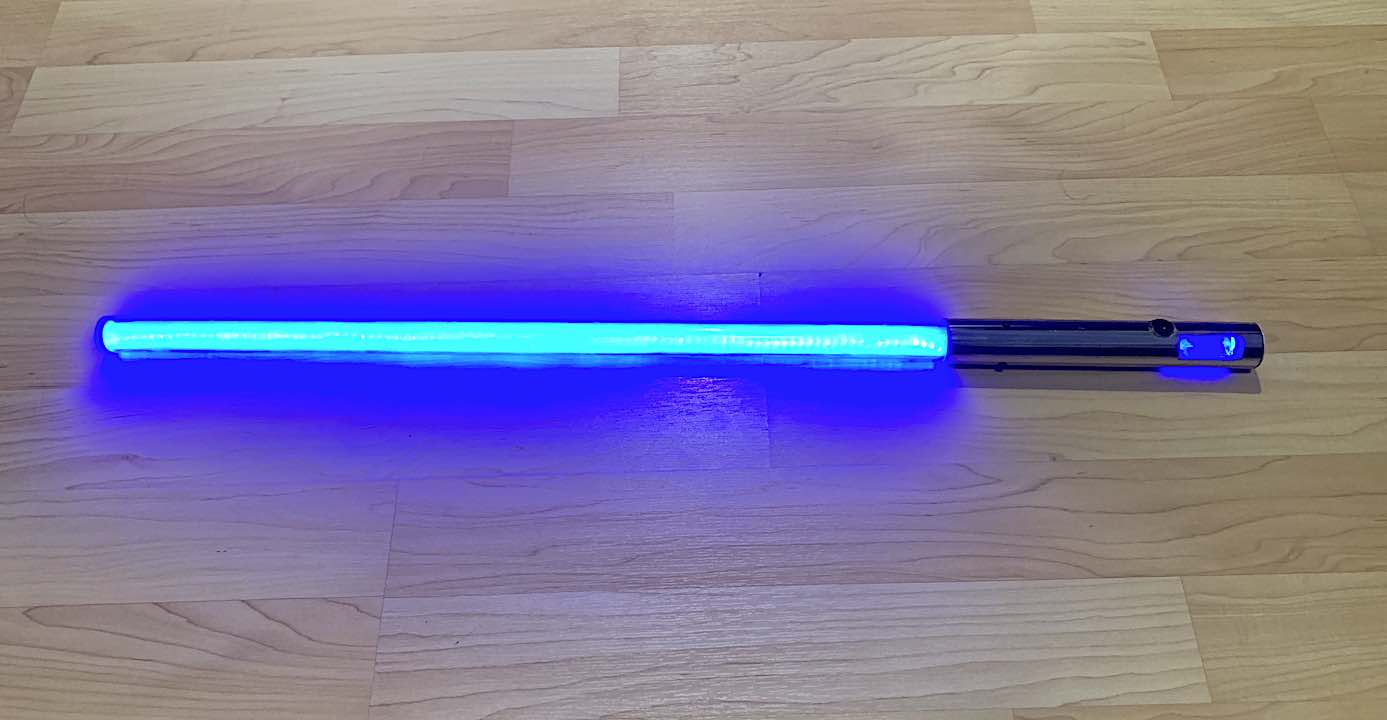
Here’s an old video of me wielding it. Wow I was young back then.
I swear it’s more blue in real life.


Comments