
STM32 Gaming Keypad
Written 8-28-19
Since I recently found out about the STM32 Blue Pill board, I saw it as the perfect opportunity to dive right into learning ARM. The STM32 Blue Pill board costs only about $2 on eBay and boasts a number of advantages over standard Arduino boards. The one thing I was always interested in was building a gaming keypad. Of course, I could’ve just used an Arduino Leonardo or a Teensy, but then I wouldn’t really be learning anything and it’d cost more.
After doing some research, I came across this website which was invaluable in getting started with using the STM32 as a HID device. The gist is you send reports that contain your input data in the format specified by your device descriptor. With the basics down, I got to designing the keypad.
Hardware
During the school year, I found out that Arrow was selling Cherry MX switches for $0.22 each. I immediately snatched up 25 Cherry MX Greens for myself. Unfortunately, they’ve since gone way up in price, at least for small quantities.
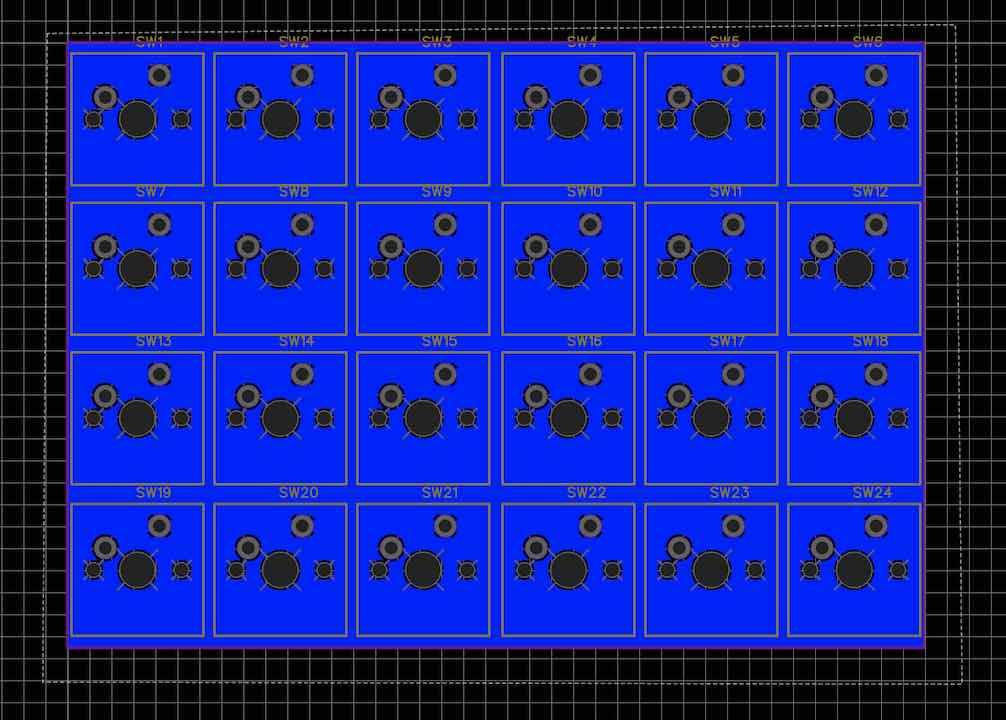
First, I used EasyEDA to design a board that could hold all the switches. Since I just needed a plate to add rigidity and hold switches in place, I didn’t add any traces.
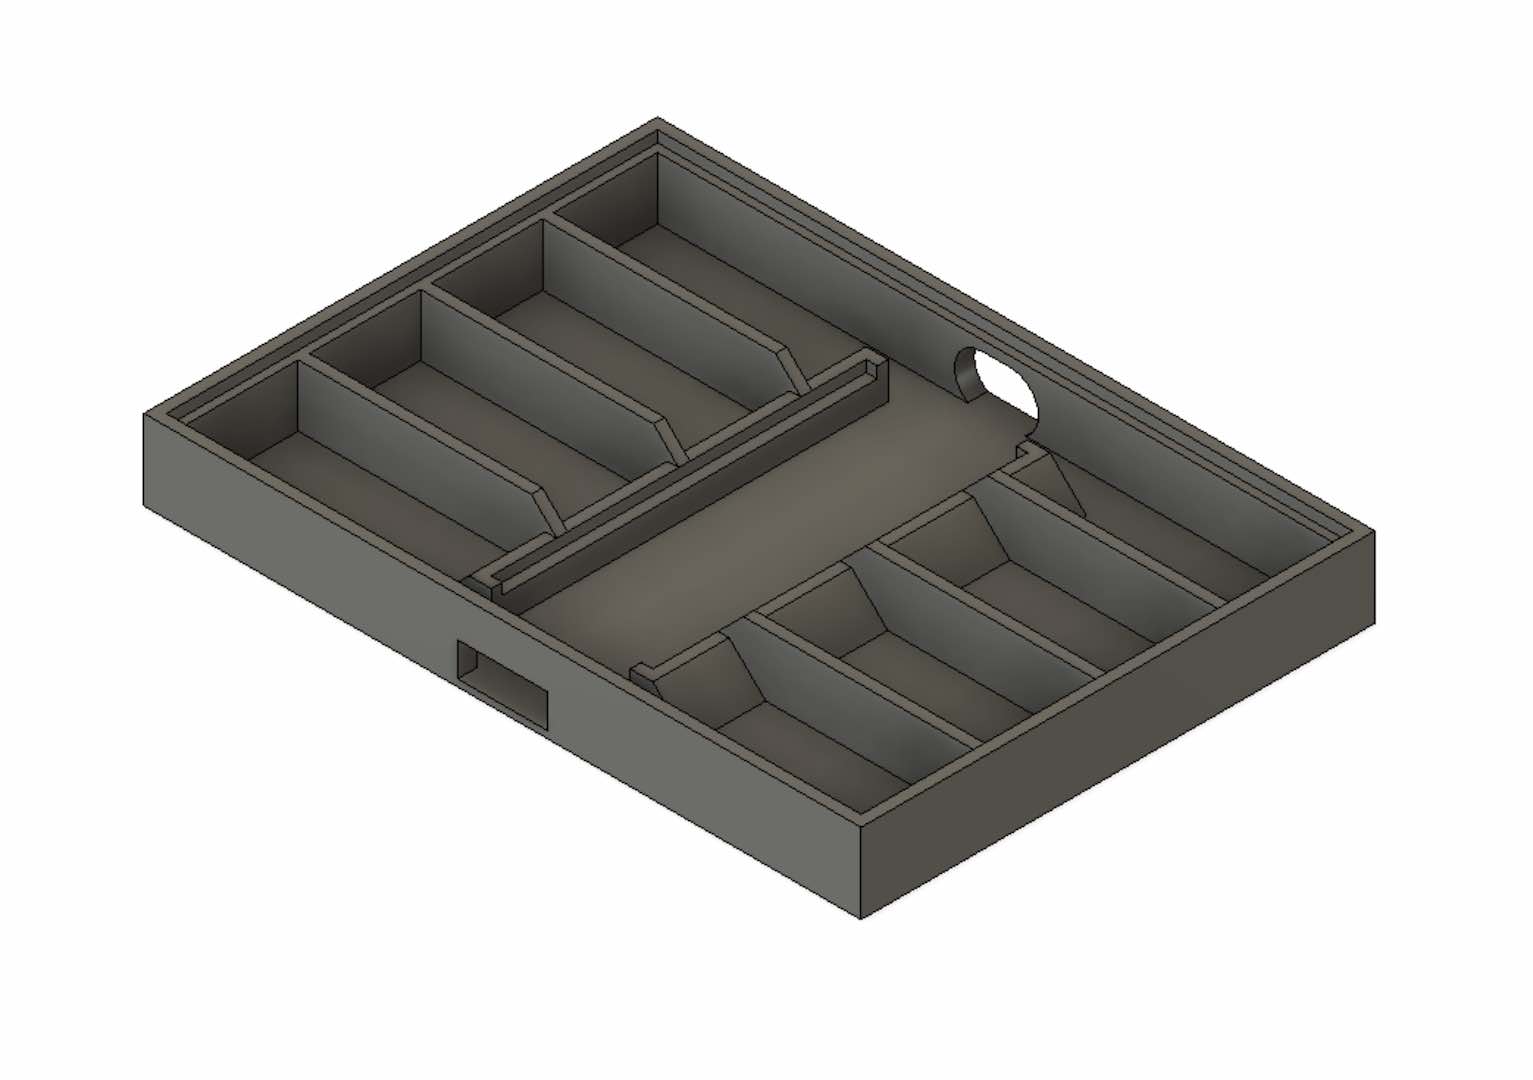
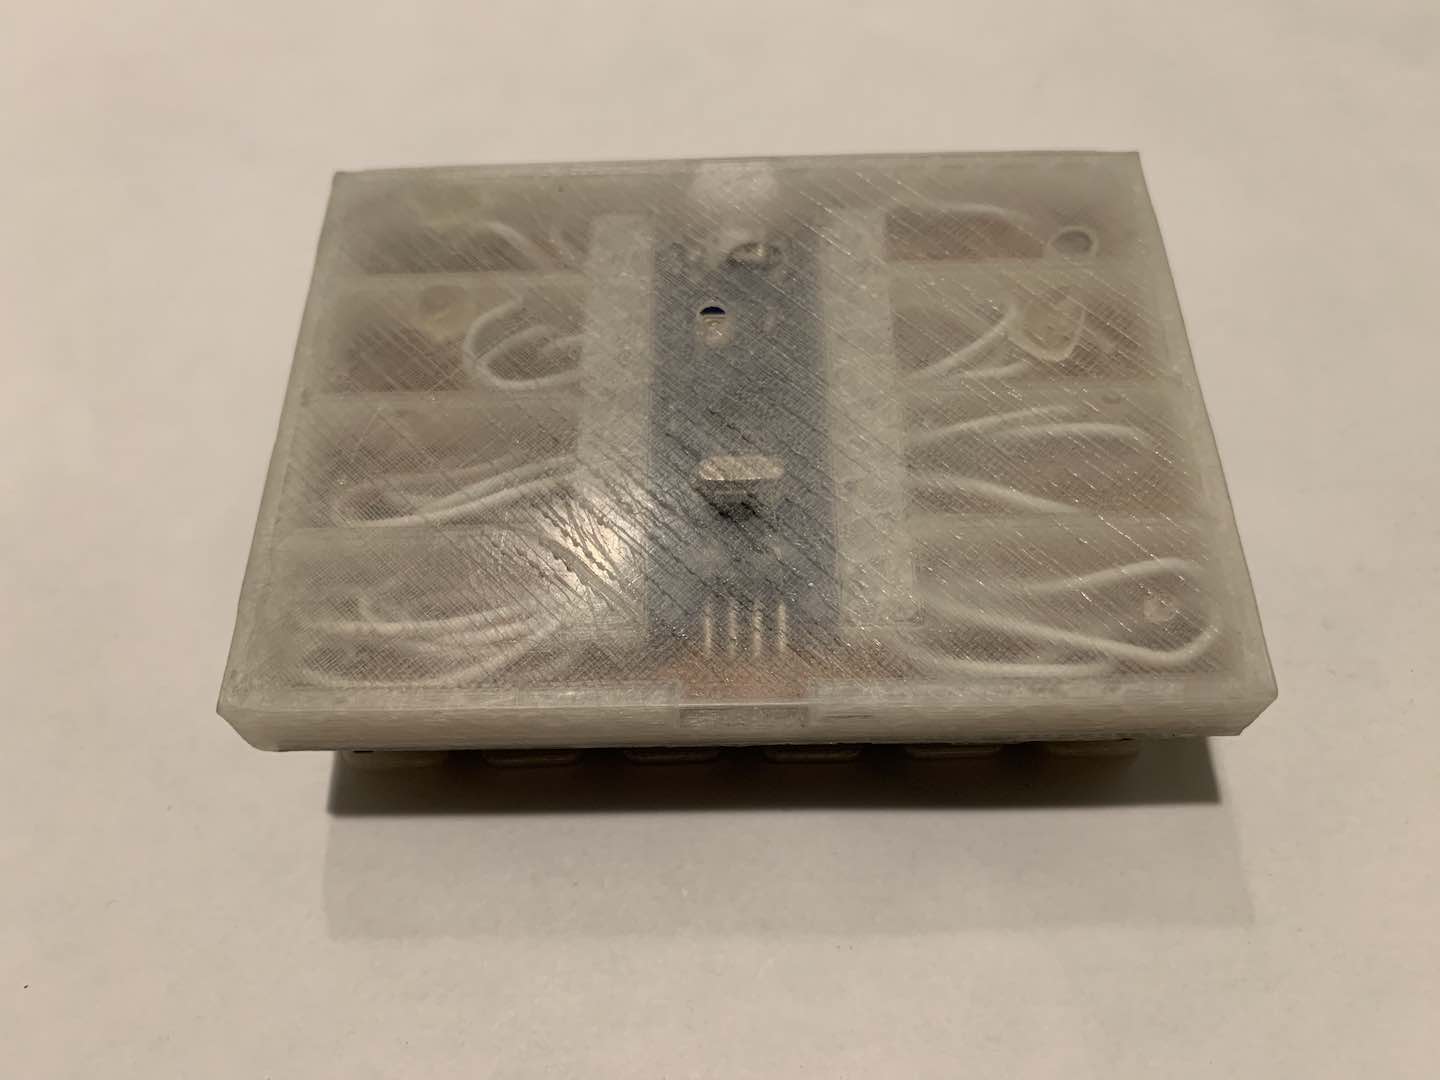
Then I launched Fusion 360 and modeled a case for the board.
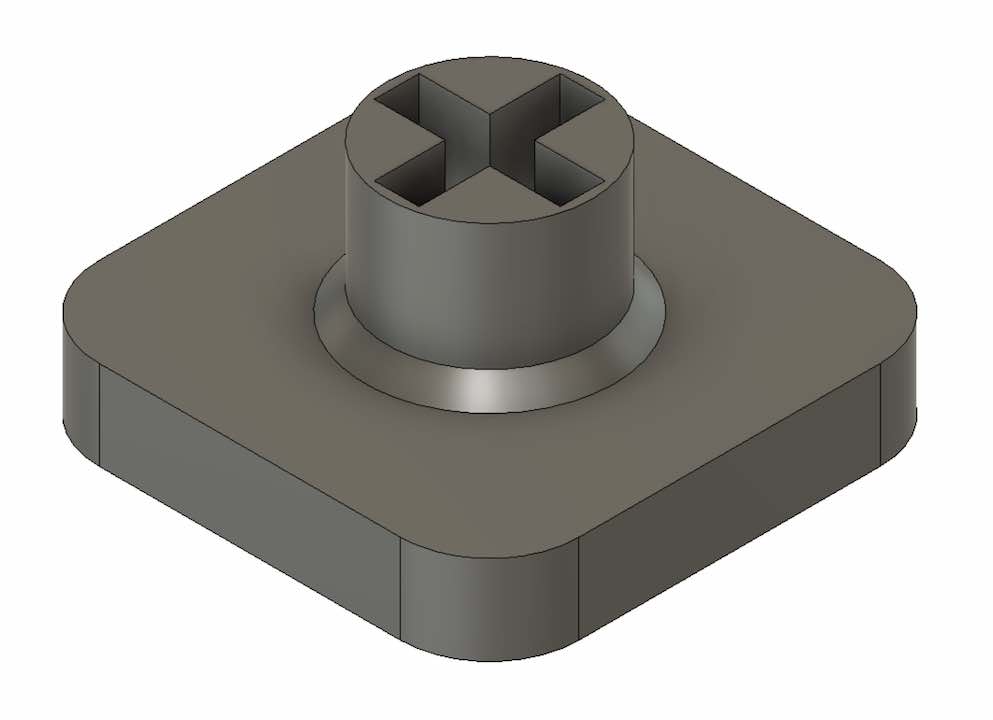
Next I looked into making keycaps. Due to the tight spacing I used to fit 24 switches onto the limited size of my FR4, it wasn’t compatible with standard keycaps. Trying some caps on Thingiverse, I found one that had a good fit and was relatively easy to bring into Fusion 360 and modify.
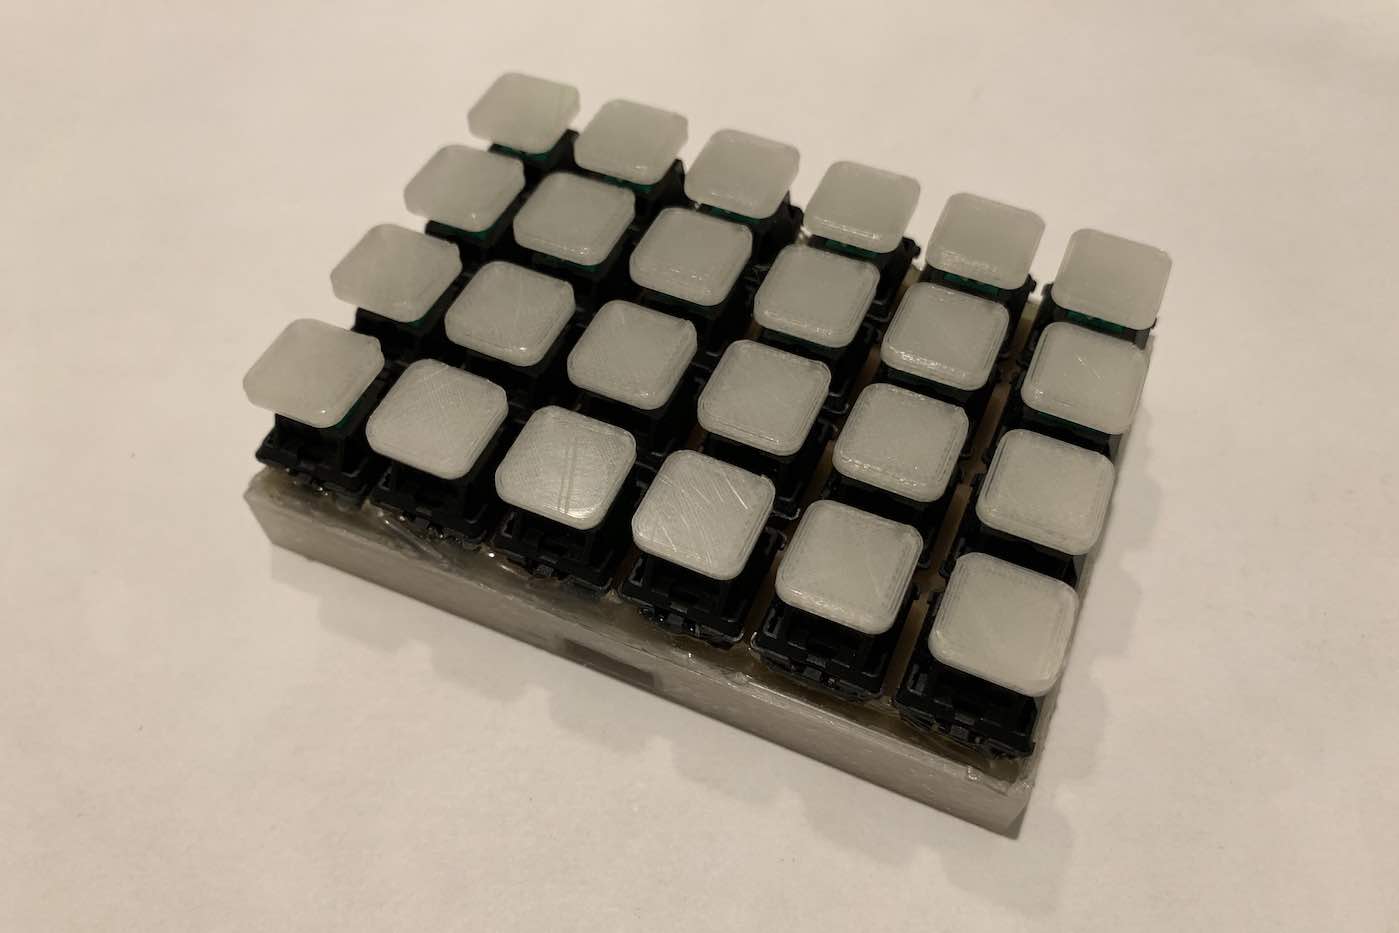
After making the PCB using my hybrid mill etch method and printing out the parts, I got to assembly. It was a bit hard cramming all the wires in, but I eventually did it and hot glued everything down.
Software
After finishing the hardware, I got onto writing the code. I started by making a device descriptor that could send two different reports, one for mouse commands and one for keyboard commands. The computer distinguishes these two reports using a report id. I used this tool to help out.
0x05, 0x01, // Usage Page (Generic Desktop Ctrls)
0x09, 0x06, // Usage (Keyboard)
0xA1, 0x01, // Collection (Application)
0x85, 0x02, //   Report ID (2)
0x05, 0x07, //   Usage Page (Kbrd/Keypad)
0x75, 0x01, //   Report Size (1)
0x95, 0x08, //   Report Count (8)
0x19, 0xE0, //   Usage Minimum (0xE0)
0x29, 0xE7, //   Usage Maximum (0xE7)
0x15, 0x00, //   Logical Minimum (0)
0x25, 0x01, //   Logical Maximum (1)
0x81, 0x02, //   Input (Data,Var,Abs,No Wrap,Linear,Preferred State,No Null Position)
0x95, 0x06, //   Report Count (6)
0x75, 0x08, //   Report Size (8)
0x15, 0x00, //   Logical Minimum (0)
0x25, 0x65, //   Logical Maximum (101)
0x05, 0x07, //   Usage Page (Kbrd/Keypad)
0x19, 0x00, //   Usage Minimum (0x00)
0x29, 0x65, //   Usage Maximum (0x65)
0x81, 0x00, //   Input (Data,Array,Abs,No Wrap,Linear,Preferred State,No Null Position)
0xC0,		// End Collection

0x05, 0x01, // Usage Page (Generic Desktop Ctrls)
0x09, 0x02, // Usage (Mouse)
0xA1, 0x01, // Collection (Application)
0x85, 0x01, // Report ID(1)
0x09, 0x01, //   Usage (Pointer)
0xA1, 0x00, //   Collection (Physical)
0x05, 0x09, //     Usage Page (Button)
0x19, 0x01, //     Usage Minimum (0x01)
0x29, 0x03, //     Usage Maximum (0x03)
0x15, 0x00, //     Logical Minimum (0)
0x25, 0x01, //     Logical Maximum (1)
0x95, 0x03, //     Report Count (3)
0x75, 0x01, //     Report Size (1)
0x81, 0x02, //     Input (Data,Var,Abs,No Wrap,Linear,Preferred State,No Null Position)
0x95, 0x01, //     Report Count (1)
0x75, 0x05, //     Report Size (5)
0x81, 0x01, //     Input (Const,Array,Abs,No Wrap,Linear,Preferred State,No Null Position)
0x05, 0x01, //     Usage Page (Generic Desktop Ctrls)
0x09, 0x30, //     Usage (X)
0x09, 0x31, //     Usage (Y)
0x09, 0x38, //     Usage (Wheel)
0x15, 0x81, //     Logical Minimum (-127)
0x25, 0x7F, //     Logical Maximum (127)
0x75, 0x08, //     Report Size (8)
0x95, 0x03, //     Report Count (3)
0x81, 0x06, //     Input (Data,Var,Rel,No Wrap,Linear,Preferred State,No Null Position)
0xC0,       //   End Collection
0xC0,       // End Collection */
// 95 bytes
After that I wrote the structs for the reports and the code to handle each switch’s keypress. Here’s my code. I don’t like the large, repetitive switch case statement, but it’s what I came up with at the time and is pretty user friendly. It’s currently setup to play Destiny 2.


Comments