
STM32 Xbox Controller
Written 8-27-19
Continuing my exploration of USB HID, I decided to try my hand at making a controller. I started with implementing a game pad’s HID descriptor and then firing up joy.cpl to test everything. To my delight, the two joysticks and 16 buttons all showed up. With the coding portion looking promising, I proceeded to make the actual controller.
Assembly
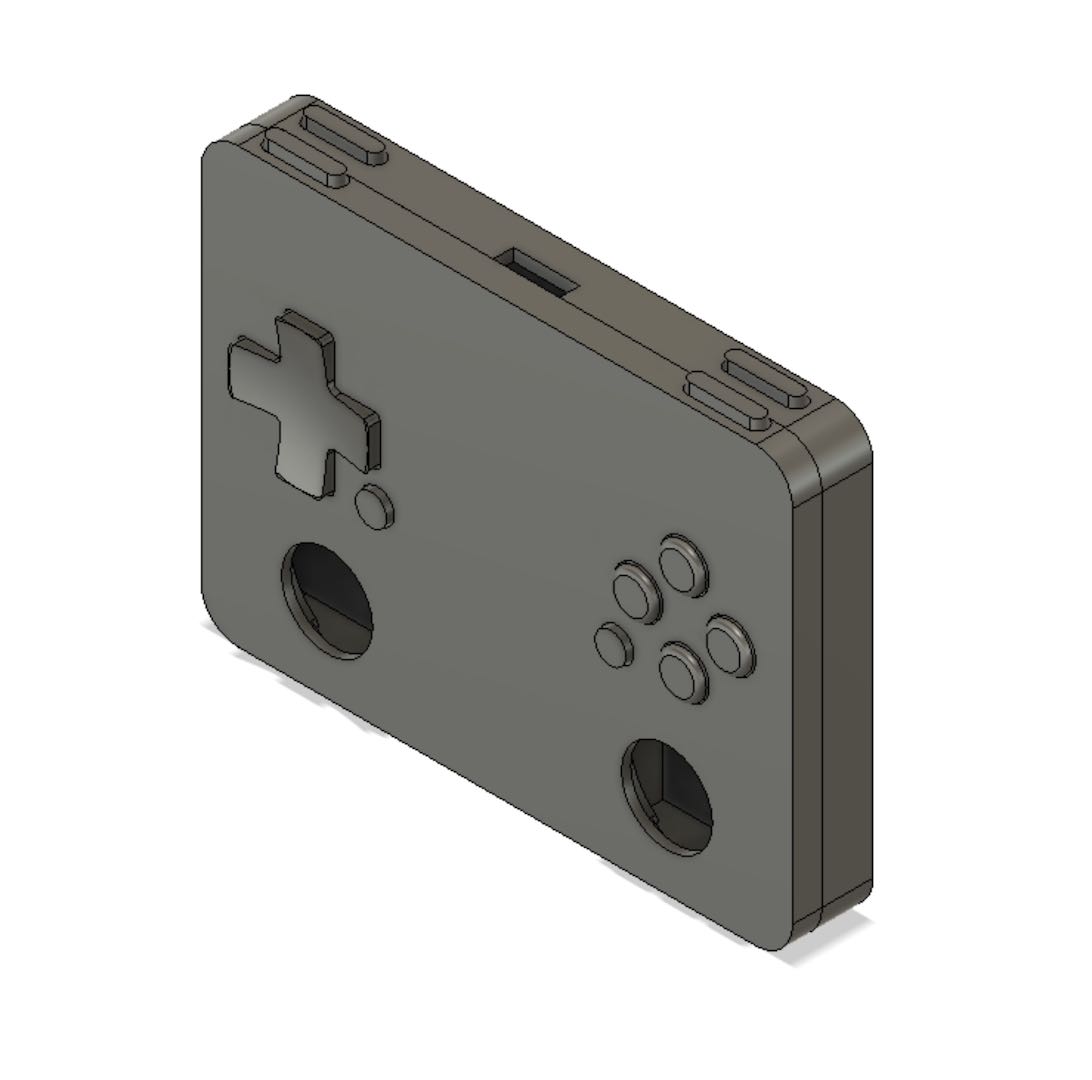
First, I needed to make a CAD model of the remote. As with any mini project, I wanted to use only parts I already had on hand. The joysticks would be these tiny PSP replacement parts that I got about 8 years ago and would finally find a use for. The buttons would be leftover tactile switches from Mission Possible. Both the STM32 Blue Pill board and the joysticks served as the main restrictions determining the form factor and size of the controller. To determine the size of the D-pad and ABXY button spacing, I took measurements off of my DSi.
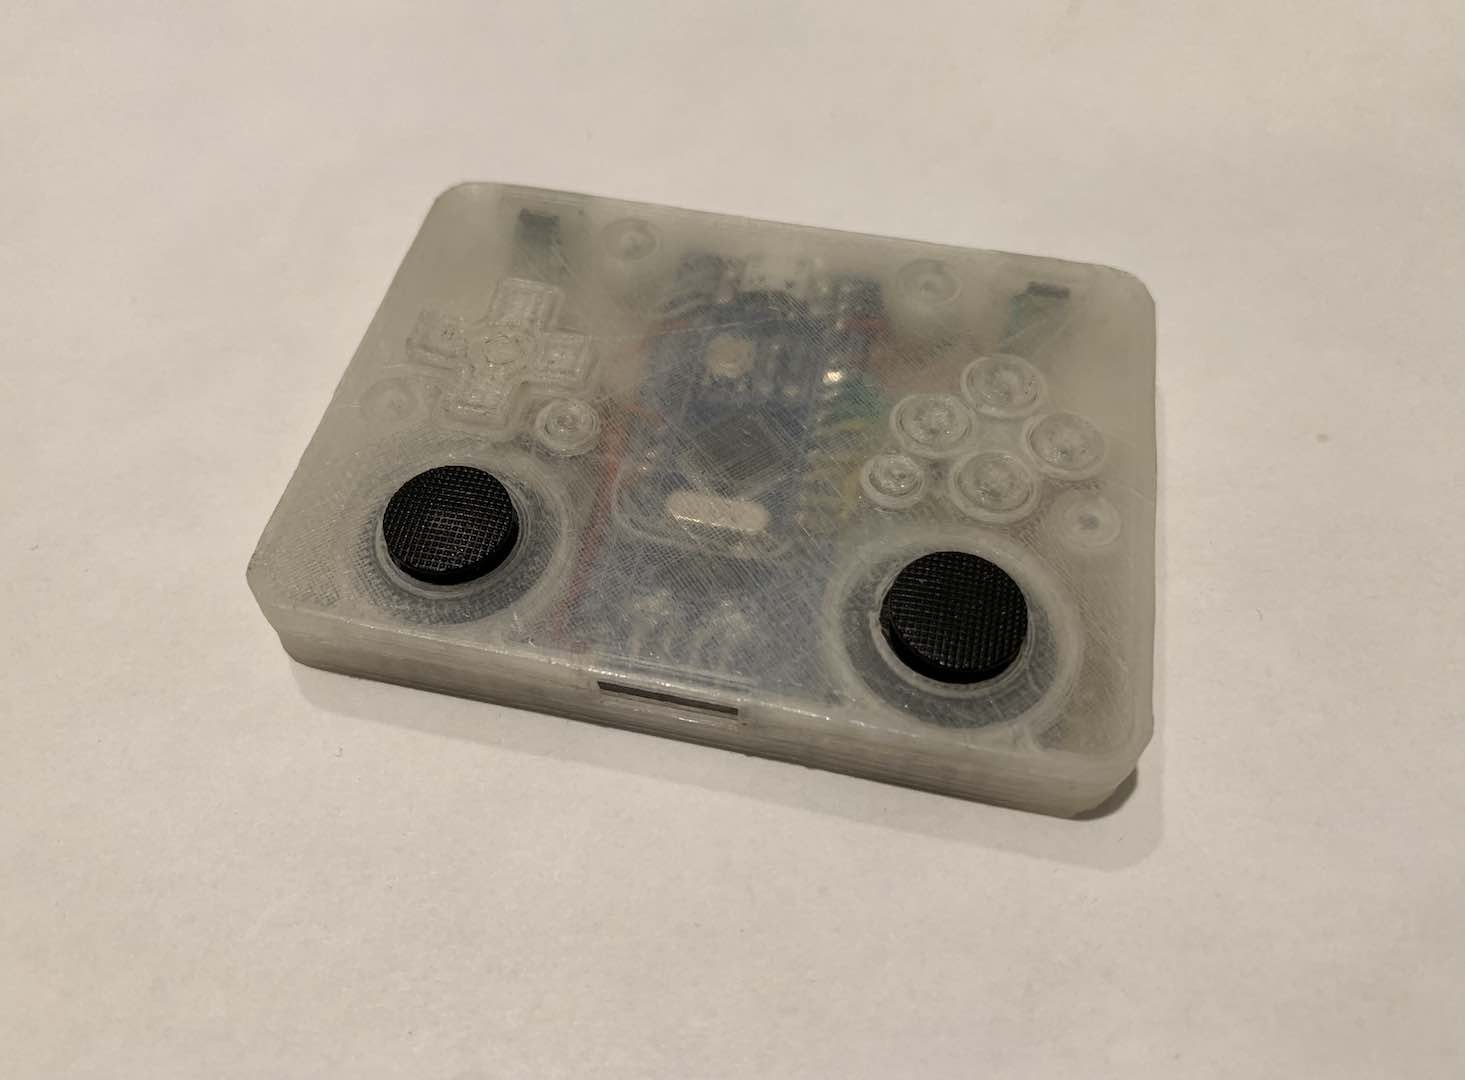
Funnily enough, I didn’t take any pictures of me assembling the electronics. The gist of the wiring that went into the controller was gluing the buttons down and soldering wires to every button. After that I sealed everything up with a couple of screws.
Code
With the hardware done, it was time to finalize the software. I just took my test code from before and remapped all the GPIO that I used. Using joy.cpl, I made sure all the buttons and joysticks were working properly.
Trying to play Rainbow Six Siege with my new controller, I ran into my first problem. The game would not pick up my controller. I tried Battlefield 4 and had the same issue. Googling it, I found out that the problem was the fact that my controller communicated with the DirectInput API instead of XInput. It turns out that these games I was trying to play didn’t support DirectInput.
Doing research on implementing an XInput controller on STM32, I stumbled across nesvera’s STM32-X360-xinput repository. His code did literally everything I needed my controller to do and implemented XInput perfectly, so I decided to use it. I did have to download Keil uVision to open the project, but after changing all the GPIO mappings to match my controller, I was set.
Using Game Controller Tester, I was delighted to see that everything was finally working. I could finally play R6S and BF4 using a controller. Since I’m a PC gamer, I immediately switched back to my trusty mouse and keyboard.
Android Gamepad
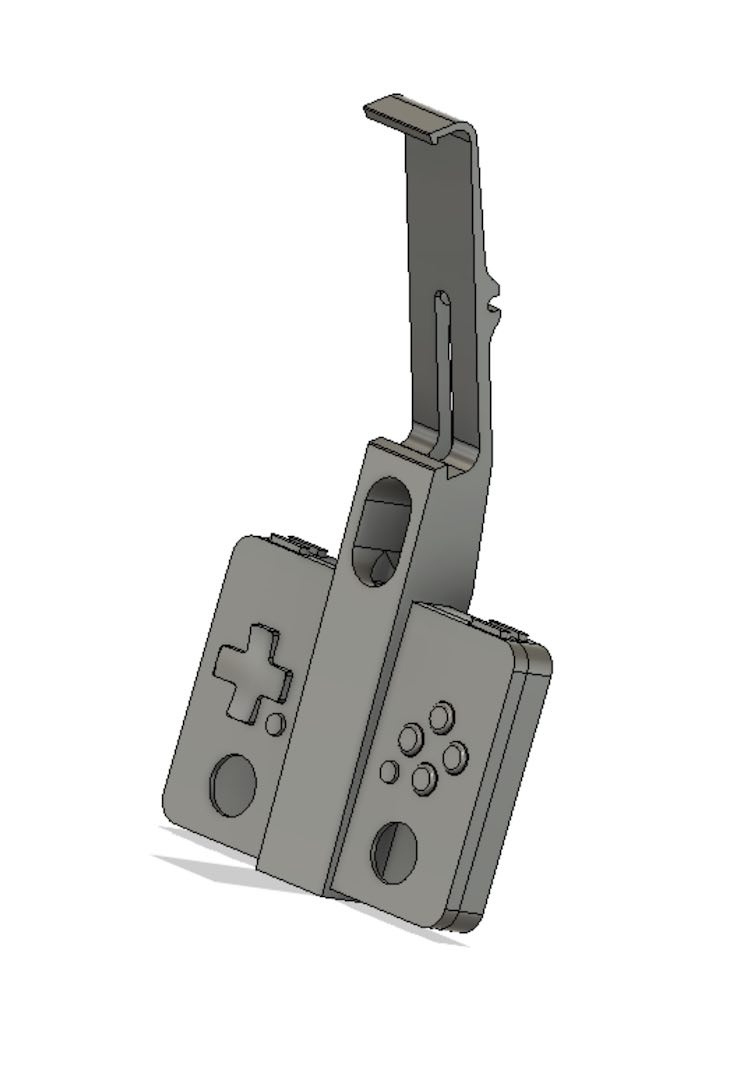
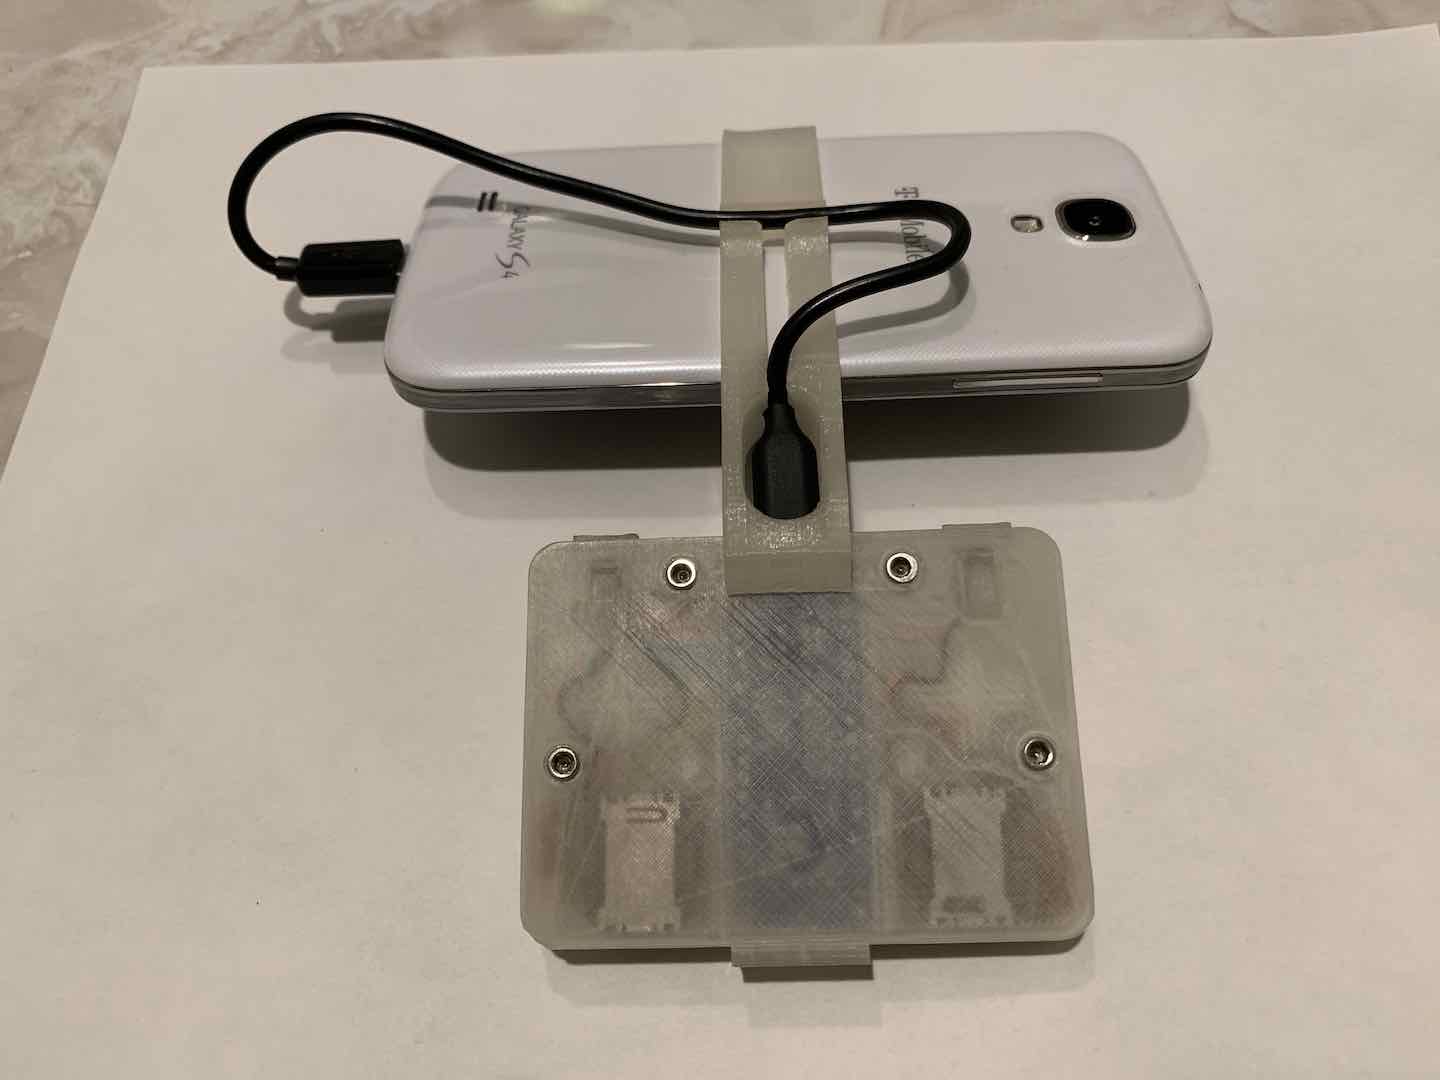
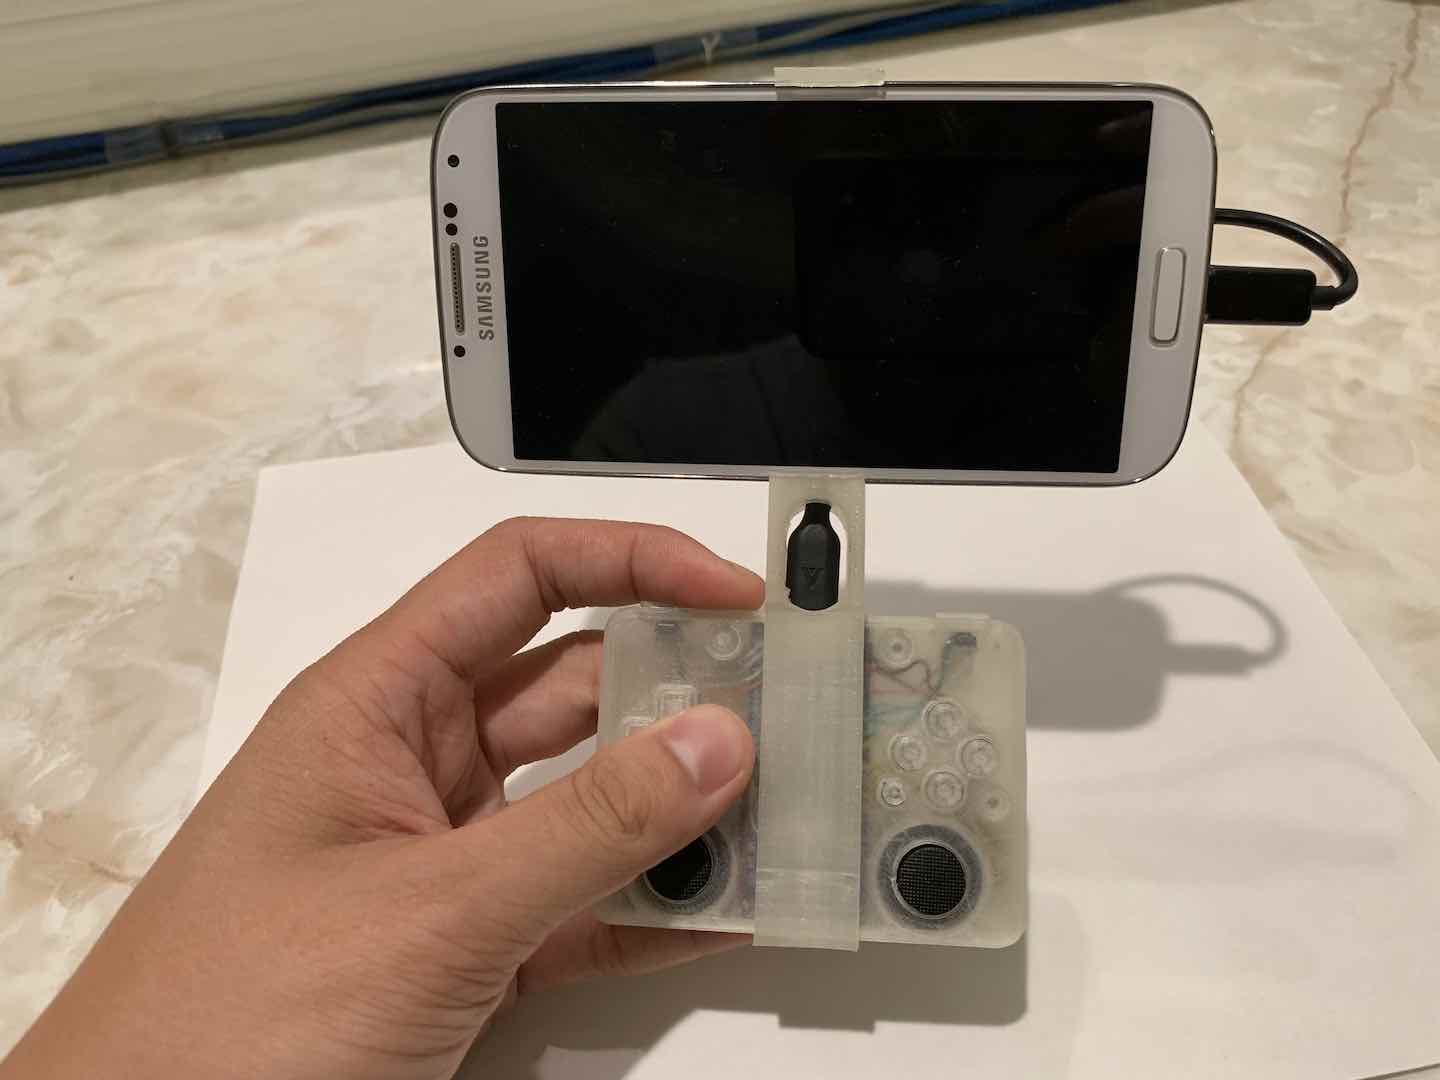
Inspired by all the Android gamepad controllers out there, I decided to make my own. I have a Galaxy S4, so I started with making a custom USB OTG cable to connect the microUSB from the GS4 to the microUSB of my controller. After making sure the controller was recognized on the GS4, I proceeded to design a mount.
If I remember correctly, Retroarch has native support for the Xbox 360 controller, but games like Modern Combat 5 don’t so I used Tincore Keymapper to help with that.
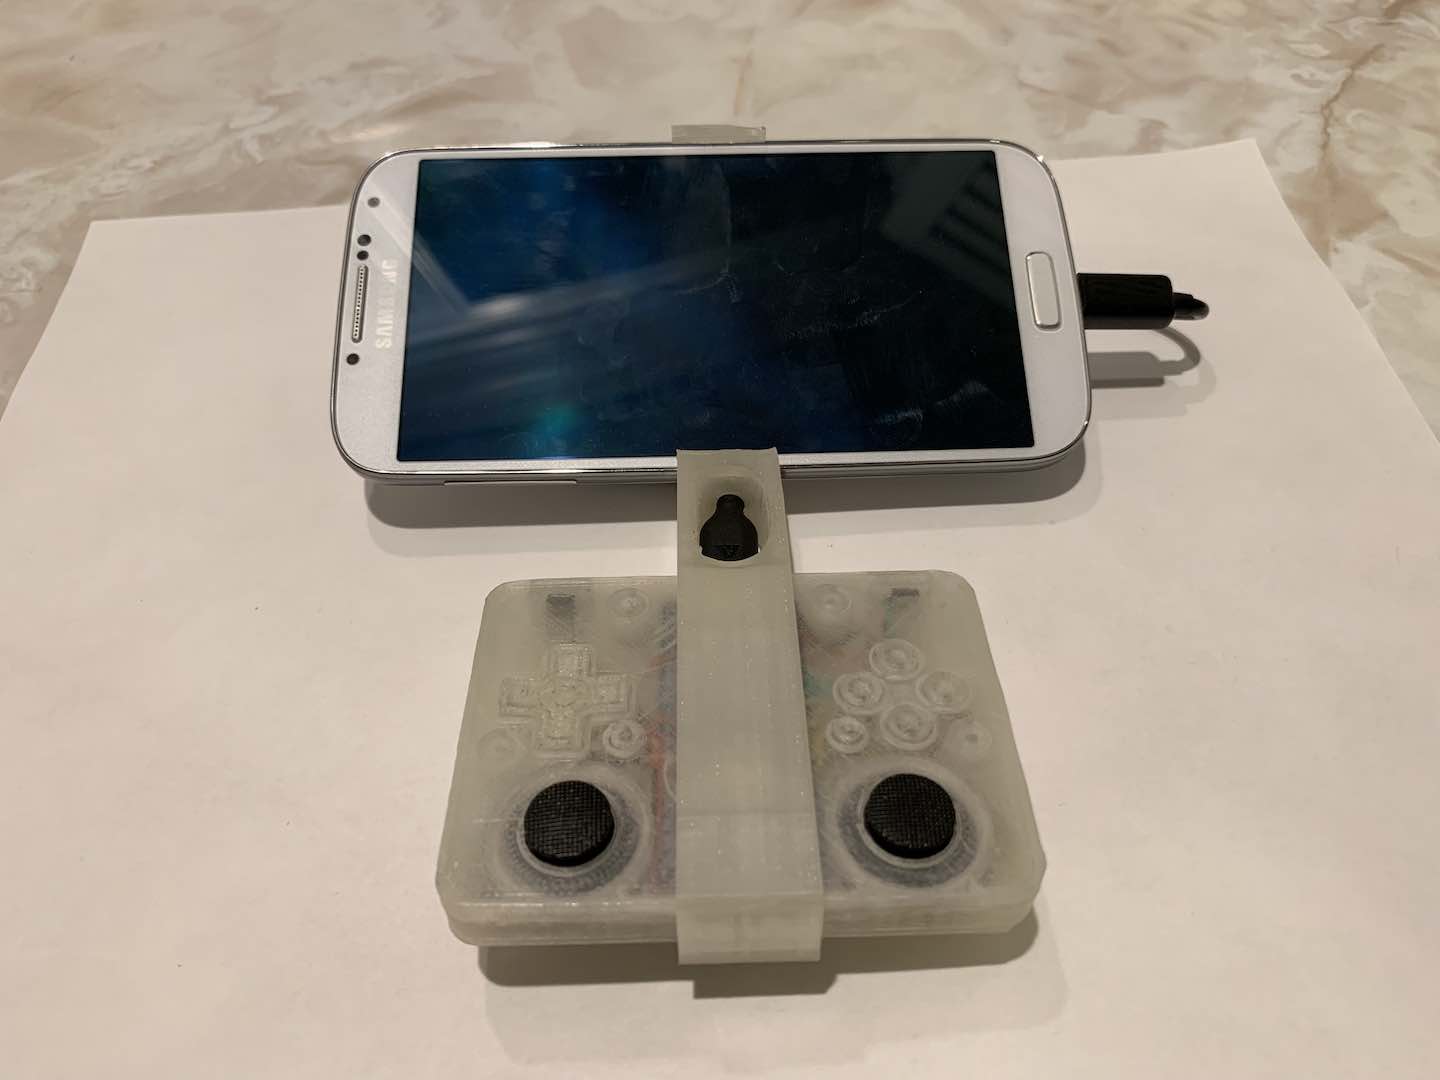
All in all, this was a really fun and cute little project. I’m not much of a console player, so I’ve pretty much used this controller exclusively for retro gaming.


Comments