Pi Zero W USB Dongle
Written 8-27-19
Among all the really cool things that a Pi Zero W can do is turning into a USB dongle. Power is provided over USB and the Pi shares your computer’s internet connection. All the power, convenience, and GPIO of a Raspberry Pi in a little USB stick.
The software setup of enabling USB dongle mode on a Pi is pretty trivial, but I’ll give all the steps I took to get the Pi up and running.
- Install the latest version of Raspbian (I use Etcher)
- Enable SSH (
touch sshin the boot directory) - Enable USB mode
- Open config.txt and add
dtoverlay=dwc2to the very bottom - Open cmdline.txt and add
modules-load=dwc2,g_etherafterrootwait
- Open config.txt and add
- Plug the Pi into your computer (you can actually just connect a microUSB cable from the USB port on the Pi for testing purposes)
- SSH into it at raspberrypi.local and change the hostname in raspi-config to whatever you like
- Expand the file system in raspi-config
- Install Vim
sudo apt update && sudo apt upgrade
In order to do that last command you’ll need to share your internet connection with the Pi. I recommend checking out this site for more info. If you’re on Windows and internet sharing isn’t working, bridging the ethernet connections is inconvenient but usable. MacOS is much simpler, just enable one setting.
With the software set up, I proceeded to work on a case. Firing up Fusion 360, I got to modeling.
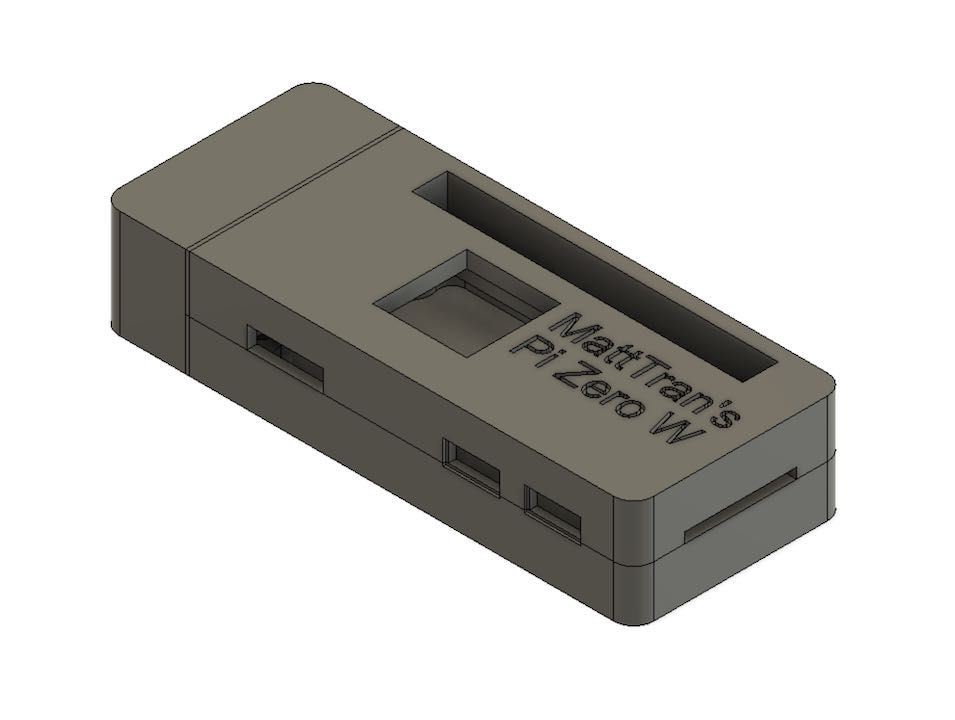
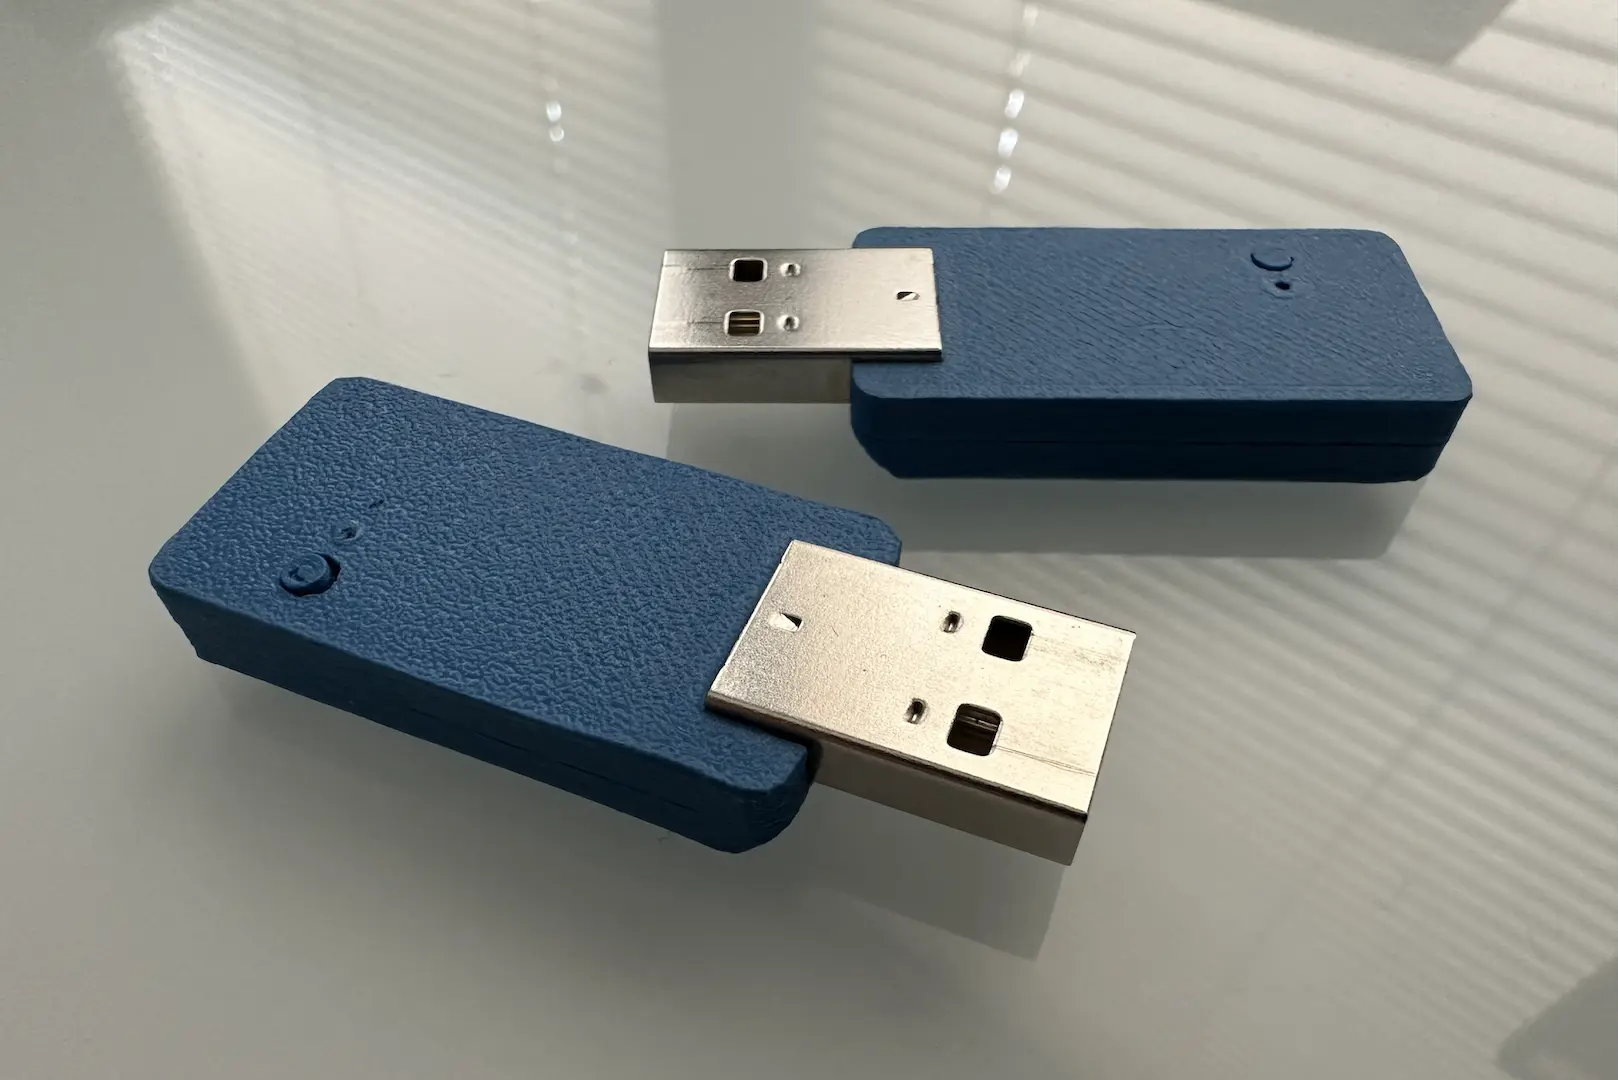
After printing it and lots of sanding to get every edge smooth, I had this.
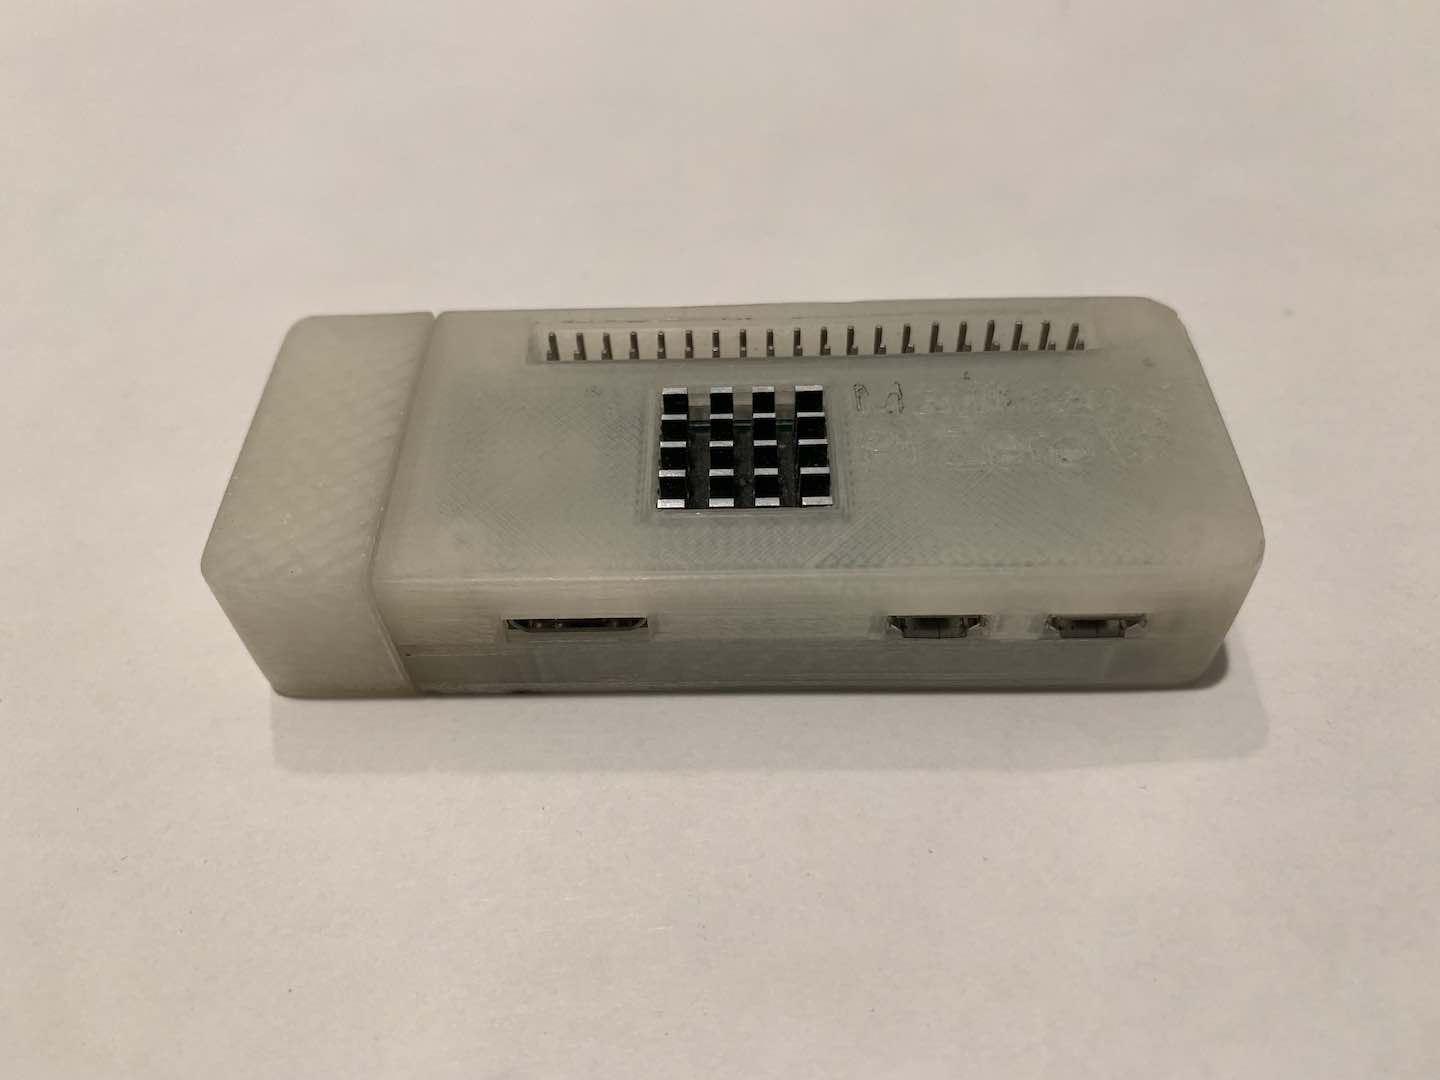
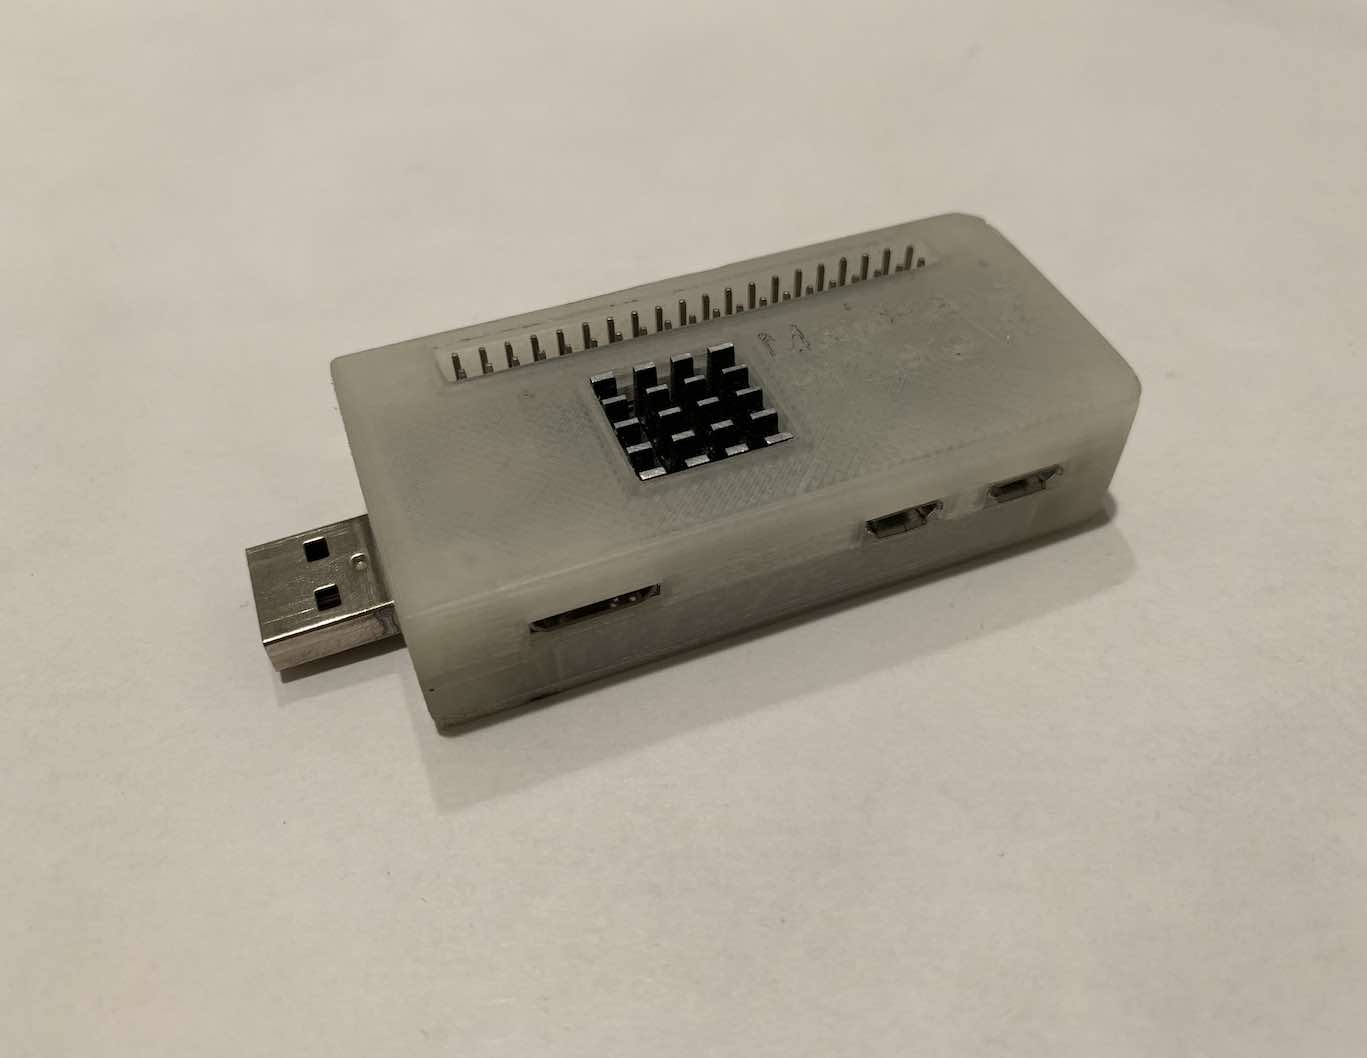
One thing I really liked about my 3D print is the fit of the cap. Inspired by the feel of a Patriot USB flash drive I had laying around, I eyeballed a couple of bumps on the cap. To my surprise, in one try I ended up with a cap that has a very satisfying slide and tactile click.


Comments