
CNC Router
Written 9-2-19
Seeing how revolutionary buying a 3D printer was to how I engineer, I decided to build a CNC router. I had two weeks between the end of the school year and the beginning of my internship to complete this project, so it was quite the squeeze. Before the end of the school year, I put together a list of parts to buy so I could get started quickly.
Hardware
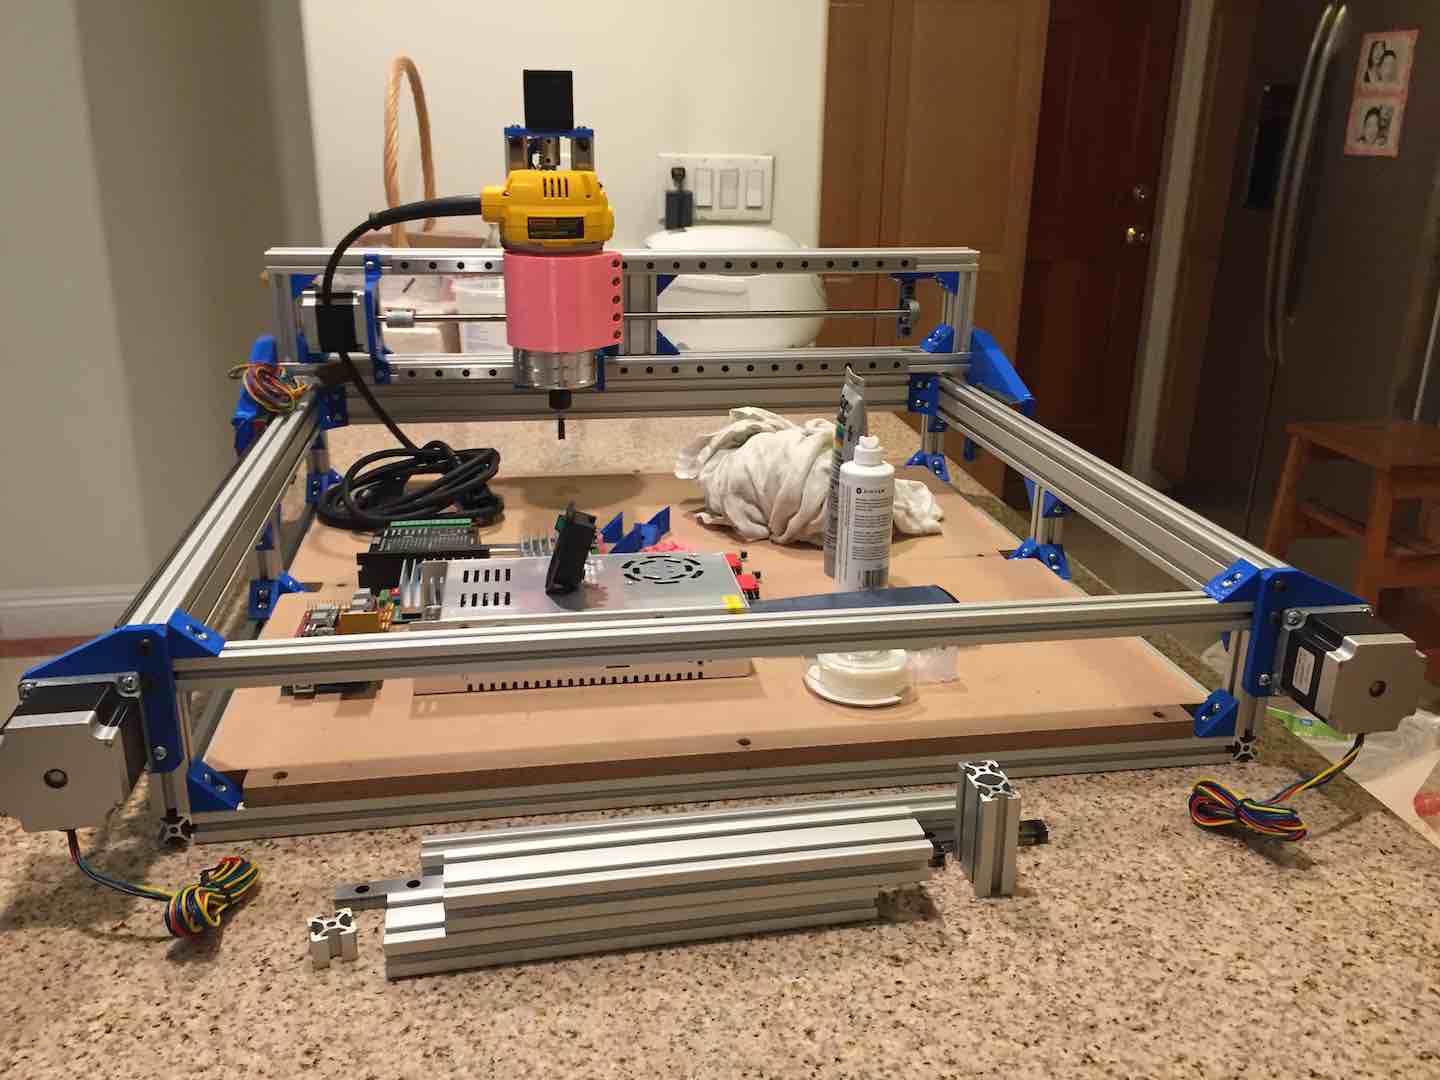
I don’t remember every little part that went into the CNC router, but the construction consists of 20mm aluminum extrusions (go metric!), linear rails (the cheapest ones on Amazon), lead screws, NEMA 23 steppers, and a DeWalt DWP611 router.
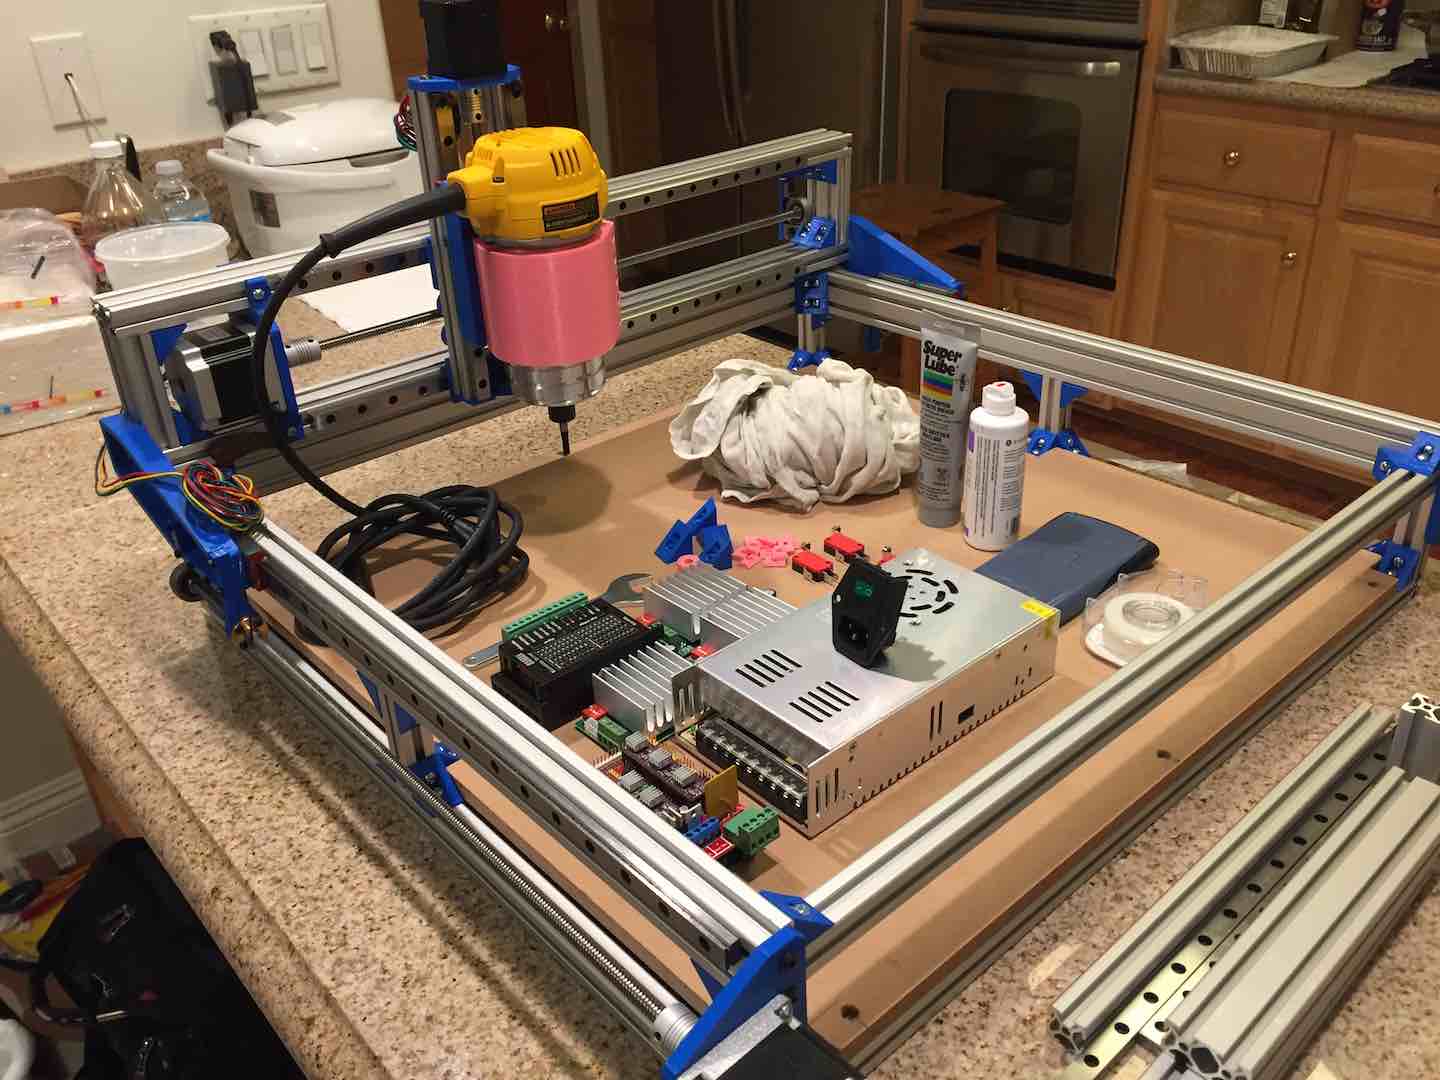
My budget was around $700, which I did achieve. However, I had to compromise on stiffness by using 3D printed parts. In the future, I’ll replace a lot of the plastic components with aluminum. Still, for a lot of the joints, 3D printed parts proved stiff enough. I designed the CNC router before I learned how to do assemblies in Fusion 360, so there isn’t one file that captures the entire thing. Instead, here’s a pic of when I completed the hardware.
Electronics
Since I initially wanted to build a 3D printer, I had a RAMPS 1.4 board and Arduino Mega so I used that. Since I was using NEMA 23 steppers, I couldn’t use standard DRV8825 or A4988 drivers that normally fit in a RAMPS board. Instead I bought some TB6600 on Amazon. For some reason, the ones that come in a nice metal case can’t output their rated 4A, but the more sketchy-looking ones with a large aluminum heatsink can.
Cable management was a pretty big deal because having a cable snag or even worse get caught in the router bit would be very bad. Using cable chains and stuffing wires into the aluminum extrusions’ channels, I made everything pretty neat. One issue I did run into was noise affecting the limit switch wires which I ran right next to the stepper motor wires. I fixed this by adding a capacitor next to the Arduino.
Software
To power the CNC router, I used an Arduino Mega version of the popular grbl software. To send commands to the CNC router, I used bCNC running on a Pi Zero W. Later on, I switched over to cncjs which has a much nicer web interface but no leveling command.
Conclusion
After two weeks, I had a pretty decent CNC router. It worked really well on wood and plastic, but left something to be desired with aluminum. It probably didn’t help that I was using the cheapest bits I could find on Amazon. Over the course of the rest of the summer, I taught myself CAM using Fusion 360 and upgraded some parts of the CNC router to deal with thermal and stiffness issues. I also added a dust shoe. Overall, a worthy addition to my toolbox.


Comments