Hovercraft 2018
Written 8-31-19
Reading the rules for Hovercraft for the 2018 SciOly season, I immediately noticed a couple of changes I had to keep in mind. First and foremost, transistors were disallowed, probably because of my clever design from last year. Next, the hovercraft now had to carry about 2kg in penny rolls instead of being 2kg itself. Last, while the maximum dimensions for the hovercraft were larger, the track width was also much larger. Another change was that lithium batteries were now disallowed.
Like last year, the main task for the hovercraft was to travel a certain distance in a certain amount of time, without stopping for more than 3 seconds at a time. Since a hovercraft has a pretty small amount of friction, it’s hard to adjust the thruster to account for the range of times and distances needed.
Astable Multivibrator using Relays
My idea from last year was to use an astable multivibrator using transistors (no integrated circuits allowed) and it worked absolutely perfectly. Pulsing the thruster every 3 seconds (2.5 to be safe) makes the hovercraft inch forward. A little before the target time passes, another timer triggers, putting the thruster at full speed, bringing the hovercraft to the finish line.
Although transistors were disallowed this year, relays were still allowed. This was perfect since I could use a relay to provide the same functionality as a transistor. The gist of an astable multivibrator is that there are two switches that each turn each other off. Capacitors and resistors slow down this oscillation to achieve the desired frequency and duty cycle.
At first I tested a delayed trigger on a relay using a capacitor and that worked. One thing to note is that since a relay has a coil that constantly draws a decent amount of current, there is a maximum resistor value. Then I moved onto the astable multivibrator part. I tried using just one relay first because I reasoned that the tiny pulse as a relay turned itself on then immediately off would be enough.
The pulse ended up being too small, so I ended up designing a dual relay astable multivibrator to be able to control all aspects of the frequency and duty cycle. Here’s a video when I finally made a design that worked.
With the circuit designed, I proceeded to design the final circuit and build it. There’s two parts, the astable multivibrator and the delayed trigger relay. Although I did use 4 relays, I’m pretty sure I could’ve reduced it to 3.
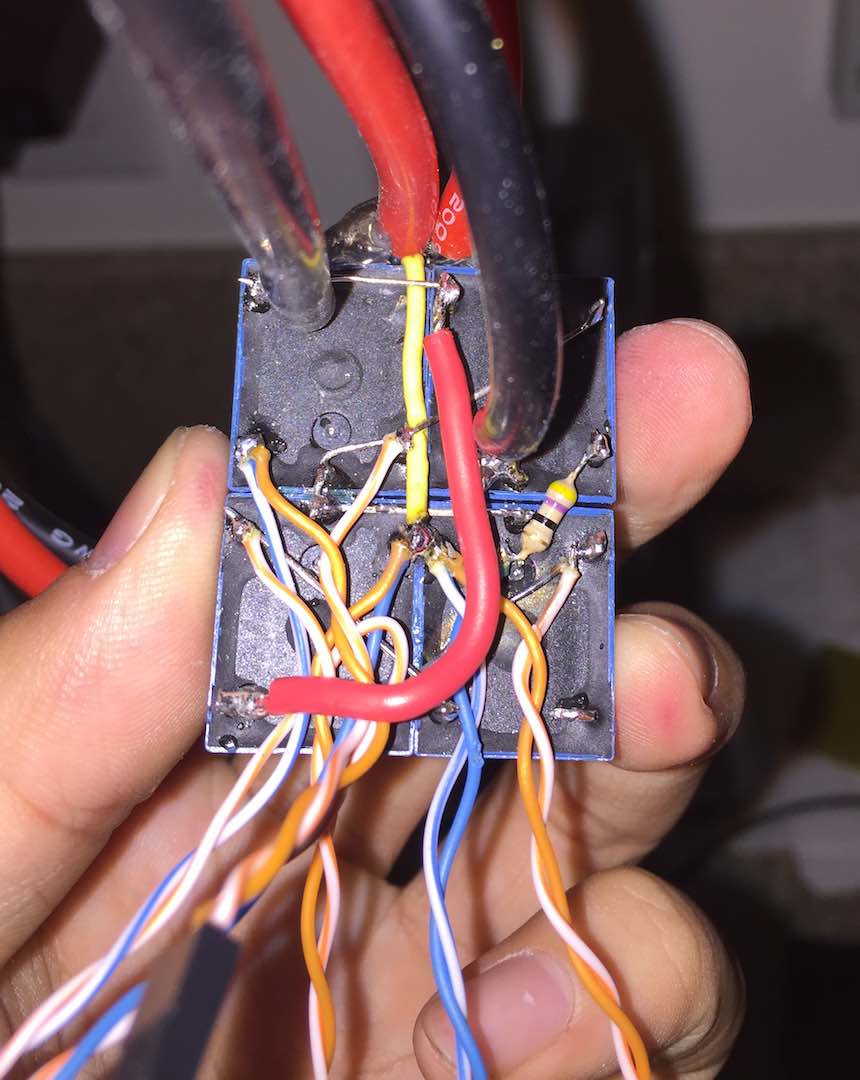
I kept most of the capacitors and resistors separate and easily replaceable so that I could determine what capacitance I needed. The capacitor for the delayed trigger relay ended being about 70mF which meant a pretty big capacitor bank.
Lifting All the Pennies
The next step was to lift 16 rolls of pennies (~2kg). I started by trying my design from last year. It did hold everything but was relatively unstable. In order to increase maximum weight held and stability, I designed an all-new hovercraft that was shorter and was as big as I could realistically work with to maximize area.
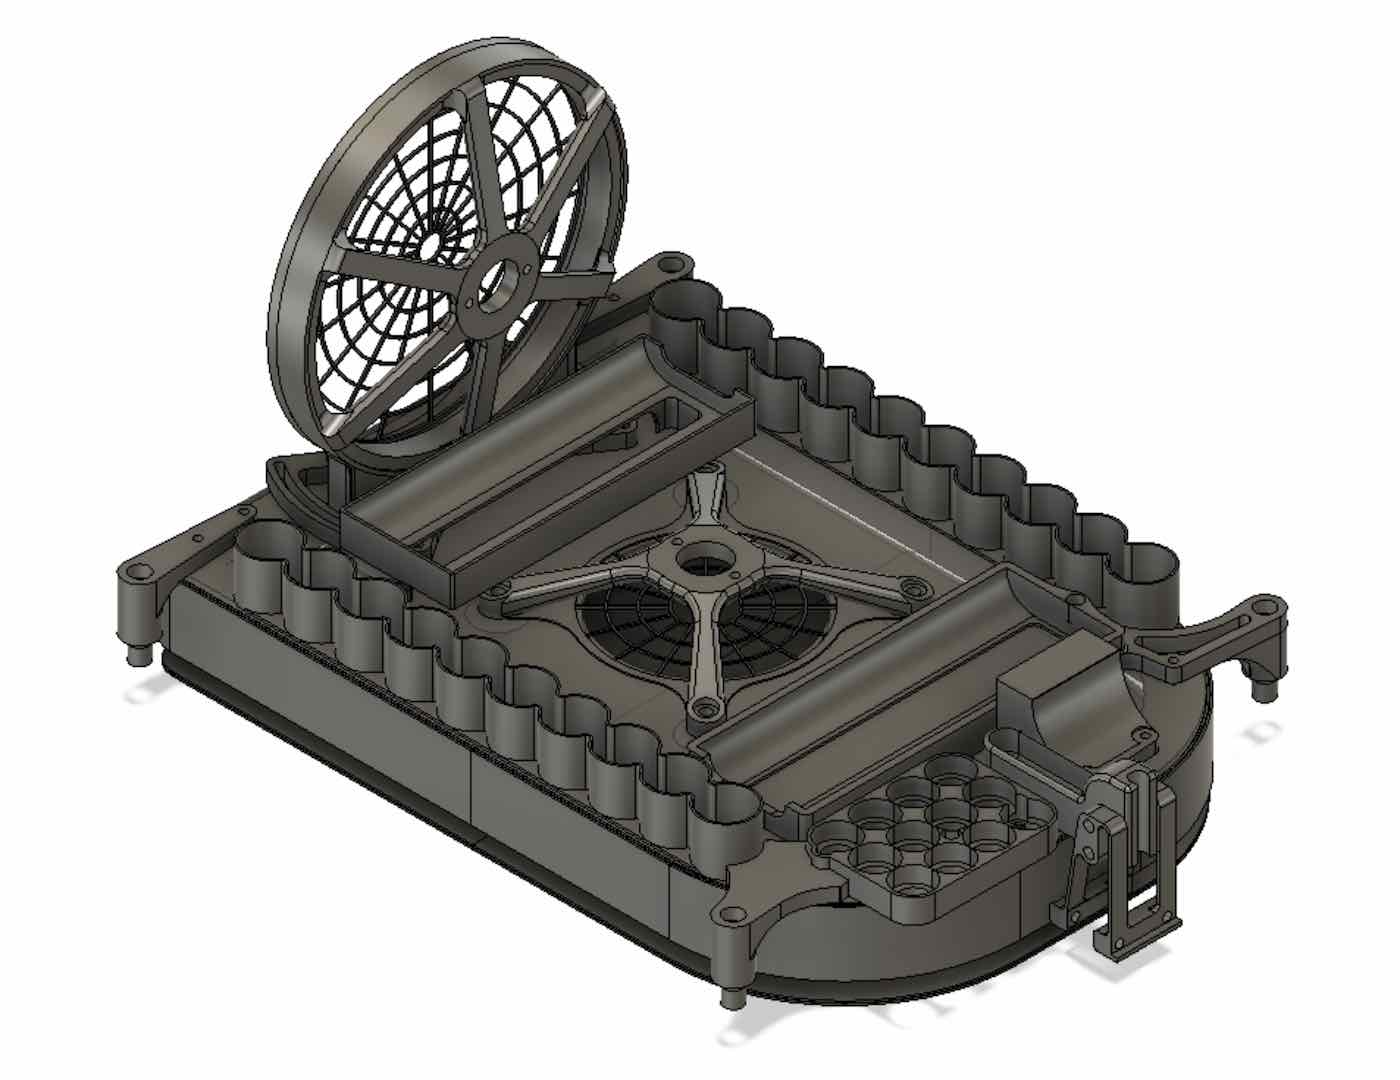
Since the hovercraft was now bigger than the area of my 3D printer, I cut the base plate out of acrylic on my CNC router. I printed the side walls and used super glue to attach them to the acrylic. Doing some basic tests with the same impeller from last year, there was a significant increase in lift. I tried changing the size of the impeller, but it didn’t make much difference, likely because I didn’t change the intake hole size.
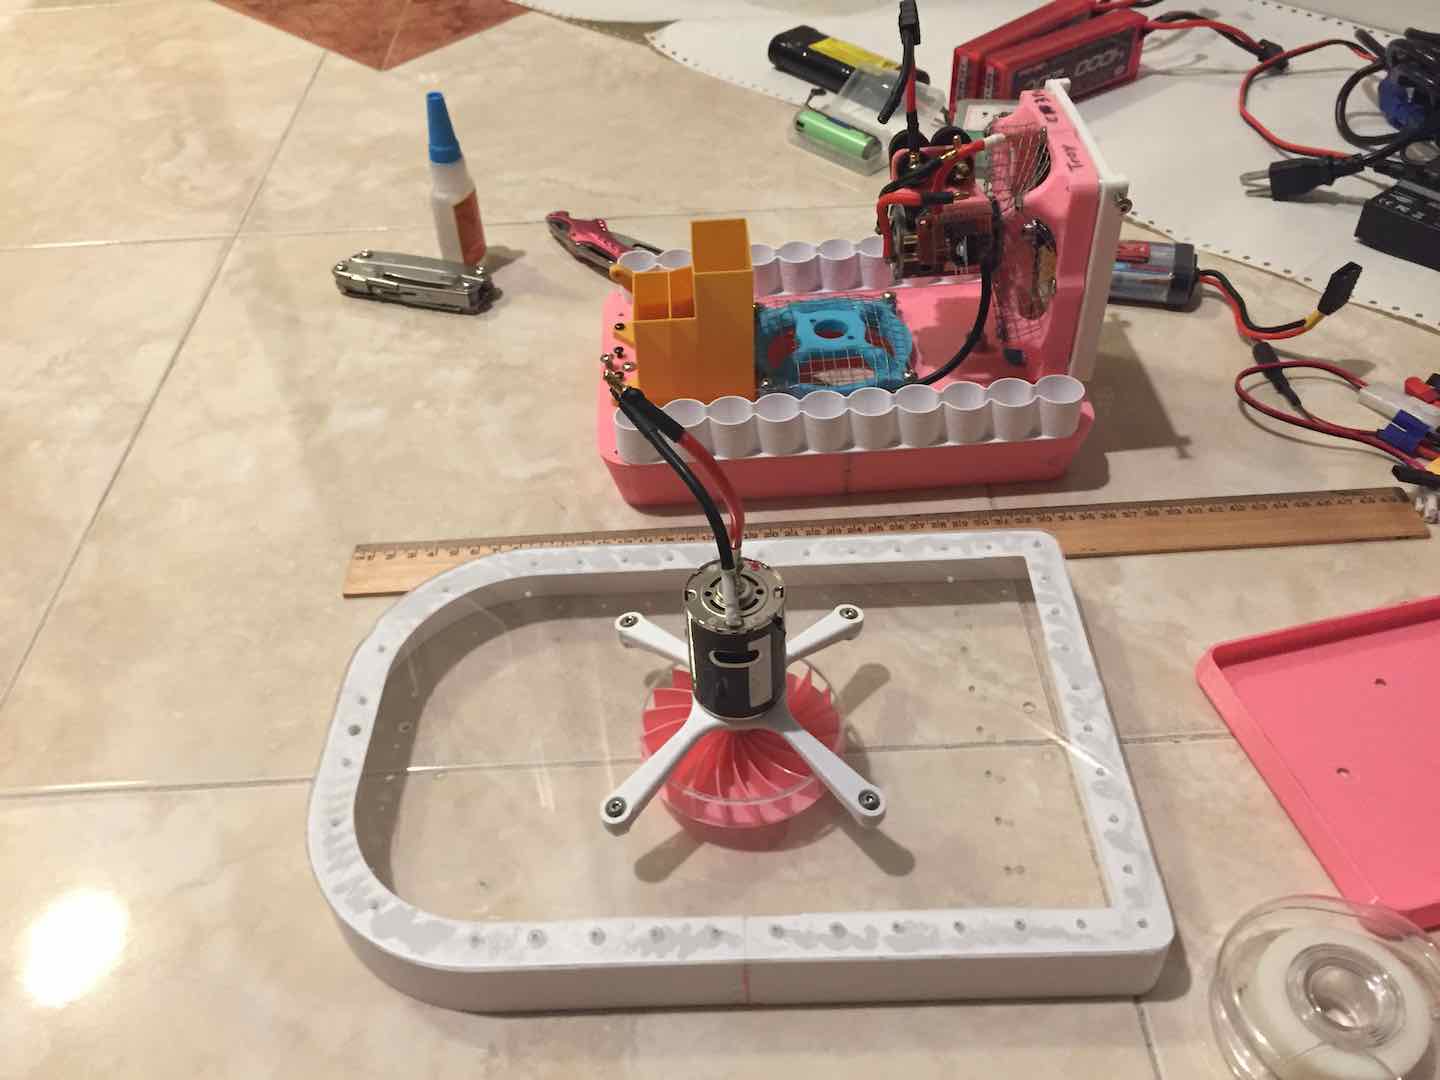
Next up was making the skirt because that was now a requirement. I initially used some leftover Mylar, but switched to the same Tyvek material from last year due to durability issues. I friction welded a couple of 3D printed parts together to hold the skirt in shape. The skirt increased carrying capacity and stability by a good bit.
Putting It All Together
With the electronics done and a hovercraft that could lift all the pennies, it was time to put it all together and complete the project.
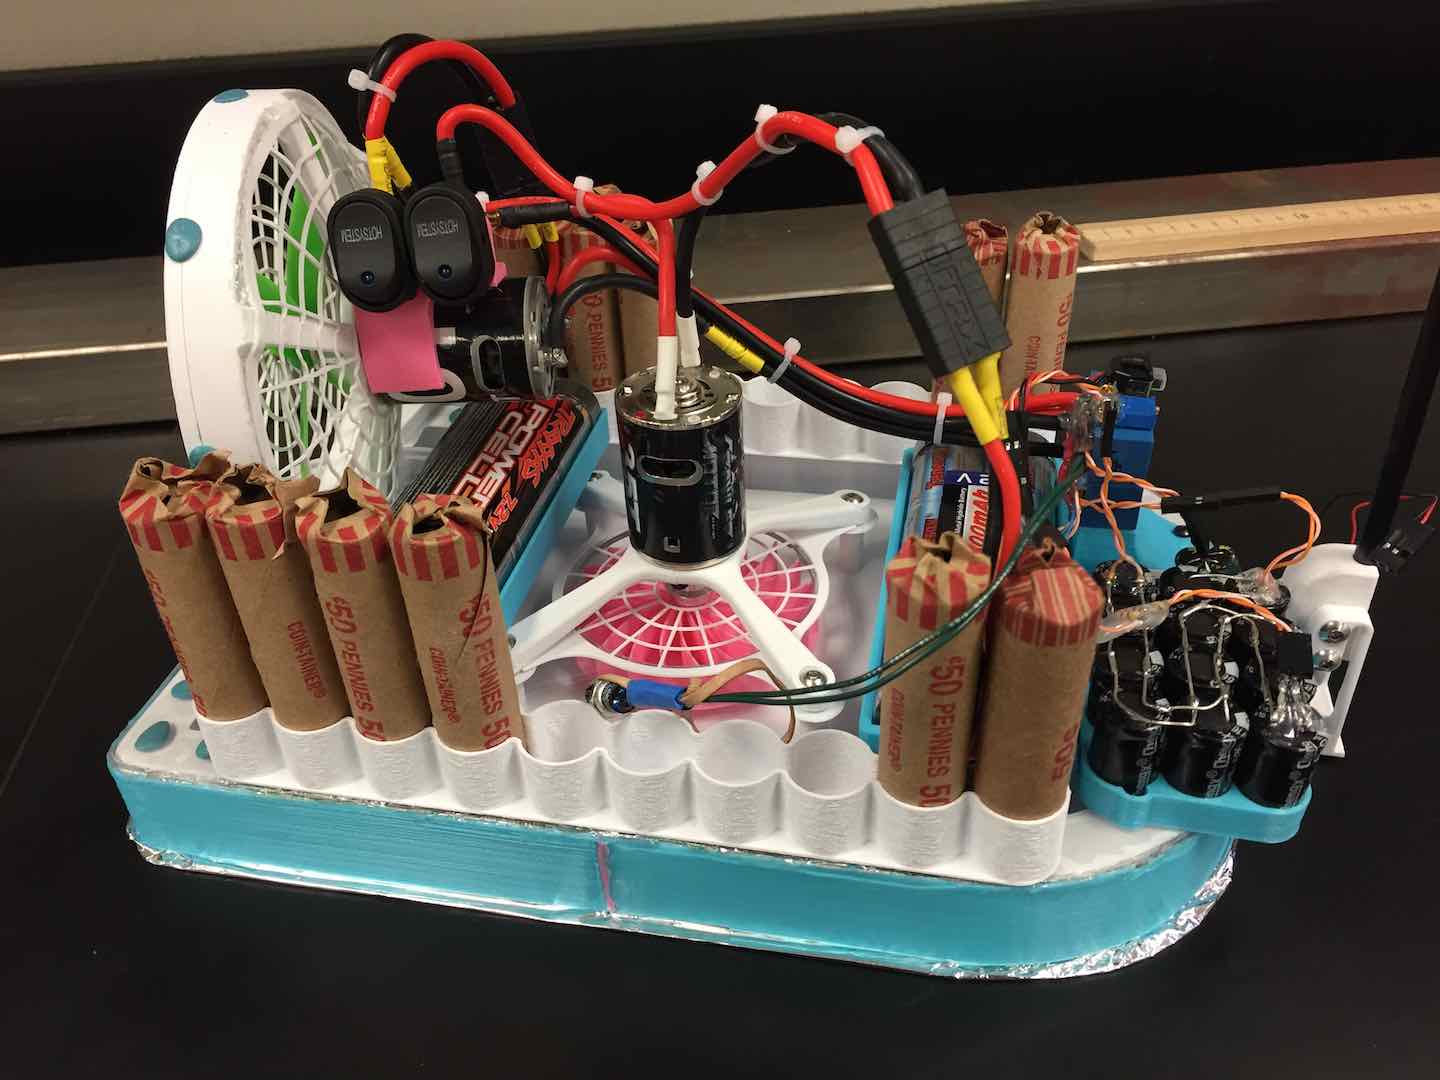
Once the parts were together, it was time to do the fine adjustment to ensure my hovercraft was accurate at every distance and time target as well as being consistent across multiple different surfaces.
Gathering Data
In order to achieve accurate times I had to gather a bunch of data points because solving equations like last year probably wouldn’t be very accurate due to the relay coil. The astable multivibrator portion was basically set once and forgotten because I only needed a 2.5 second pause between thrusts. The length of thrusts was also just set once because it just needed to be long enough to move the hovercraft a little bit.
The part that needed adjustment was the one that controlled the delayed relay. Since this relay controlled when the hovercraft would go full speed ahead, it was important to be able to accurately control it. The circuit proved very consistent and predictable. I ended up just gathering a bunch of data points and interpolating instead of trying to do curve fitting.
Solving the Wider Track Width Issue
A big issue I ran into was getting the hovercraft to hug one wall along its entire path. Because of the lack of friction and rotational inertia, if a hovercraft didn’t press against one wall it would spin in the middle of the track and maybe even go backward. I changed the thruster direction and adjusted the balance of the pennies to bias the hovercraft toward one wall.
However, the issue that still remained was that different surfaces had different leveling. If I chose to say only hug the right wall, some surfaces were actually tilted to the left, so my method of a slight rightward thrust wouldn’t work. For this reason, I had to practice adjusting the hovercraft on the fly based on the levelness of the competitions’ surfaces. A perfectly flat surface or ^-shaped one was optimal. I didn’t encounter any U-shaped ones, but that would’ve been harder to account for.
Conclusion
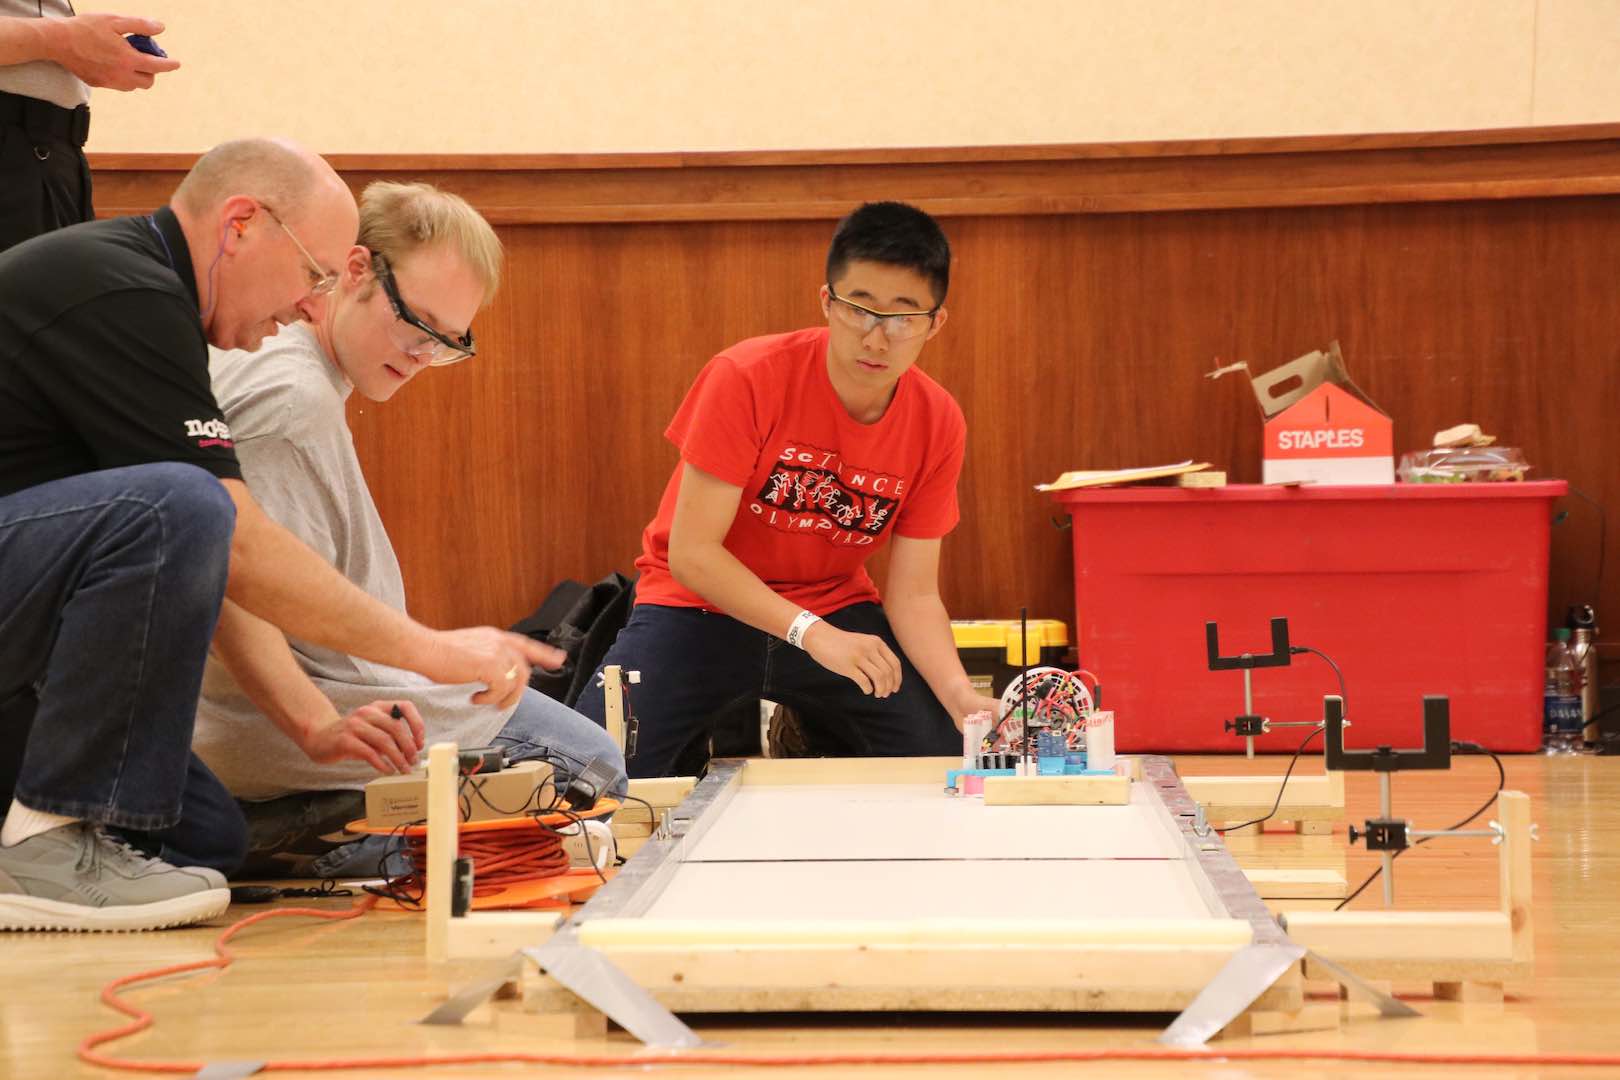
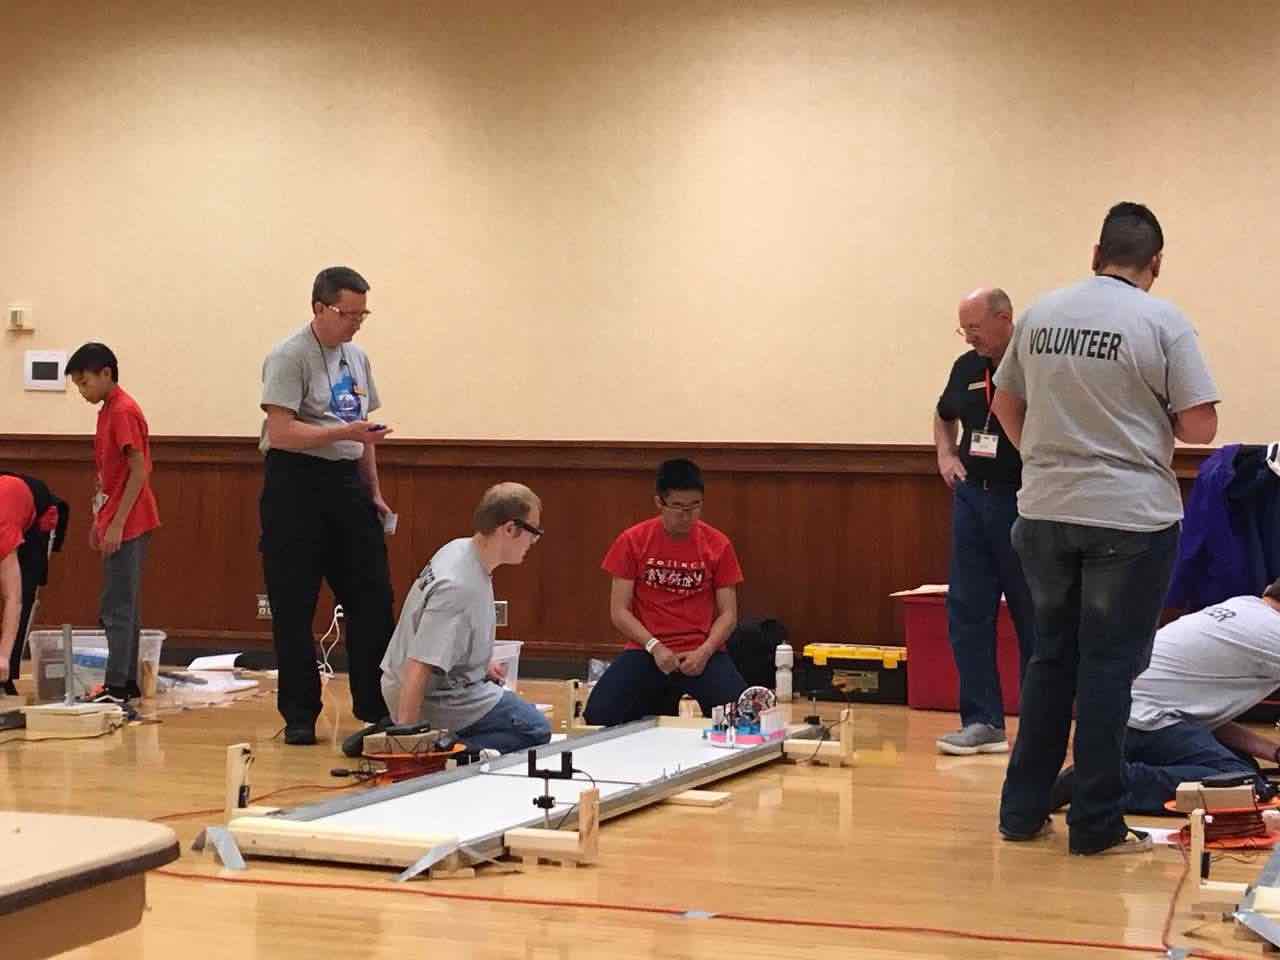
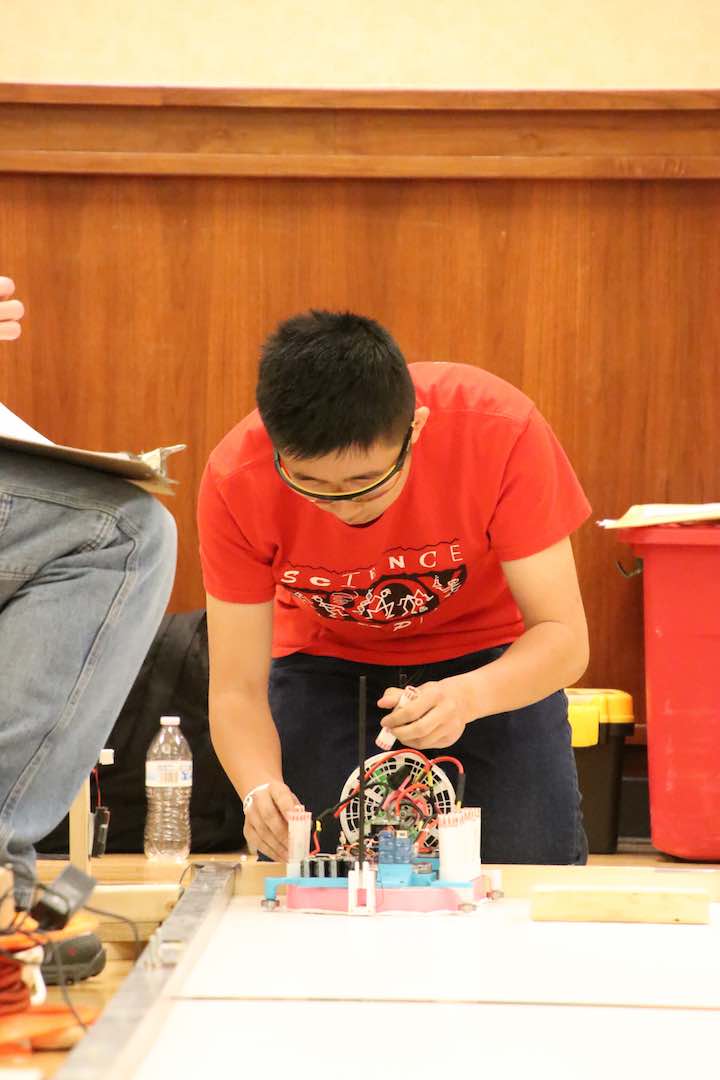
At the end of the day, I made a solid hovercraft – reliable, precise, and easy to use. Here’s some pics of me at Nationals in Colorado. It performed absolutely perfectly. The proctors even recognized me from last year because of my design!


Comments