
Coil Gun v3
Written 10-5-19
During my free time after what ended up being useless Elite SAT prep classes, I decided to try my hand at making another coil gun. It’s always so interesting looking back at my younger self and realizing how much I’ve learned. This was definitely was one of those times. Back in the day of v1 and v2 I had no clue how to switch high power electronics. I didn’t really know what I was doing during this project too, but I did now have the experience and confidence to figure it out. The main changes I wanted to implement with v3 was to be much smaller and not have to wait like 3 minutes to charge every time.
Electronics
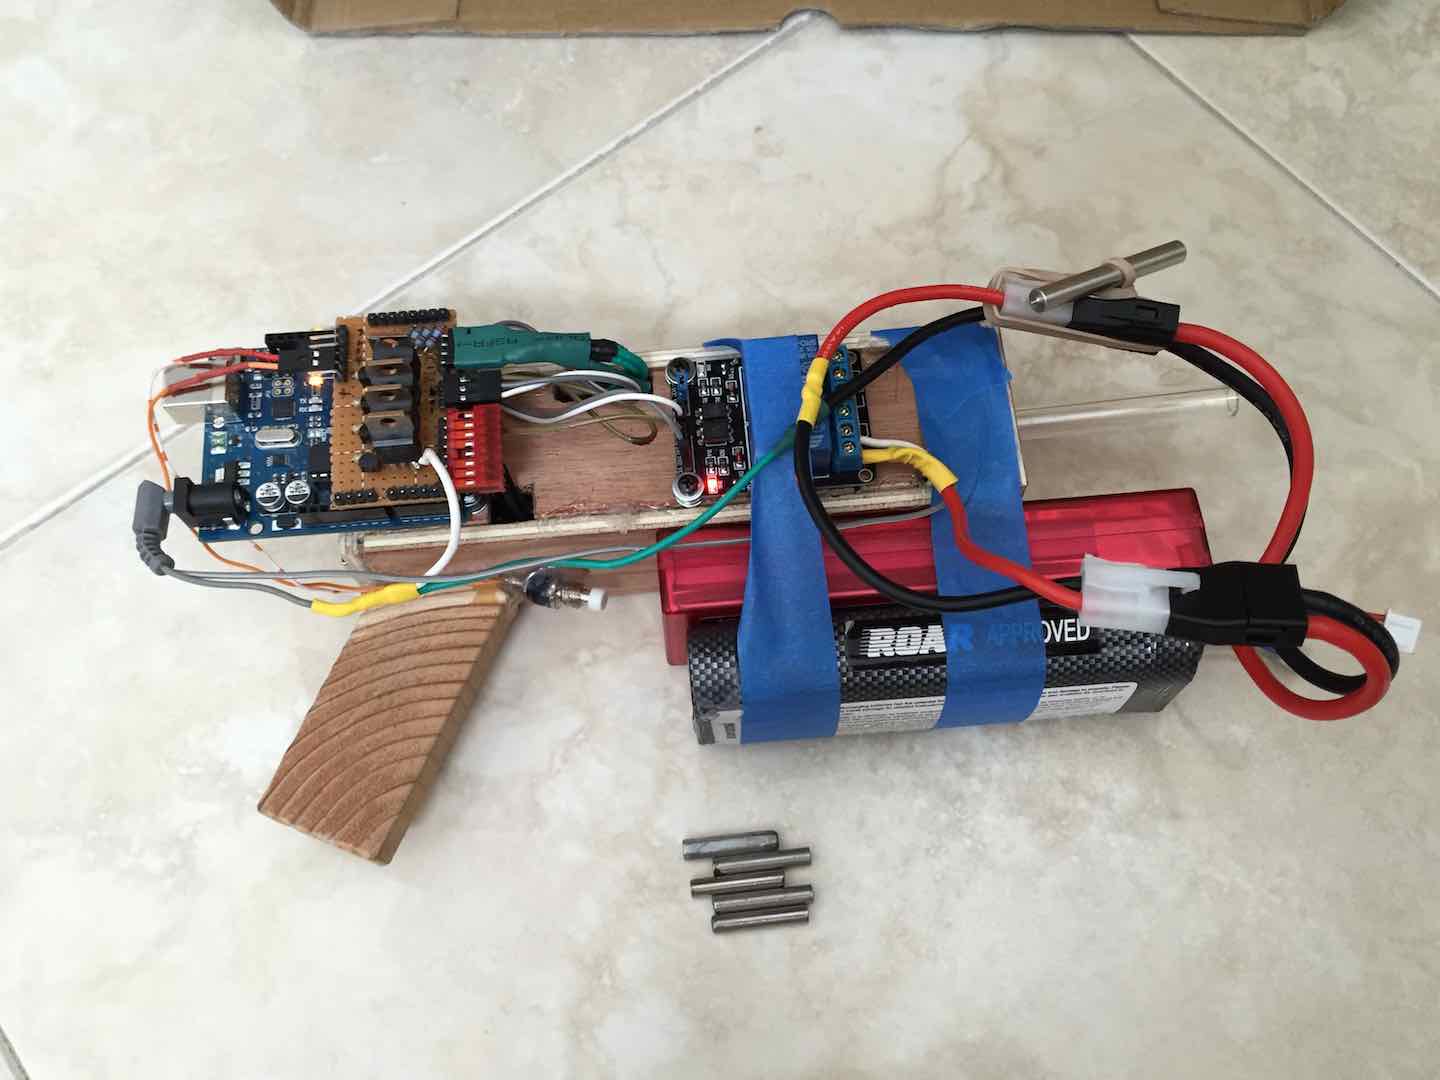
First up was figuring out the electronics. I had already taken apart v2 earlier that summer, so I reused the coils from it. Limited by the short piece of acrylic tube I salvaged, I could only slide 4 coils on. Between these coils I placed IR emitter detector pairs. After some experimenting, I realized that changing the value of the pull-up resistor on the detector greatly changed its sensitivity. This allowed me to not have to use Sharpie to cover up parts of the sensor like in v2.
With the coil and sensor assembly done, I got to work on the control electronics. I started with figuring out how to use MOSFETs to control the coils. A couple months back I had bought a couple from All Electronics but didn’t realize they had pretty high gate threshold voltages. As a workaround, I came up with using a pull-up resistor at the gate of a MOSFET and using the Arduino to control a BJT that turned off the gate. Since an Arduino has a boot-up time and the MOSFETs would now be on by default, I used a relay board to cut power to the coils until the Arduino was ready.
Final Assembly
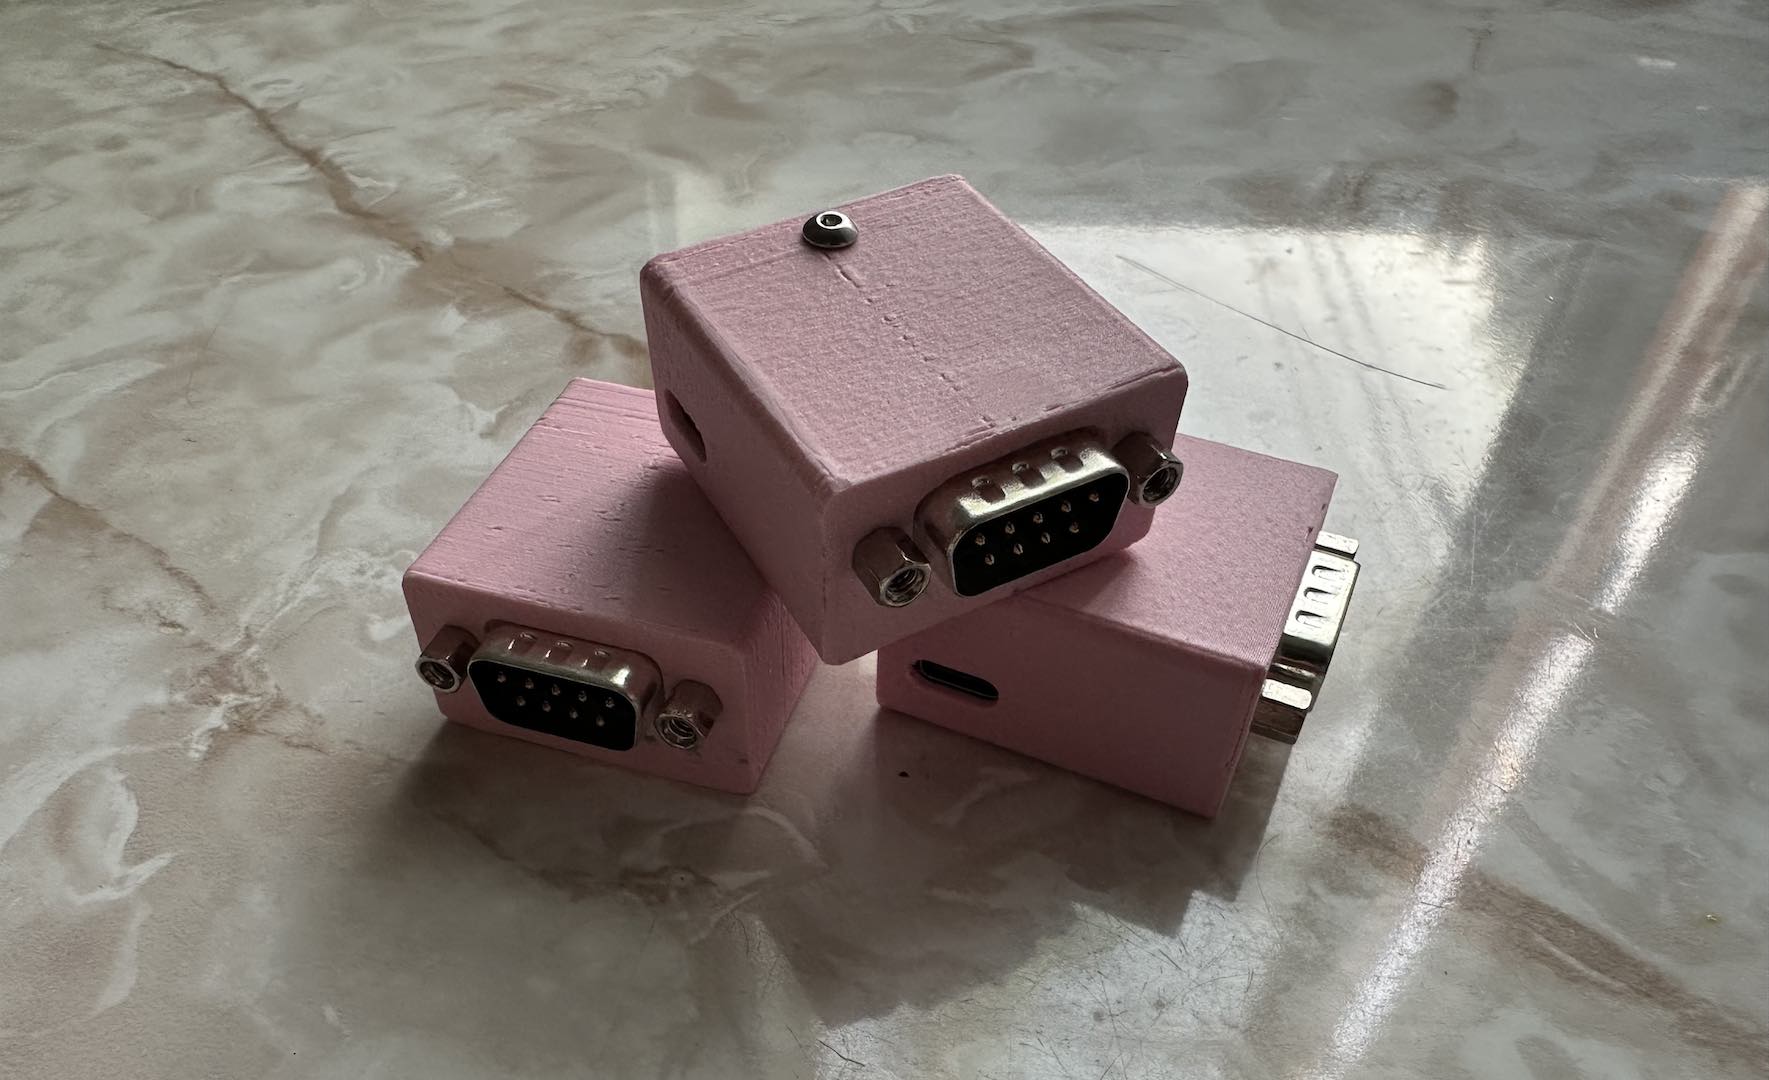
After a bit of coding and screwing things together, I finished assembling v3. For safety, I made sure to implement a max on time for the coils. Here’s the one picture I took of it.
Here’s a video of me testing how fast it could shoot. I just let the bullet fall back down to the first stage so the coil gun would send it flying back up again.
I wanted to implement a magazine system, but ended up not doing it because v3 was still more or less a test of what I could do. I also didn’t know how to do it.
Issues
There were many issues with v3 that caused it to fail prematurely with a good amount of magic smoke. First and foremost, I didn’t put a flyback diode on the coils, so I broke multiple MOSFETs after some time. Next, the BJT and relay workaround was just a poor design choice. On top of that, the voltage regulator on the Arduino can’t power a relay, so it let out some smoke after awhile. Overall, I ended up throwing v3 in the scrap bin, but it proved an invaluable learning experience.
Comments